Install Comodo Client Security
Note - Before beginning installation, please ensure you have uninstalled any other antivirus products that are on your server. More specifically, remove any other products of the same type as those Comodo products you plan to install. For example, if you plan to install only the antivirus then you do not need to remove 3rd party firewall solutions and vice-versa. Failure to remove products of the same type could cause conflicts that mean CCS will not function correctly.
Comodo Client Security is part of Comodo IT and Security Manager (ITSM) and can be deployed onto endpoints via the ITSM management interface. You can subscribe for ITSM as stand-alone application or as a part of the Comodo One (C1) application. If do not already have an ITSM license, then please see the following links:
- To sign up for Comodo One, see https://one.comodo.com/
- To subscribe for ITSM as stand-alone, visit https://secure.comodo.com/home/purchase.php?pid=98&license=try for the trial version and https://secure.comodo.com/home/purchase.php?pid=98 for the full version.
C1 customers can open ITSM by clicking 'Licensed Applications > 'IT and Security Manager'. Stand-alone customers can access the ITSM interface by entering the URL they were provided with after sign up into any web browser.
The following steps explain how to deploy CCS onto endpoints:
You can deploy CCS onto endpoints only after adding users to ITSM.
- Comodo One users - If you created only one company in C1, then any users you enroll here will be automatically assigned to that company. If you created more than one company, the 'Enroll User' dialog will allow you to choose the company to which you want to assign the user.
- ITSM
Users - You can add users and enroll their devices without
selecting any company. However, If you need the users/devices to be
grouped under different companies, you can create companies in ITSM
and add device groups.
To add a user
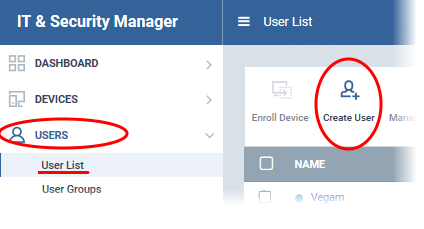
- Click 'Users' on the left then 'User List', then click the 'Create User' button
or
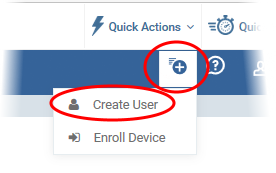
- Click
the 'Add' button
 at the menu bar and choose 'Create User'.
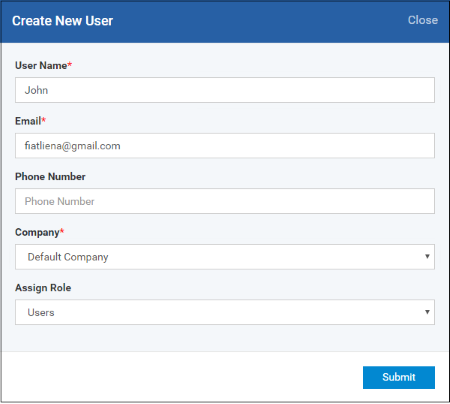
- Type a login username (mandatory), email address (mandatory) and phone number for the user.
- Choose the company (mandatory), from the 'Company' drop-down.
- Comodo One Users - The drop-down will display the companies added to C1. You can choose the company to which the user belongs. The user will be enrolled under the chosen company.
- ITSM users - Leave the selection as 'Default Company'.
- Choose a role for the user. A 'role' determines user permissions within the ITSM console itself. ITSM ships with two default roles:
- Administrators - Full administrative privileges in the ITSM console. The permissions for this role are not editable.
- Users - In most cases, a 'user' will simply be an owner of a managed device who should not require elevated privileges in the management system. Under default settings, 'Users' cannot login to ITSM.
- Click 'Submit' to add the user to ITSM.
- Repeat the process to add more number of users.
- New users will be listed in the 'Users' interface (click 'Users' > 'User List')
The next step
is to enroll users' devices for management.
To enroll devices
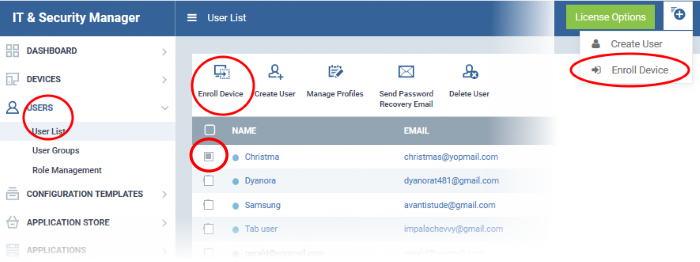
- Click 'Users' then 'User List'
- Select the user(s) whose devices you wish to enroll then click the 'Enroll Device' button above the table
Or
- Click
the 'Add' button on the menu bar and choose 'Enroll Device'.
The 'Enroll Devices' dialog will open for the chosen users.
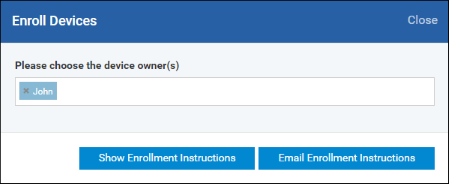
The 'Please choose the device owner(s)' field is pre-populated with any users you selected in the previous step.
- To add more users, start typing first few letters of the username and choose from the results
- If you want to see help on the enrollment process, click 'Show Enrollment Instructions'. This is useful for administrators attempting to enroll their own devices.
- If you want the enrollment instructions to be sent as an email to users, click 'Email Enrollment Instructions'.
- A confirmation dialog will be displayed.
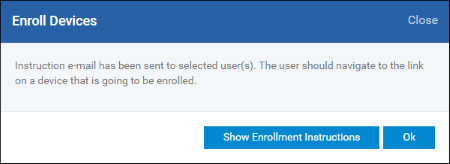
A device enrollment email will be sent to each user. The email contains instructions that will allow them to enroll their device. An example mail is shown below.
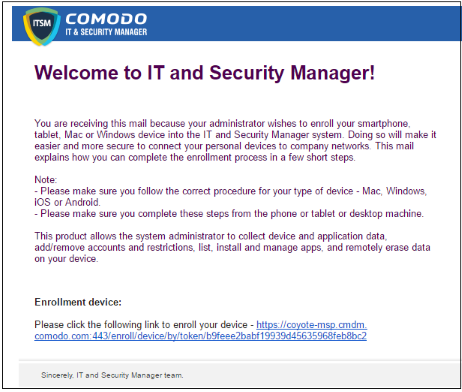
- Clicking the link will take the user to the enrollment page containing the agent/profile download and configuration links.
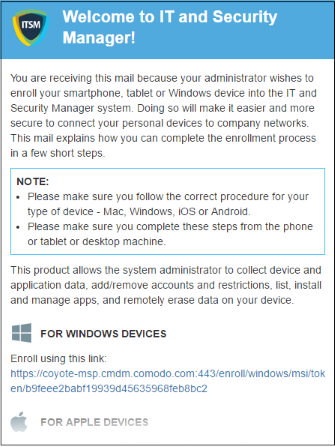
- Click on the enrollment link under 'For Windows Devices'.
The ITSM agent setup file will be downloaded.
- Double click on the file to install the agent.
When installation is complete, the device will be automatically enrolled to ITSM and a confirmation message will be displayed. Once the device is enrolled,
the next step is to install CCS onto the
endpoint.
|
Background Note on
ITSM Agent: The ITSM agent is a small application installed on every managed endpoint to facilitate communication between the endpoint and the ITSM central server. The agent is responsible for receiving tasks and passing them to the endpoint’s installation of Comodo Security Software (CCS, CAVS or CAV for Mac). Example tasks include changes in security policy, run a virus scan, update the local antivirus database or gather reports that have been requested by the central service. For security, endpoint agents can only communicate with the specific instance of the central service which provisioned the agent. This means the agent cannot be reconfigured to connect to any other ITSM service. |
Step 3 – Deploy Comodo Client Security
ITSM allows you to install Comodo
applications such as Comodo one Client Security (CCS) and other
third-party MSI packages from the 'Device List' interface.
To install CCS
- Click 'Devices' and choose 'Device List'
- Select the Windows device(s) to which you want install CCS
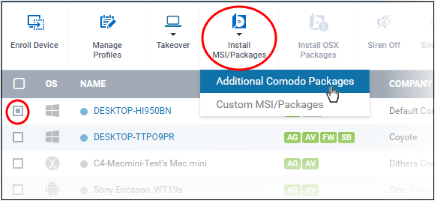
- Click 'Install MSI/Packages' > 'Additional Comodo Packages'
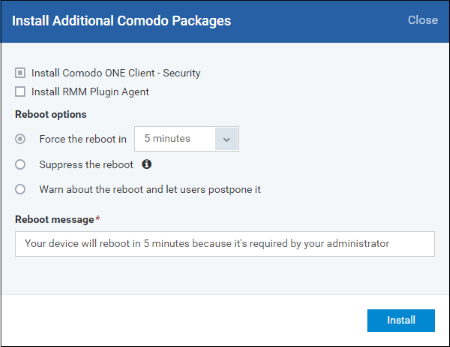
- Select the 'Install Comodo One Client – Security' check box
CCS requires the endpoint to be restarted in order for the installation to take effect. You can choose how the endpoint(s) are to be restarted from the 'Reboot Options'.
- To restart the end-point after a certain period of time, choose 'Force the reboot in...' , choose a time period and click 'Install'.
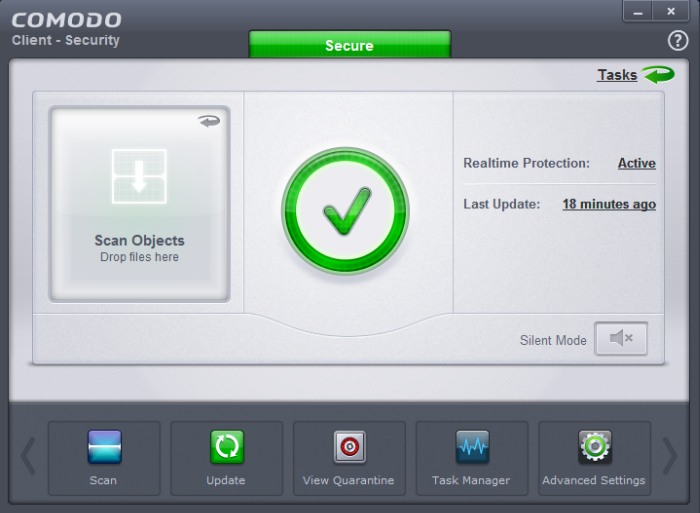
The following message will be displayed on the device after CCS is deployed on the endpoint:
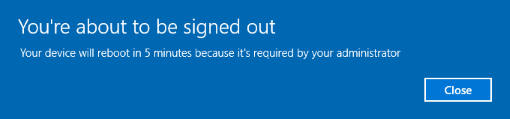
The device will be restarted automatically when the time period elapses.
- If you do not want the endpoint to restart automatically, then choose 'Suppress the reboot' and click 'Install'.
- To give users a choice over restarting, choose 'Warn about the reboot and let users postpone it'. Type a message to be shown to the user in the 'Reboot message' field and click 'Install'.
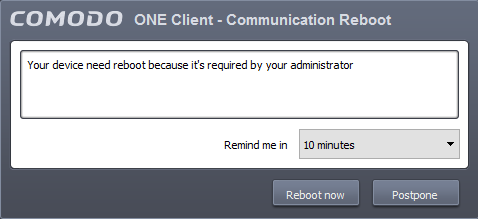
Users can choose to restart the endpoint immediately by clicking 'Reboot now', or postpone the restart by using the 'Remind me in' drop-down. The installation will be active only after the endpoint is restarted.
After CCS installation, the security components that are active depends on the applied ITSM profile.
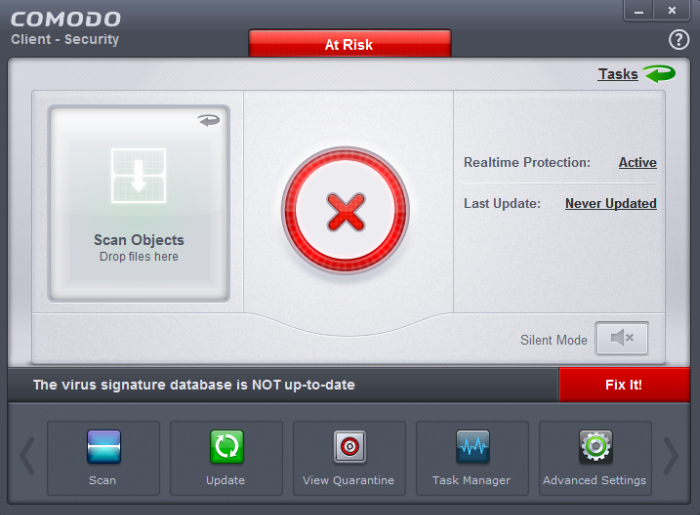
The virus database will be updated automatically for the first time after installation.