Configuring Containment Settings
The 'Containment Settings' section of 'Advanced Settings' allows you to configure settings that determine how proactive the containment should be and which types of files it should check.
- The 'Containment Settings' panel can be accessed by clicking 'Tasks > Open Advanced Settings > Security Settings > Advanced Protection > Containment > Containment Settings
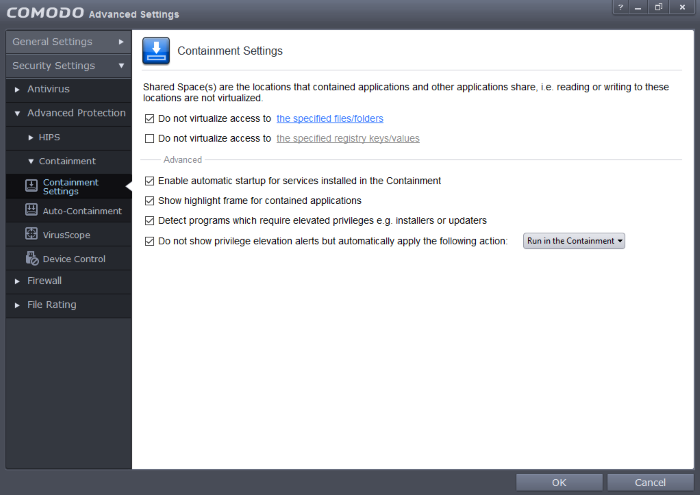
Click the following links to find out more about each section:
- Shared
Space Settings- Files downloaded or generated by contained applications that you wish to be able to access from your real system should be downloaded to the shared space
- Advanced Settings – Allows you to configure alert settings for containment as well as to enable automatic startup services for programs installed in the container.
'Shared Space' is a dedicated area on your local drive that the contained applications are permitted to write to and which can also be accessed by non-contained applications (hence the term 'Shared Space'). For example, any files or programs you download via a contained browser that you wish to be able to access from your real system should be downloaded to the shared space. This is located by default at 'C:/Program Data/Shared Space'.
![]()
You can access the shared space folder in the following ways:
- Clicking the 'Shared Space' shortcut on your computer desktop
- Clicking 'Shared Space' button on the CCS interface
- Opening 'Sandbox Tasks' from the Tasks interface then clicking 'Open Shared Space'
- By default, sandboxed applications can access folders and files on your 'real' system but cannot save any changes to them. However, you can define exceptions to this rule by using the 'Do not virtualize access to...' links.
To define exceptions for files and folders
- Enable the 'Do not virtualize access to the specified files/folders' check-box then click on the words the specified files/folders. The 'Manage Exclusions' dialog will appear.
- Click the handle at the bottom to open the tools menu then click 'Add.
i. Files - Allows you to specify files or applications that contained applications are able to access
ii. Folders - Specify a folder that can be accessed by contained applications
iii. File Groups - Enables you to choose a category of files or folders to which access should be granted. For example, selecting 'Executables' would enable you to create an exception for all files with the extensions .exe .dll .sys .ocx .bat .pif .scr .cpl. For more details on file groups, refer to the section File Groups.
iv. Running Processes - Allows you to add a program that sandboxed applications are able to access
- To edit an exception, select it from the list, click the handle to open the tools menu then select 'Edit'.
- Change file or folder location path and click 'OK'
- Click 'OK' to implement your settings
- To manage file groups, click 'File Groups' on the left under 'File Rating'. The 'File Groups' screen allows you to view, add and edit file groups. Please refer to the section File Groups if you need more information with this area.
To define exceptions for specific Registry keys and values
- Enable the 'Do not virtualize access to the specified registry keys/values' check-box then click on the words 'the specified registry keys/values'. The 'Manage Exclusions' dialog will appear.
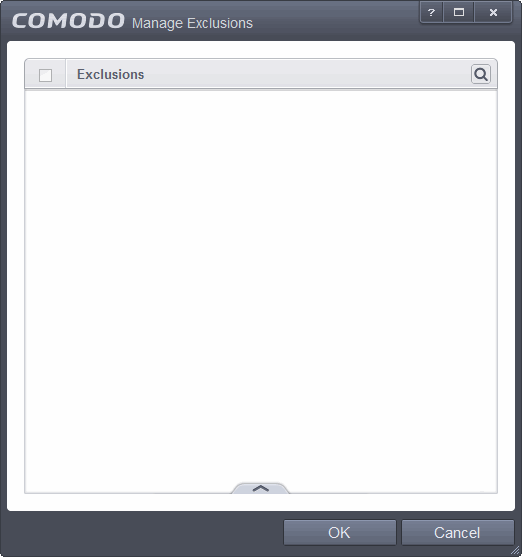
You can search for specific
excluded Registry Keys or Values from the list by clicking the search
icon  at the far right in the column header and entering the name of
the key/value in full or part. You can navigate through the
successive results by clicking the left and right arrows.

- Click the handle at the bottom to open the tools menu then click 'Add'.
- Registry Groups - Allows you to batch select a predefined group of important registry keys as exceptions. For an explanation of CCS registry groups, refer to the section Registry Groups.
- Registry Entries - Opens an interface that allows you to quickly browse Windows registry keys and add them as exceptions:
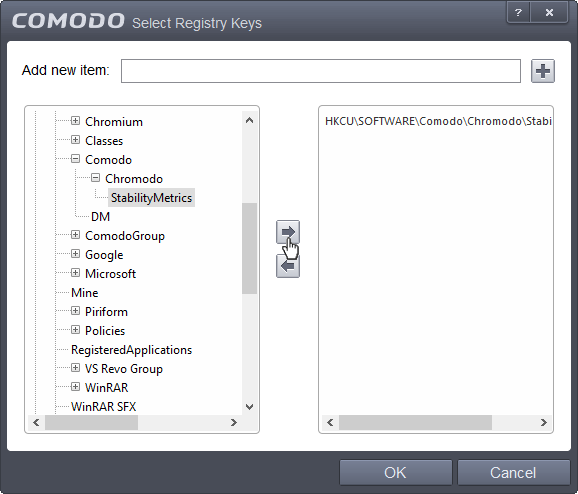
- Click 'OK' to implement your settings.
- To edit an exception, first select it from the list, click the handle to open the tools menu then select 'Edit'.
- Edit the key path and click 'OK'.

-
Enable automatic startup for services installed in the Containment - By default, CCS does not permit contained services to run at Windows startup. Select this check-box to allow them to do so. (Default = Enabled)
-
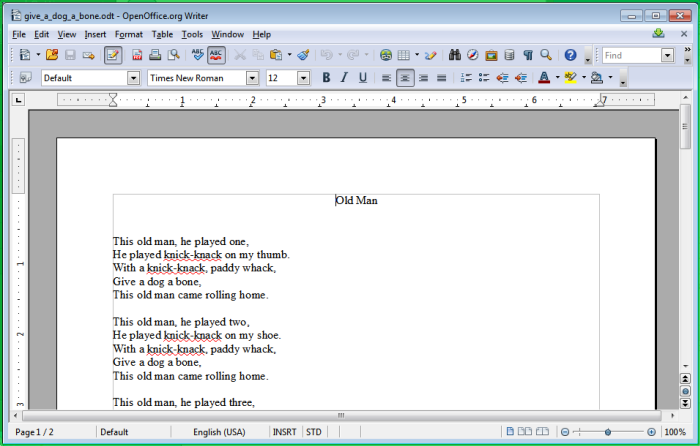
Show highlight frame for contained programs - If enabled, CCS displays a green border around the windows of programs that are running inside the sandbox. (Default = Enabled)
The following example shows an .odt document opened with a contained version OpenOffice Writer:
-
Detect programs which require elevated privileges e.g. installers or updaters: Allows you to instruct the container to display alerts when an installer or updater requires administrator or elevated privileges to run. An installer that is allowed to run with elevated privileges is permitted to make changes to important areas of your computer such as the registry. Refer to the section Understanding Security Alerts for more details.
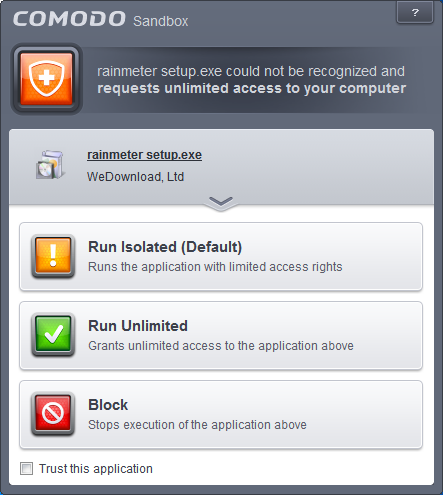
You can decide on whether or not to allow the installer or update based on your assessment, from the alert itself. (Default=Enabled)
- Do not show privilege elevation alerts but automatically apply the following action: If disabled, allows you to instruct the container to display alerts when a new or unrecognized program, application or executable requires administrator or elevated privileges to run. You can decide on whether or not to allow the unknown application based on your assessment, from the alert itself. (Default=Enabled and Run in the Containment)


