Korumail Deployment Process
Korumail is deployed as a VMware image. Please follow the steps below to install the product.
-
Download the virtual machine image from: https://cdn.download.comodo.com/korumail/KoruMAIL_V6_esx.rar
-
Extract the contents of the .rar file using Winrar or 7zip.
-
Open the VMware Vsphere client and login to the ESXi server.
-
Follow the steps below to deploy Korumail to our ESX server:
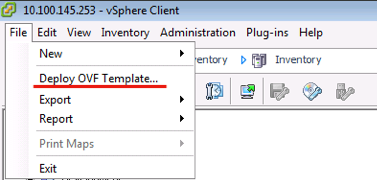
- Click 'File' > 'Deploy OVF Template'
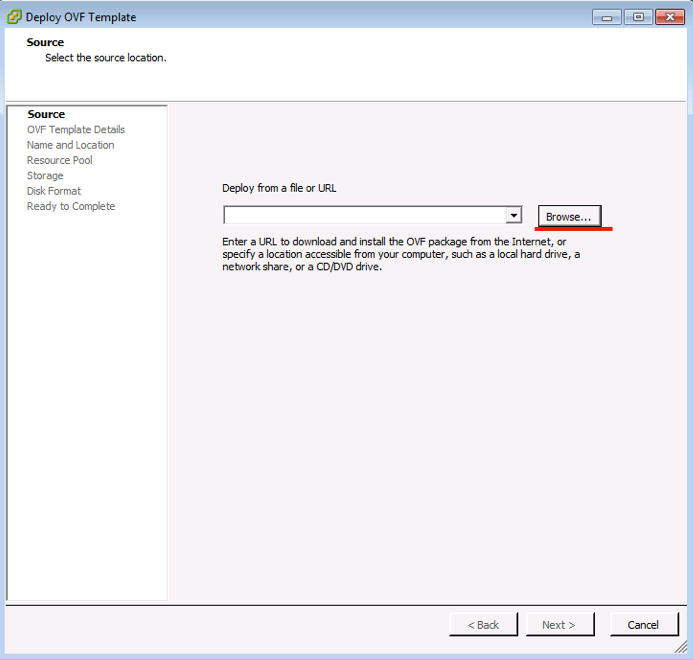
- Enter the URL of the OVF template file, or browse for the file's location on your computer:
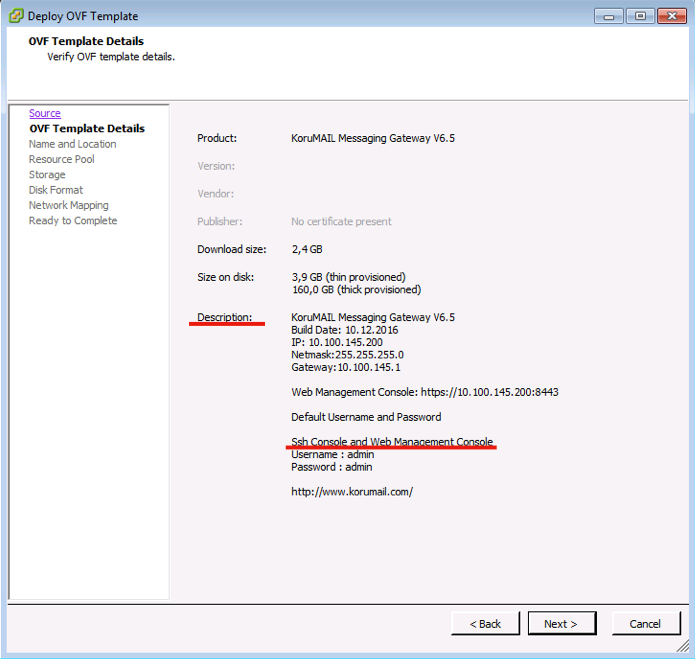
- Review the information in the details screen, especially the default username/password, then click 'Next':
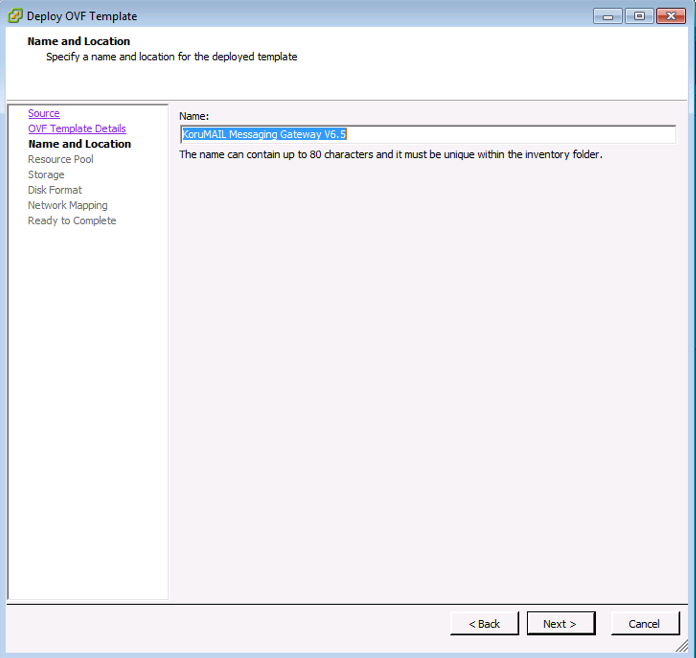
- Click 'Next.'
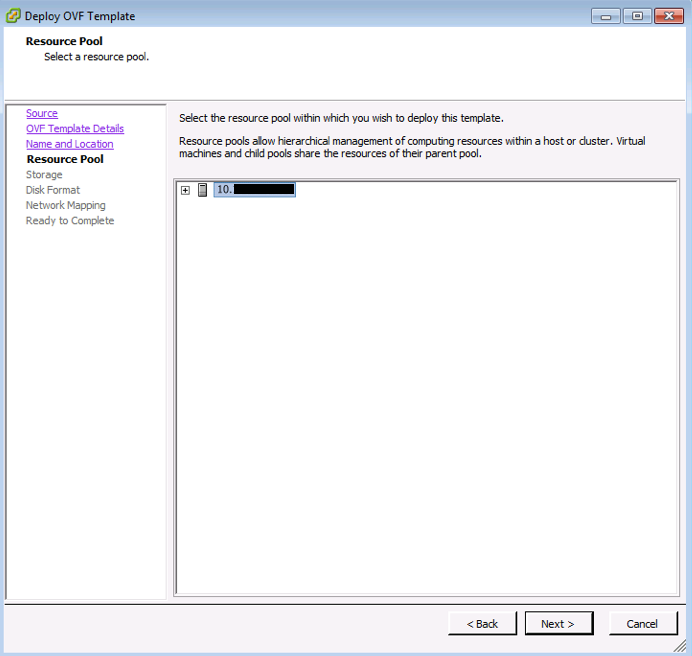
- Select a server on the ESX server with sufficient resources and click 'Next':
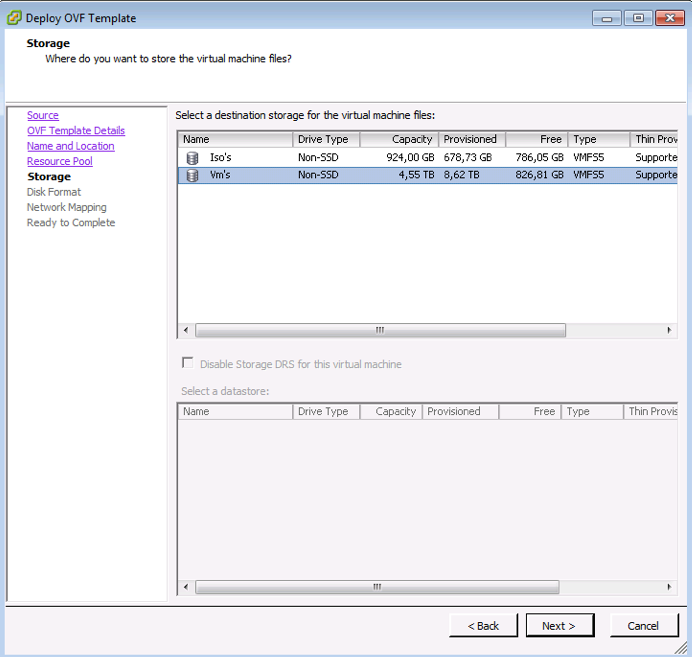
- Choose which storage area your virtual machine image should be copied to. Korumail requires 160 Gb of disk space. Click 'Next' when done.
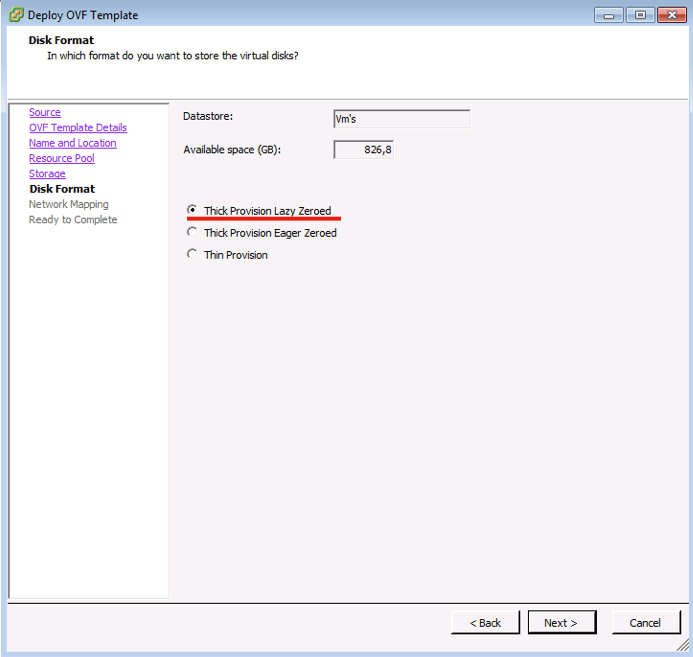
- Select 'Thick Provision' as 'Disk Format' and click 'Next':
- Select a network with an active internet connection:

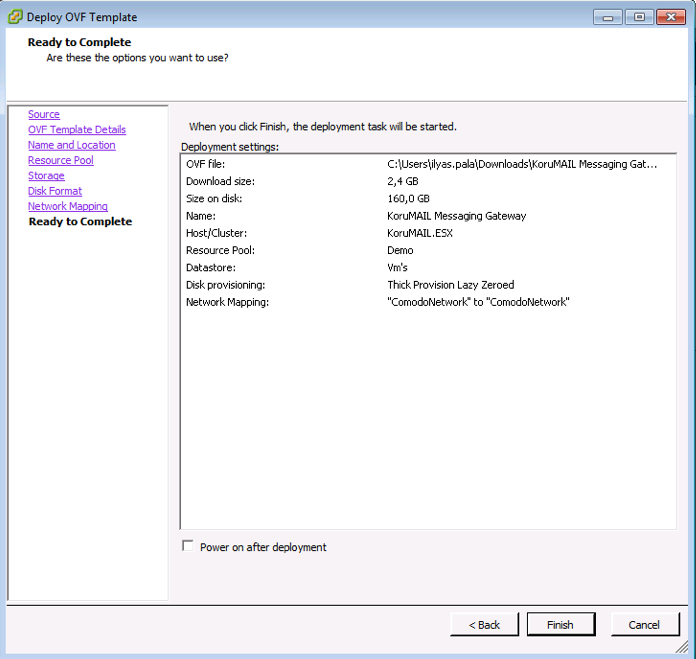
- The deployment process takes few minutes to complete.
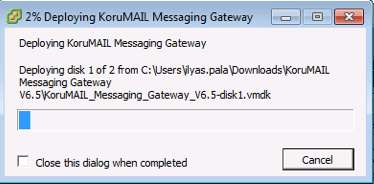
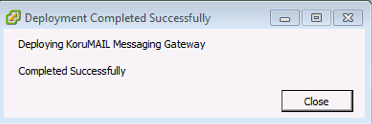
- The deployment process takes a few minutes to complete.
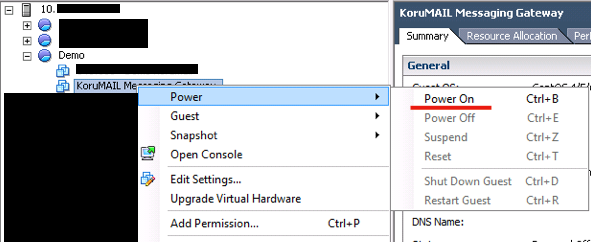
- Select the Korumail server, right-click then select 'Power On':
- Wait for the server to boot-up.
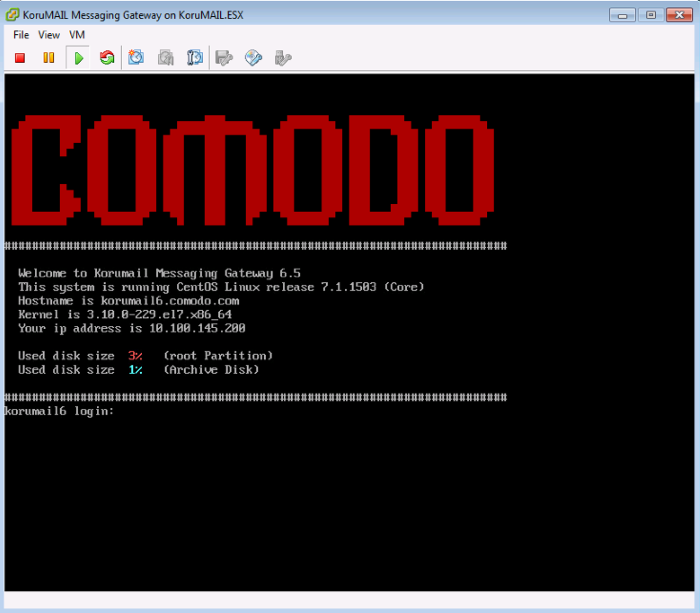
We next need to enter a new hostname, ip, netmask, gateway and DNS information. The following steps explain this process:
-
Login with the default username and password (admin/admin).
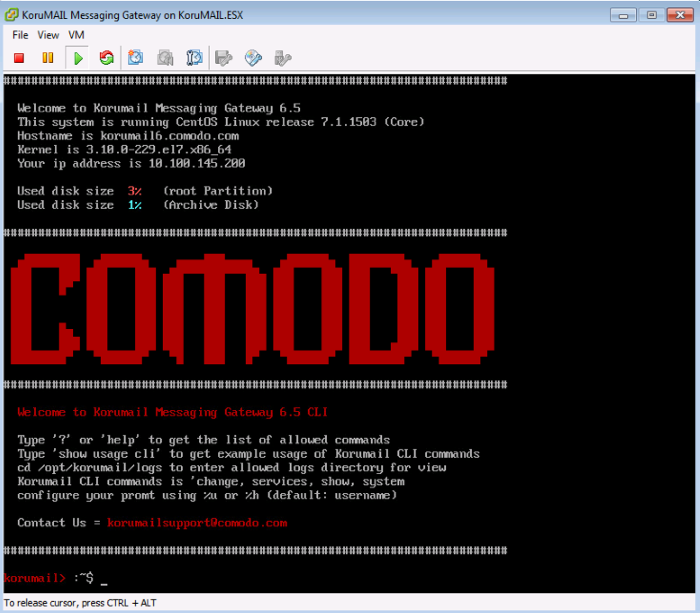
2. Enter the command 'change network all' and press 'Enter'.

3. After entering the command, the system will ask for a new hostname, ip, netmask, gateway and DNS.
korumail> :~$ change network all
!!!!!!!!!!!!!!!!!!!!!!!!!!!!!!!!!!!!!!!!!!!!!!!!!!!!!!!!!!
!!! Making changes here will restart system immediately!!!
!!!!!!!!!!!!!!!!!!!!!!!!!!!!!!!!!!!!!!!!!!!!!!!!!!!!!!!!!!
This option will change network settings
Do you want to proceed [y|n] (Default is NO) ? > Y
- Enter the hostname of the machine: korumail.your-domain.com
- Enter the IP address: 192.168.1.10
- Enter the netmask: 255.255.255.0
- Enter the default gateway: 192.168.1.1
- Enter the first nameserver: 8.8.8.8
- Enter the second nameserver: 8.8.4.4
The following changes will be made to network configuration
- IP Address: 19.168.1.10
- Netmask : 255.255.255.0
- Hostname : korumail.yourdomain.com
- Gateway : 192.168.1.1
- Nameserver: 8.8.8.8 , 8.8.4.4
4. After confirming the above, type 'y' then press enter. Wait for the device to restart.
5. The device will restart. You can then configure the device with the help of the setup wizard. Login at the IP address via a web-browser -
https: // ip-address: 8443 (user: admin pass: admin).


