Comodo Help
Find the desired product help
Comodo KoruMail

Comodo KoruMail

Admin Guide Version

English

Print Help Download Help
Korumail Deployment Process
  • Introduction To KoruMail Secure Email Gateway
  • Korumail Deployment Process
  • Access The System
    • Access Via CLI Console
    • Access Via Web Console
    • The Main Interface
  • The Dashboard
    • System Usage Graphics
    • About Software
    • Change Your Password
  • User Management
    • Manage Admins And End Users
      • Manage Admins
      • Manage End Users
    • Manage Groups
  • System Configurations
    • Network Configuration
      • Interfaces
      • Network Settings
      • Network Time Protocol (NTP)
      • Timezone
      • Static Routes
      • Simple Network Management Protocol SNMP
    • Services
    • Licenses
    • Configure System Settings
      • System General Settings
      • Cache Settings
      • Session Settings
      • GUI Customization
      • System Backup
      • System Restore
      • Log Upload Settings
      • Postmaster Settings
      • SMTP TLS Settings
      • Update Database
      • Syslog Server
    • Logs
      • Log Files
      • Purge Files
    • Tools
      • Check Connectivity
      • Clear SMTP Queue
    • Session Reports
    • System Usage Statistics
  • SMTP Configuration
    • SMTP (Send E-Mail Protocol) Settings
      • General Settings
      • Advanced Settings
      • Outbound Delivery Queue
    • Manage Domains
      • Manage Domain Names
      • Manage Domain Routes
      • Manage Smart Hosts
      • Default Domain Routing
    • KoruMail SMTP AUTH Connector
      • SMTP Authentication Settings
      • Block Users
      • Anomaly Detection
    • LDAP/Local DB/My SQL User Database
      • LDAP Profile
      • Local DB Users
      • My SQL User Database
    • Greylist
      • Greylist Ignored IP Addresses/Domains
    • Manage RBL Servers
    • Disclaimer
    • SMPT Relay
    • DomainKeys Identified Mail (DKIM)
    • Outgoing SMTP Limits
    • Incoming SMTP Limits
  • Modules
    • Anti-spam
      • Anti-spam General Settings
      • Authorized Trainers
      • Advanced Anti-spam Settings
      • Bayesian Training
      • Content Filter
      • Signature Whitelist
      • Attachment Filter
    • Anti-Virus
      • Anti-Virus General Settings
      • Advanced Anti-Virus Settings
    • KoruMail Reputation Network (KRN)
    • Anti-Spoofing
    • SMTP IPS/FW
      • SMTP IPS General Settings
      • Whitelist IP Addresses
      • Blocked IP Addresses
      • Rate Control
    • Auto Whitelist
    • Containment System
    • Data Leak Prevention (DLP)
    • Attachment Verdict System
  • Profile Management
    • Add And Configure A New Profile
      • Edit A Profile
      • Delete A Profile
  • Reports
    • Mail Logs Report
    • SMTP Queue Report
    • Delivery Logs Report
    • SMTP-AUTH Logs Report
    • Summary Reports
    • Domain Reports
    • Attachment Verdict Reports
    • Original Mail Requests
  • Quarantine & Archive
    • Quarantine & Archive Settings
      • Quarantine & Archive General Settings
      • Email Reports Settings
      • Admin Email Reports Settings
    • Quarantine Logs
    • Archived Mails
  • Appendix - KoruMail Versions
  • About Comodo Security Solutions

Korumail Deployment Process


Korumail is deployed as a VMware image. Please follow the steps below to install the product.

  1. Download the virtual machine image from: https://cdn.download.comodo.com/korumail/KoruMAIL_V6_esx.rar

  2. Extract the contents of the .rar file using Winrar or 7zip.

  3. Open the VMware Vsphere client and login to the ESXi server.

  4. Follow the steps below to deploy Korumail to our ESX server:

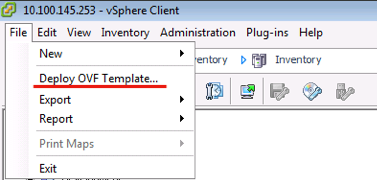
  • Click 'File' > 'Deploy OVF Template'


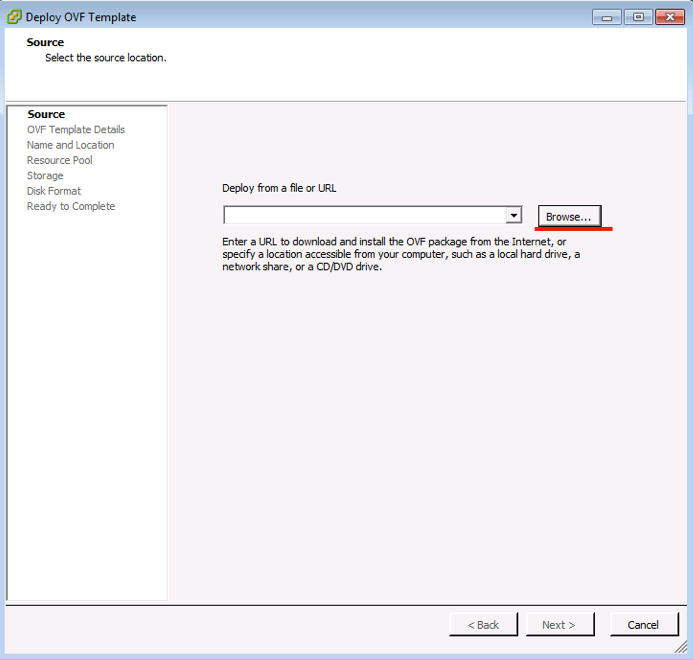
  • Enter the URL of the OVF template file, or browse for the file's location on your computer:


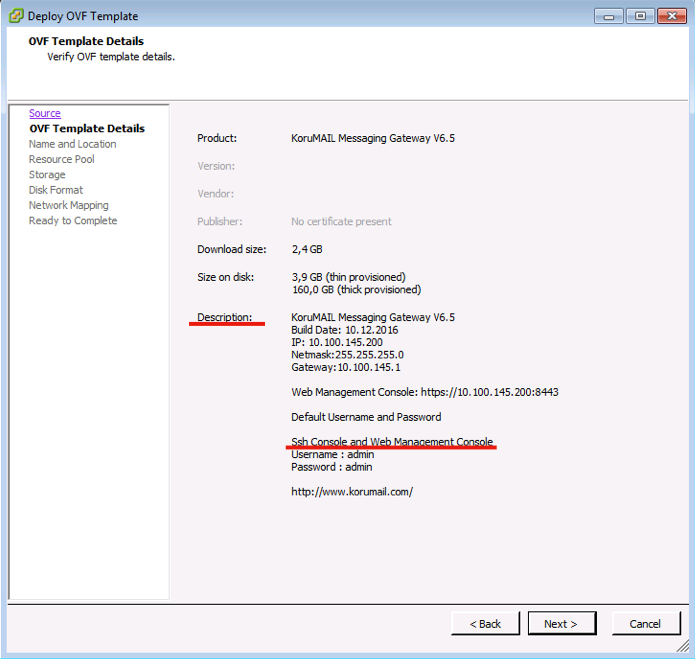
    • Review the information in the details screen, especially the default username/password, then click 'Next':
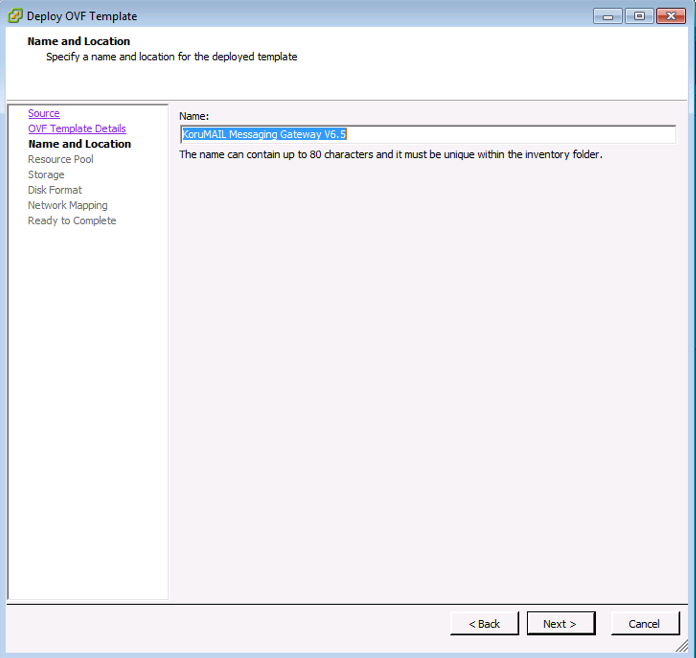

        • Specify a name for the server, or leave it at the default:


          • Click 'Next.'
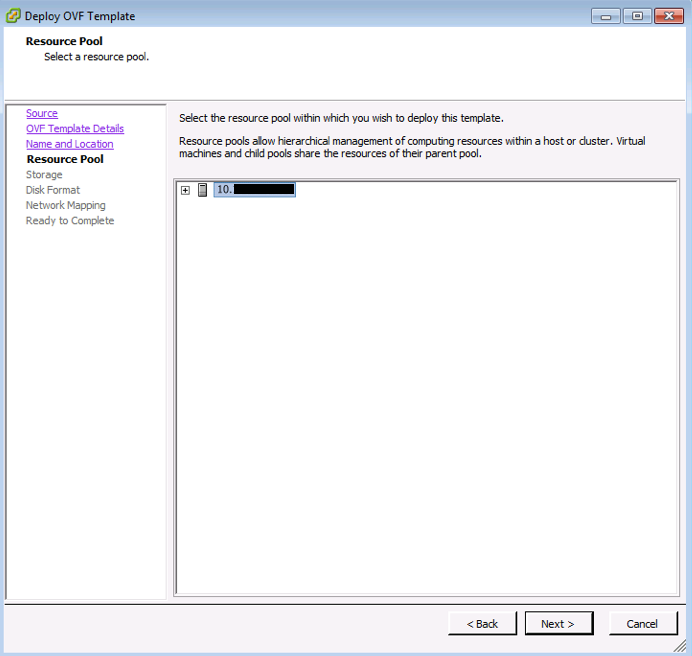
          • Select a server on the ESX server with sufficient resources and click 'Next':


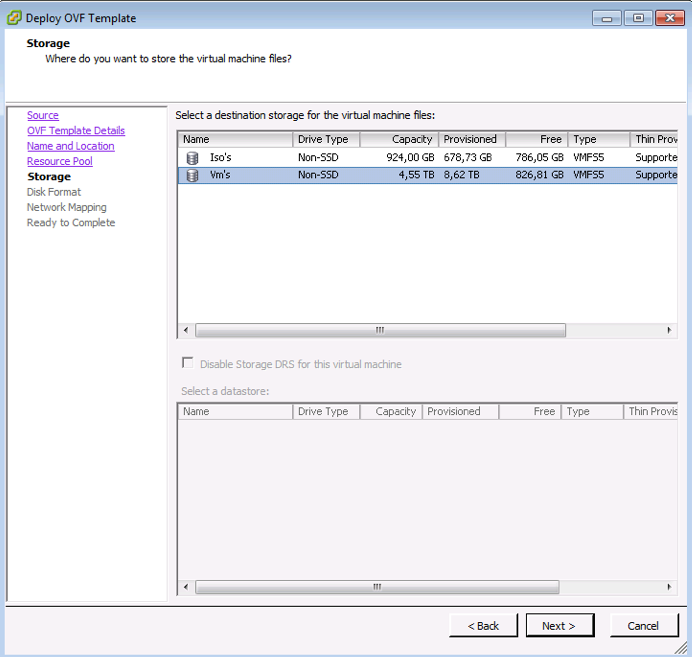
          • Choose which storage area your virtual machine image should be copied to. Korumail requires 160 Gb of disk space. Click 'Next' when done.


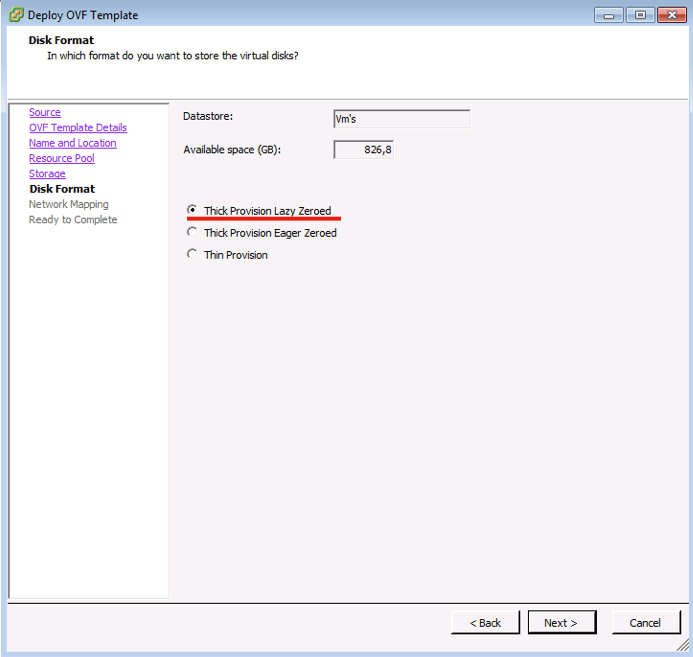
          • Select 'Thick Provision' as 'Disk Format' and click 'Next':


          • Select a network with an active internet connection:


          • Review the setup details then click 'Finish' to begin installation:


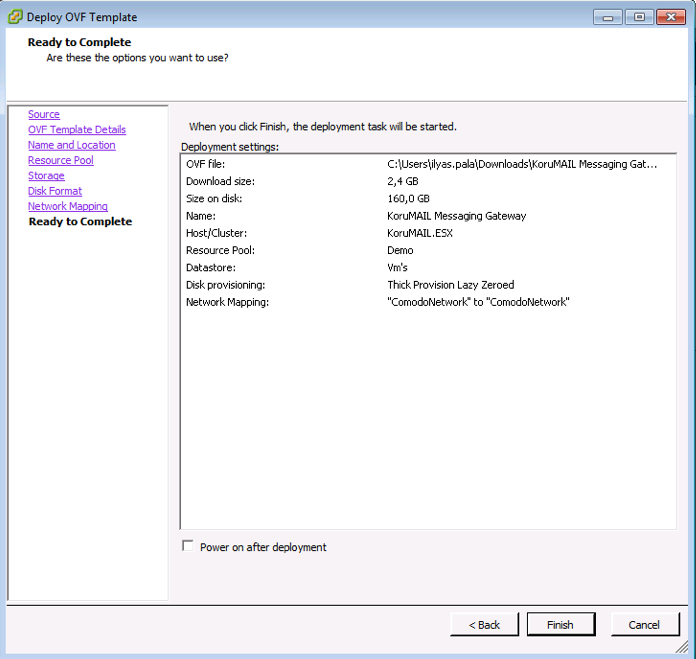
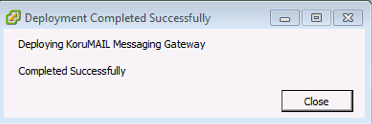
          • The deployment process takes few minutes to complete.


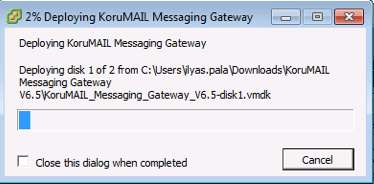
          • The deployment process takes a few minutes to complete.


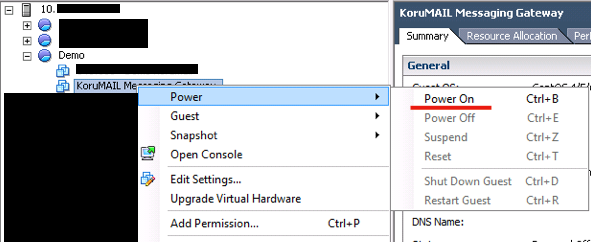
          • Select the Korumail server, right-click then select 'Power On':


          • Wait for the server to boot-up.


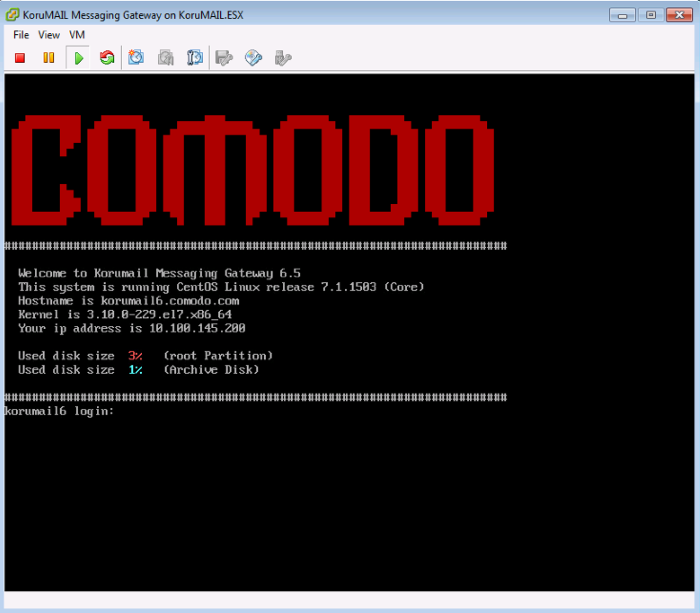
          We next need to enter a new hostname, ip, netmask, gateway and DNS information. The following steps explain this process:

          1. Login with the default username and password (admin/admin).


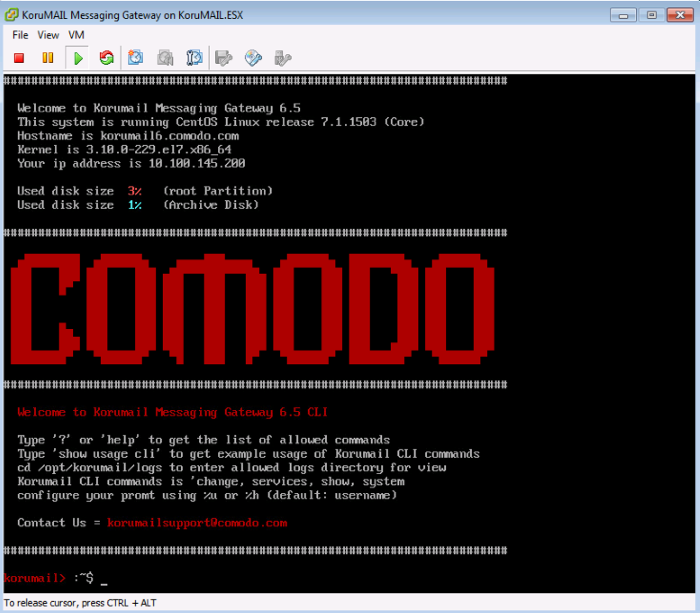
          2. Enter the command 'change network all' and press 'Enter'.


          3. After entering the command, the system will ask for a new hostname, ip, netmask, gateway and DNS.

          korumail> :~$ change network all

          !!!!!!!!!!!!!!!!!!!!!!!!!!!!!!!!!!!!!!!!!!!!!!!!!!!!!!!!!!

          !!! Making changes here will restart system immediately!!!

          !!!!!!!!!!!!!!!!!!!!!!!!!!!!!!!!!!!!!!!!!!!!!!!!!!!!!!!!!!


          This option will change network settings


          Do you want to proceed [y|n] (Default is NO) ? > Y

          • Enter the hostname of the machine: korumail.your-domain.com
          • Enter the IP address: 192.168.1.10
          • Enter the netmask: 255.255.255.0
          • Enter the default gateway: 192.168.1.1
          • Enter the first nameserver: 8.8.8.8
          • Enter the second nameserver: 8.8.4.4

          The following changes will be made to network configuration

          • IP Address: 19.168.1.10
          • Netmask : 255.255.255.0
          • Hostname : korumail.yourdomain.com
          • Gateway : 192.168.1.1
          • Nameserver: 8.8.8.8 , 8.8.4.4

          4. After confirming the above, type 'y' then press enter. Wait for the device to restart.

          5. The device will restart. You can then configure the device with the help of the setup wizard. Login at the IP address via a web-browser -

          https: // ip-address: 8443 (user: admin pass: admin).


          Our Products
          • Free Antivirus
          • Free Internet Security
          • Website Malware Removal
          • Free Anti-Malware
          • Anti-Spam (Free Trial)
          • Windows Antivirus
          • Antivirus for Windows 7
          • Antivirus for Windows 8
          • Antivirus for Windows 10
          • Antivirus for MAC
          • Antivirus for Linux
          • Free Endpoint Security
          • Free ModSecurity
          • Free RMM
          • Free Website Malware Scanner
          • Free Device Manager for Android
          • Free Demo
          • Network Security
          • Endpoint Protection
          • Antivirus for Android
          • Comodo Antivirus
          • Wordpress Security
          Cheap CDN
          • Bootstrap CDN
          • Semantic UI CDN
          • Jquery CDN
          • CDN Plans
          • CDN
          • Free CDN
          Enterprise
          • Patch Management Software
          • Patch Manager
          • Service Desk
          • Website Down
          • Endpoint Protection Solutions
          • Website Security Check
          • Remote Monitoring and Management
          • Website Security
          • Device Manager
          • ITSM
          • CRM
          • MSP
          • Android Device Manager
          • MDR Services
          • Managed IT Support Services
          • Free EDR
          Free SSL Certificate
          Support Partners Terms and Conditions Privacy Policy

          © Comodo Group, Inc. 2025. All rights reserved.