Create a Linux Profile
Process in brief:
-
Click 'Assets' > 'Configuration Templates' > 'Profiles'.
-
Click 'Create' > 'Create Linux Profile'.
-
Type a name and description for your profile then click the 'Create' button. The profile will now appear in 'Assets' > 'Configuration Templates' > 'Profiles'.
-
New profiles have only one section - 'General'. Click 'Add Profile Section' to add settings for various security and management features. Each section you add will appear as a new tab.
-
Once configured, you can apply your profile to devices and device groups.
-
You also have the option to make it a 'Default' profile. A 'default' profile is one that is automatically applied to any device which matches its operating system.
-
This part of the guide explains the processes above in more detail, and includes descriptions of each profile section.
Create a new profile
-
Click 'Assets' > 'Configuration Templates' > 'Profiles' > 'Create' > 'Create Linux Profile'
.png)
Name - Enter a label for the profile
Description - Enter appropriate short notes for the profile
-
Click the 'Create' button
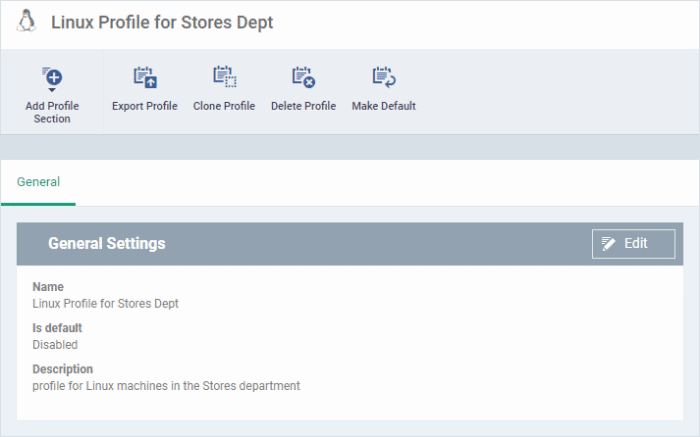
The profile will open at the 'General Settings' section:

-
'Make Default' - A 'default' profile is one that is applied automatically to any device which matches its operating system. Click this button if you want this profile to be applied to every Linux device. Do not select this if you only want to apply the profile to certain Linux endpoints.
-
Click 'Save'.
The next step is to add profile sections.
-
Each profile section contains a range of settings for a specific security or management feature.
-
For example, there are profile sections for 'Antivirus', 'Logging', 'UI' and so on.
-
You can add as many different sections as you want when building your profile.
-
To get started:
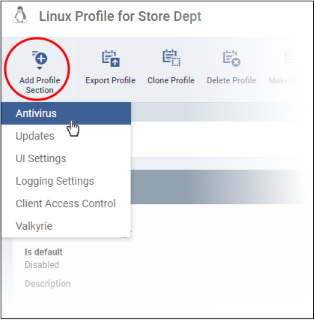
Click 'Add Profile Section'
Select the section that you want to add to the profile:

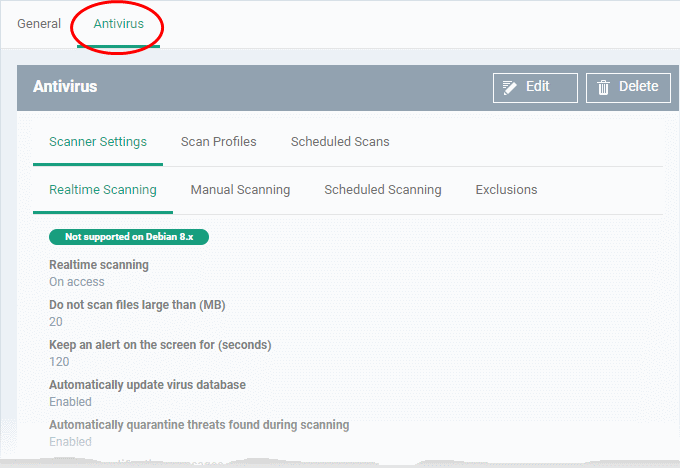
This will open the settings screen of the component:

Click the following links to find out more about each section:


