


Scheduler
The scheduler is one of the key features that allows you to create automatic schedules for scanning, patching, and reporting. You can use any combination of these options. Schedules give you complete control and flexibility to automate your vulnerability and compliance management.
- Settings < CTEM < 'Scheduler'
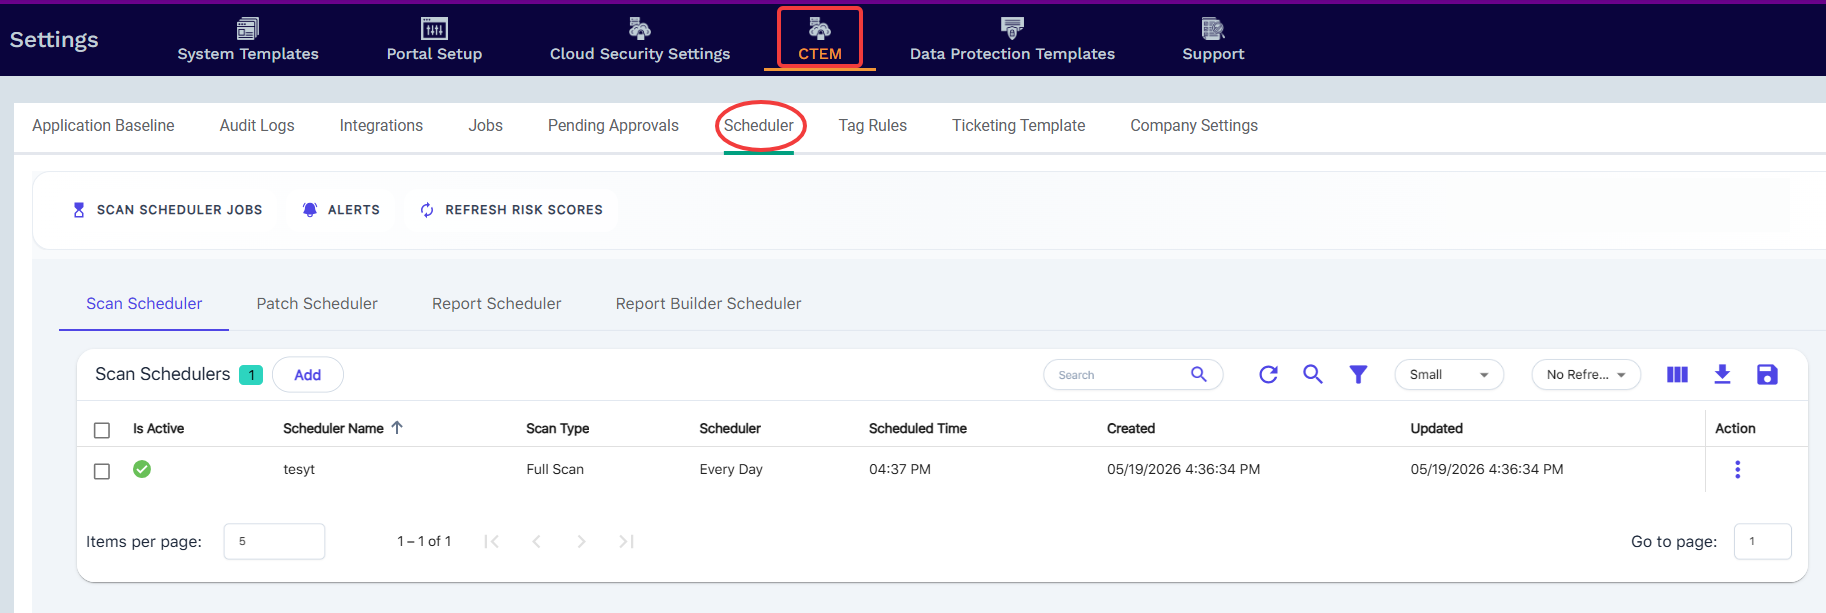
The scheduler is divided into four categories. Tap between them to add, edit, and delete the schedules.
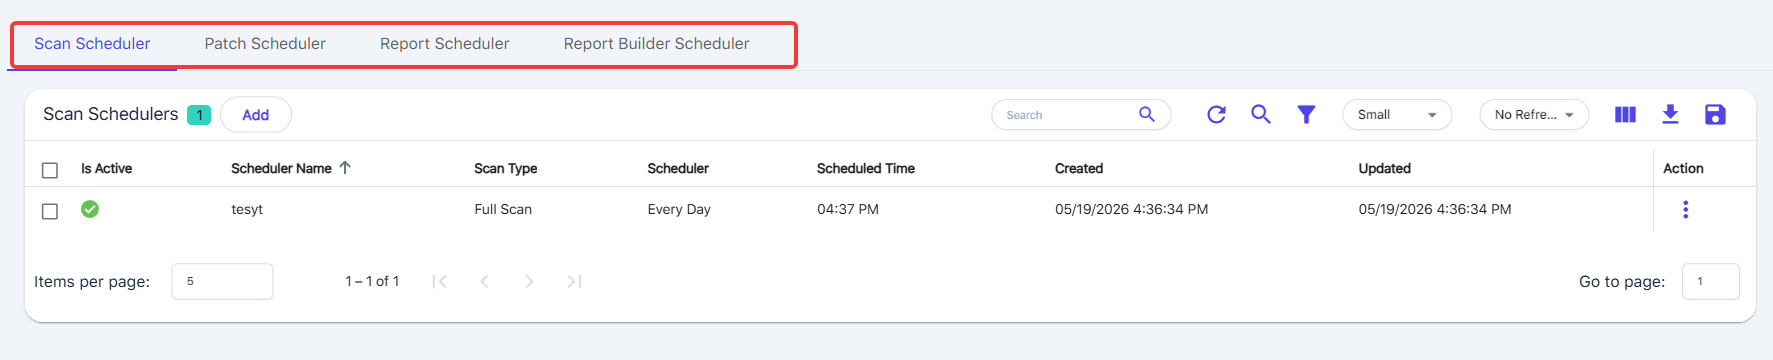
Configure automatic scan jobs here.
Lightweight Agent scans happen automatically and do not require the scheduler; you can adjust the LWA Agent Scan Interval at Company Settings > Scan Time Interval menu.

Add Scan Scheduler
In CTEM, the system uses the time zone configured in your browser to display and schedule scans. This means that scan times are aligned with your browser’s time zone setting.
To ensure scans run at the expected times, please verify that your browser’s time zone matches the time zone you intend for scheduling. For example, if you want scans to run according to Central Time (Texas), make sure your browser is set to US/Central.
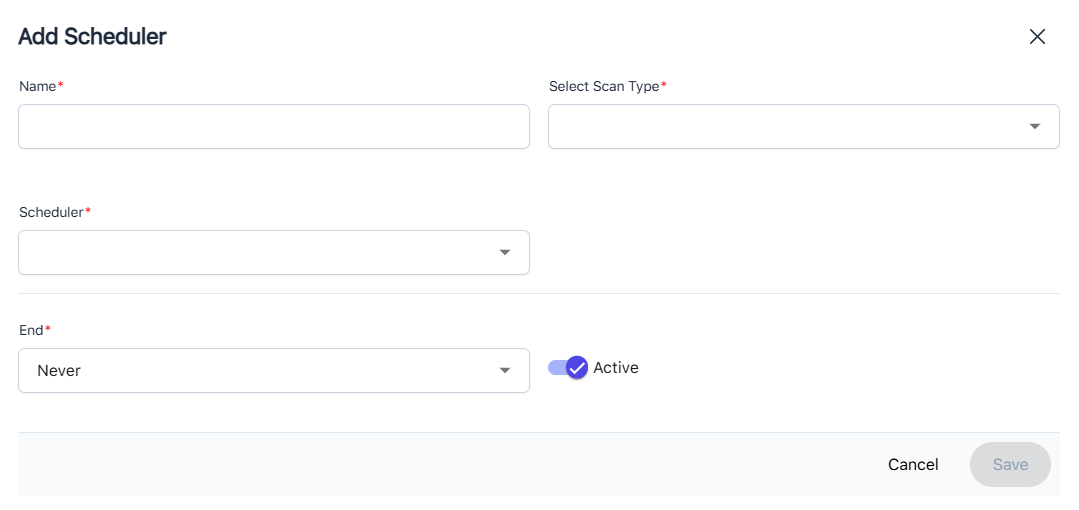
Tap on Add to create a new scan schedule.

Complete the required fields based on the scan type selected.
Edit Scan Scheduler
Tap on the three-dot Action menu on the right side of the table, then tap Edit.
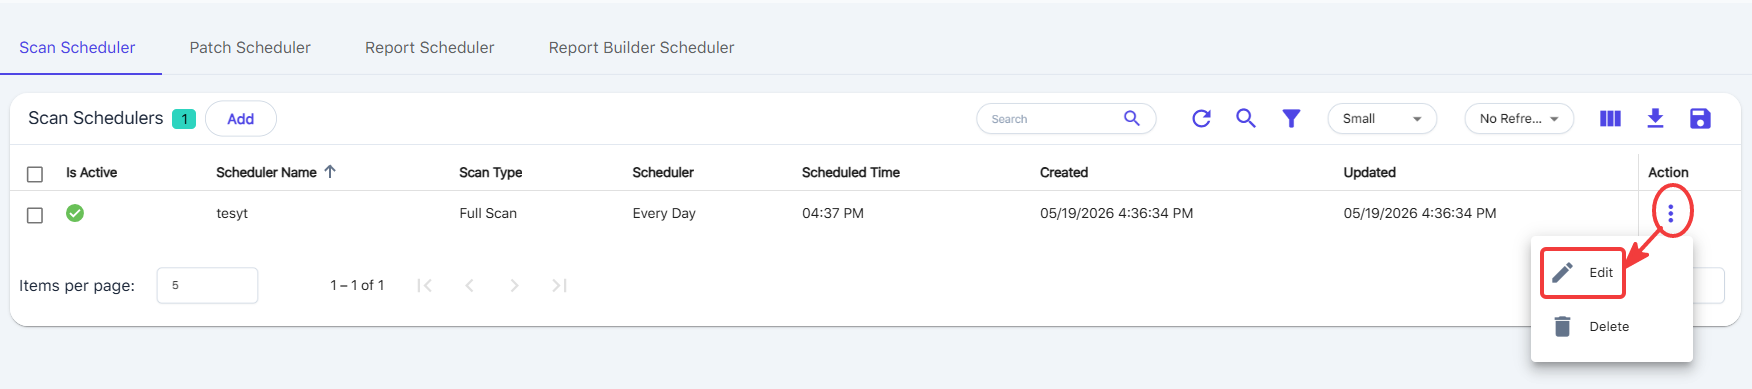
Make any changes, then tap on Save.
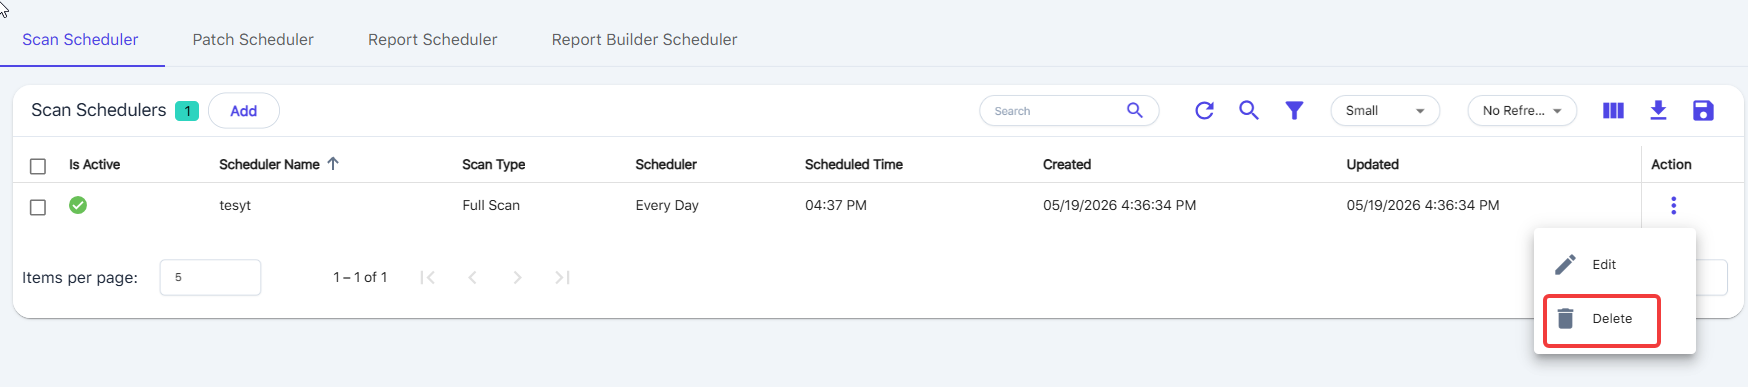
Delete Scan Scheduler
Tap on the three-dot Action menu on the right side of the table, then tap Delete.
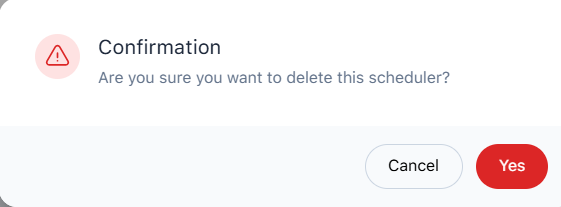
Tap Yes to confirm and complete the deletion.
This section allows you to configure both the Application Patch Scheduler and the OS Patch Scheduler.
If no patch schedule policies exist, select the Add button to create a new policy.

Complete all the required fields.
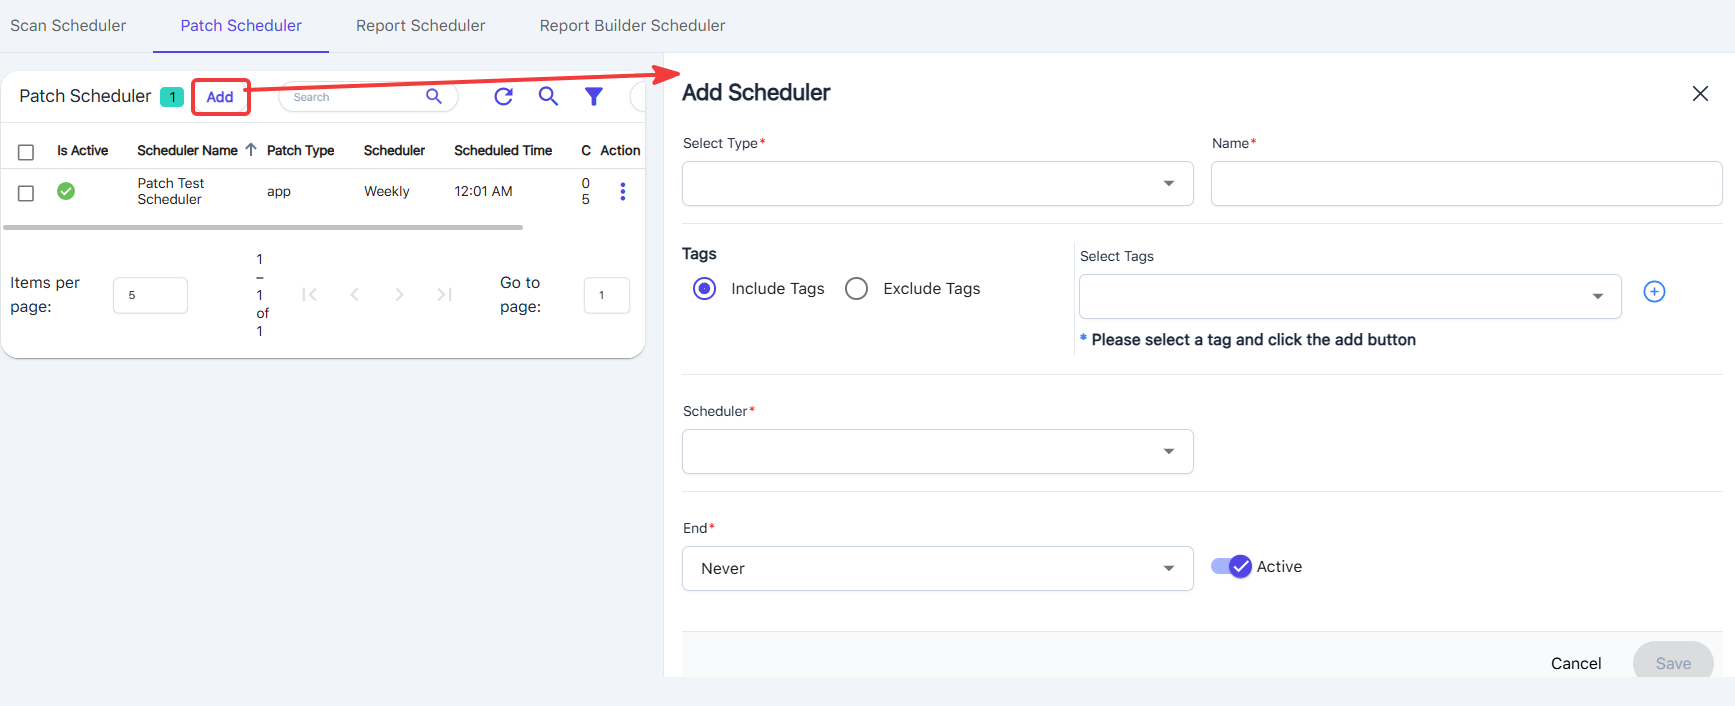
Tags are optional. If you choose from the drop-down, only the assets that contain matching tags will be displayed in the selected reports; this acts as a tag filter, and the schedule will only apply to machines that match the tag parameters.
| Patch Scheduler Behavior: Staggering, Timing, and Reboot Logic How does patch job staggering work?
When does patch downloading occur?
What happens if patching starts late in the window?
|
When configuring the OS Patch Scheduler, you have the option to control how devices handle reboots after patching.
Reboot After Successful Patch
If you enable the option “Do you want to Reboot after successful Patch?”, CTEM will automatically reboot the device after OS patches are successfully installed only when the update requires a reboot.
When this option is enabled, the reboot is performed silently through the Windows update/restart process. No interactive prompts or warnings are shown to the end user.
If the option is disabled, patches will install but the device will not reboot automatically. Assets that require a reboot will remain in a Pending Reboot state until a reboot is performed manually or by another policy.
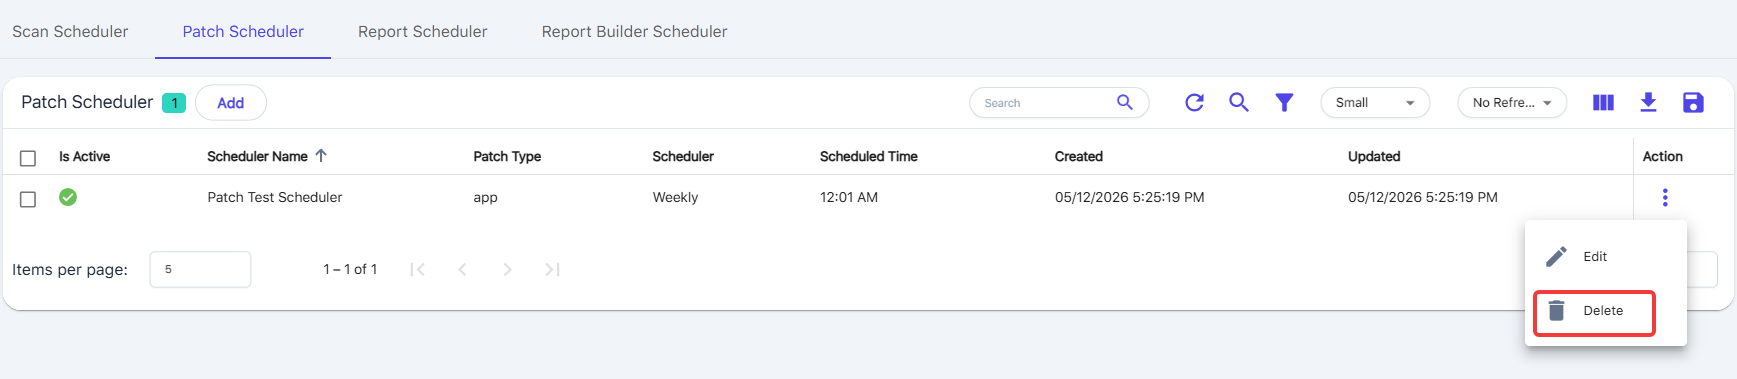
Edit or Delete the Patch Scheduler records from the table view.
The report download link sent to the end user will remain active for 7 days from the time it’s generated.
To ensure scheduled tasks display and run at the correct times, verify that your browser or system time zone matches your local time. CTEM uses the browser’s time zone to determine how scheduled timestamps are shown in the portal. After updating your time zone settings, the scheduler timestamps should align with the expected run times. If timestamps continue to appear incorrect after adjusting your settings, contact Support for further assistance.
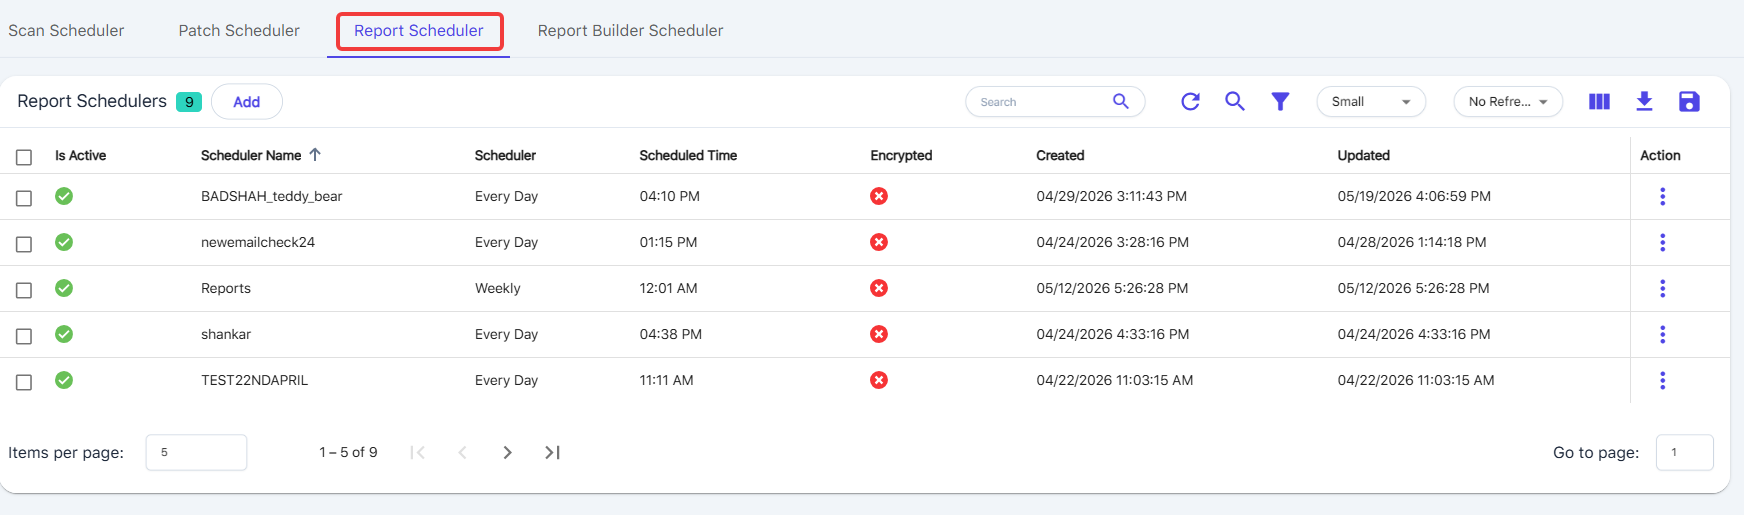
View the scheduled reports in the table view; tap the Add button to create a new record.
View the scheduled reports in the table view; tap the Add button to create a new record.
Complete the required fields and tap save to create the schedule.
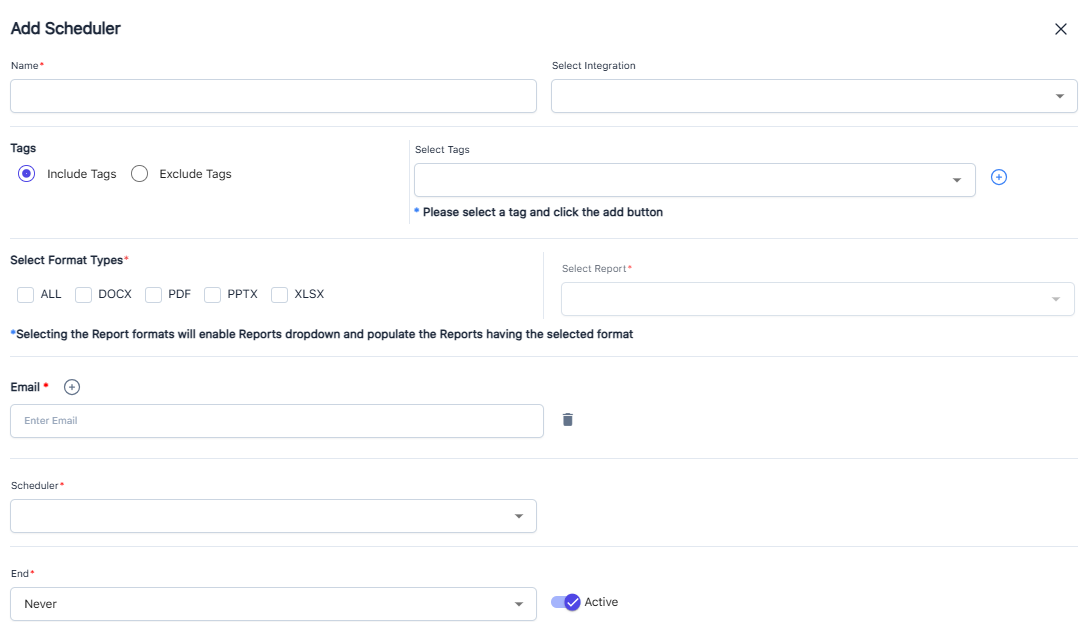
If both DOCX and PDF are selected, and the chosen report is available in both formats, both versions will be sent.
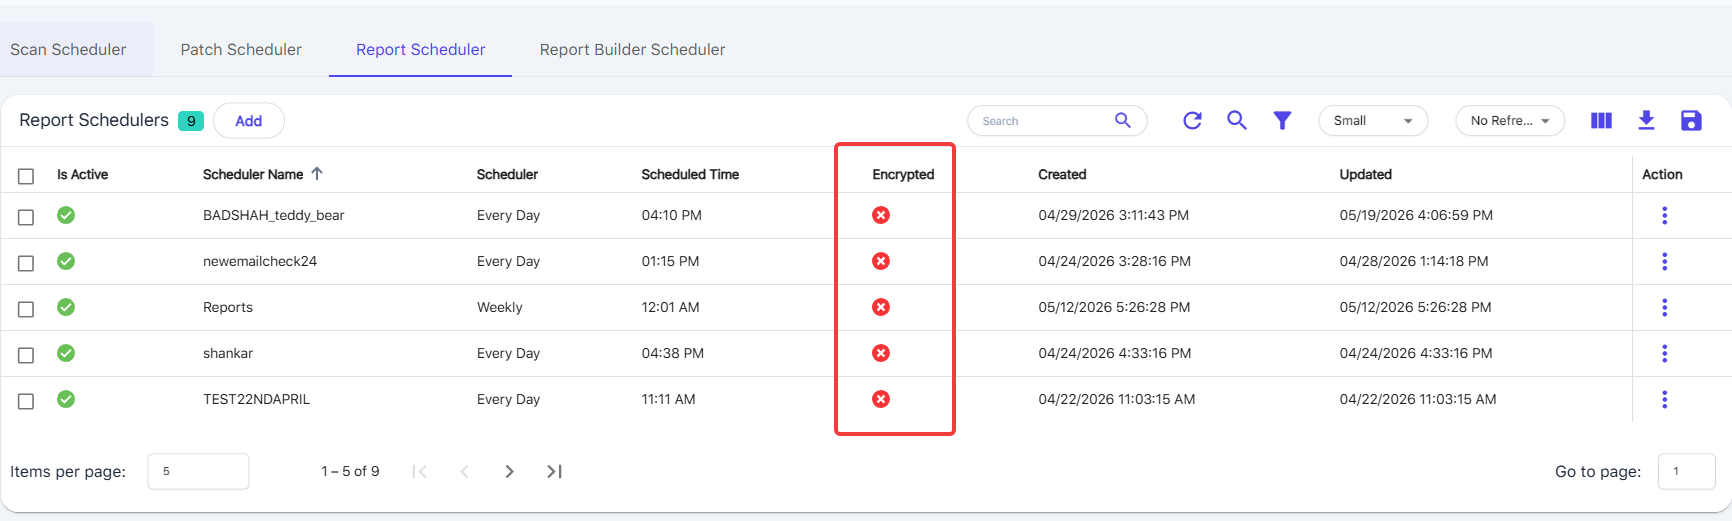
The password field is optional. If you enter a password, the report email contents will be encrypted, and the recipient will need that password to view the results. After saving, the password is immediately encrypted for secure storage, and the encrypted value shown in the portal cannot be used to open the report. If no password is entered, the report will be sent in plain text. You can view the encryption status from the table.
You can see the Encrypted status from the table view:
You can view the scheduled reports in the table view; otherwise, tap the Add button to create a new record.
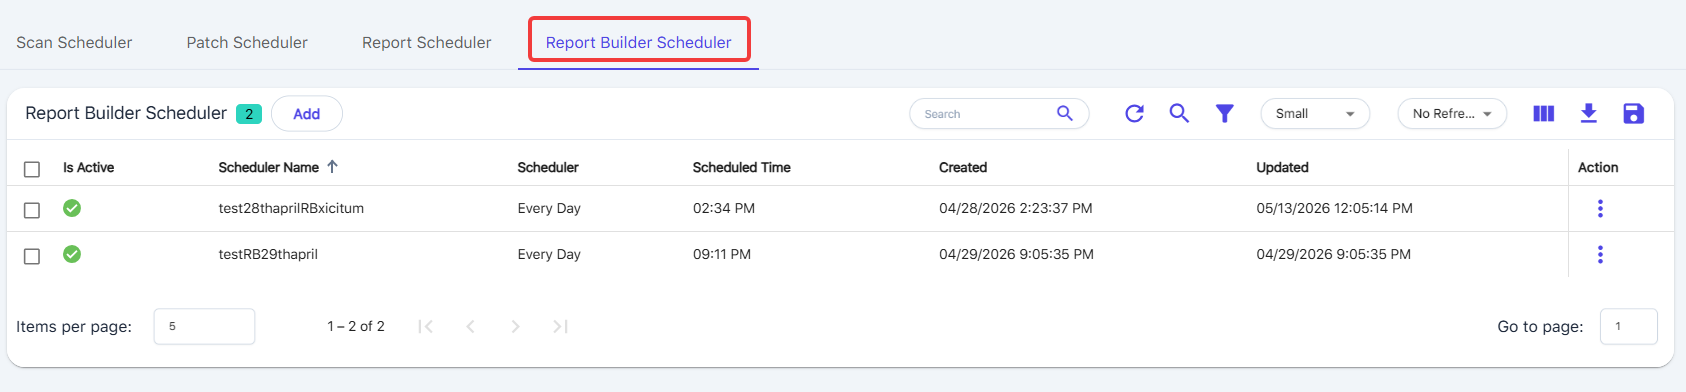
Complete all the required fields to add a new scheduled report.
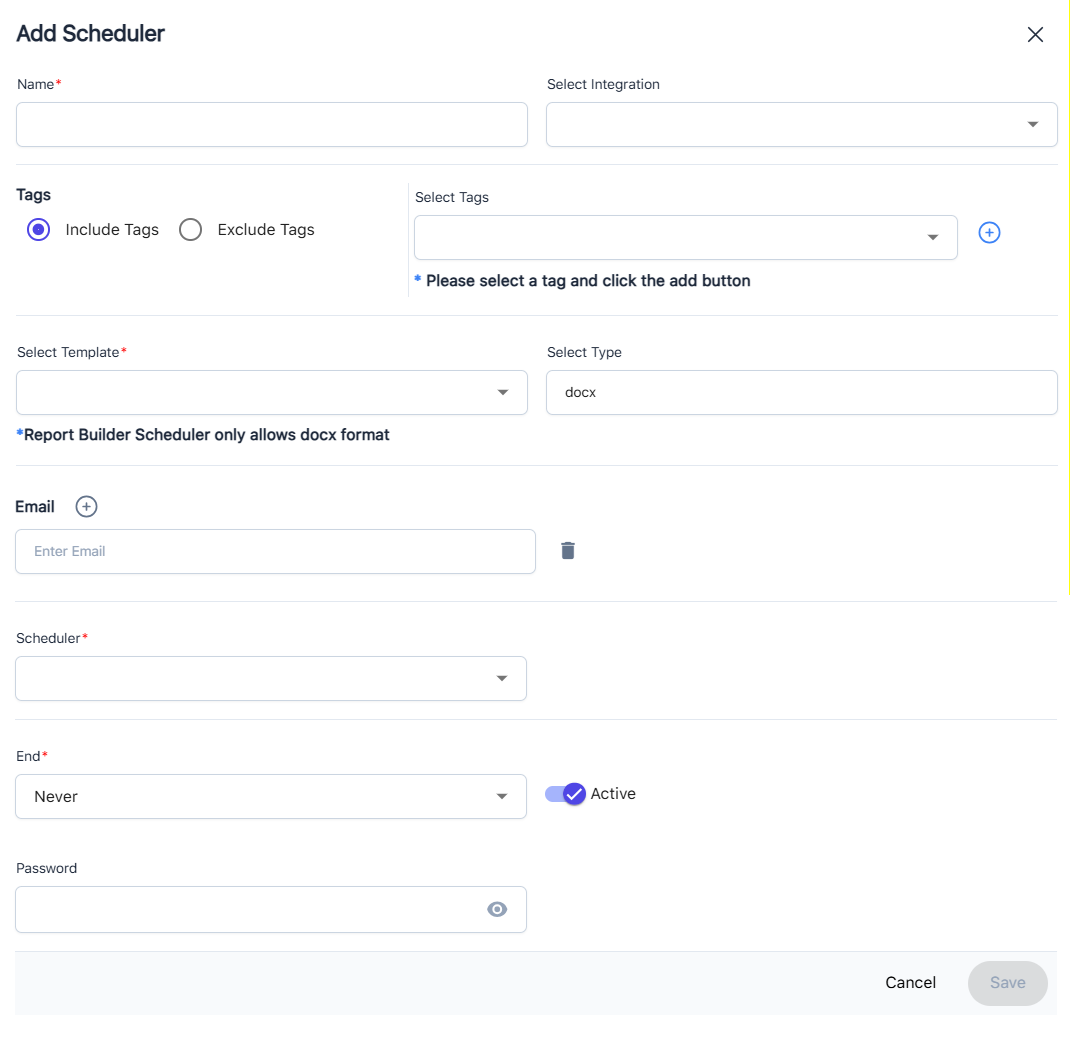
DOCX is the only available format that is supported for scheduling.
Tags are optional. If you choose from the drop-down, only the assets that contain matching tags will be displayed in the selected reports; this acts as a tag filter.
Password is optional. If you set a password, the report recipients will need the password to view the reports; emails are encrypted.