


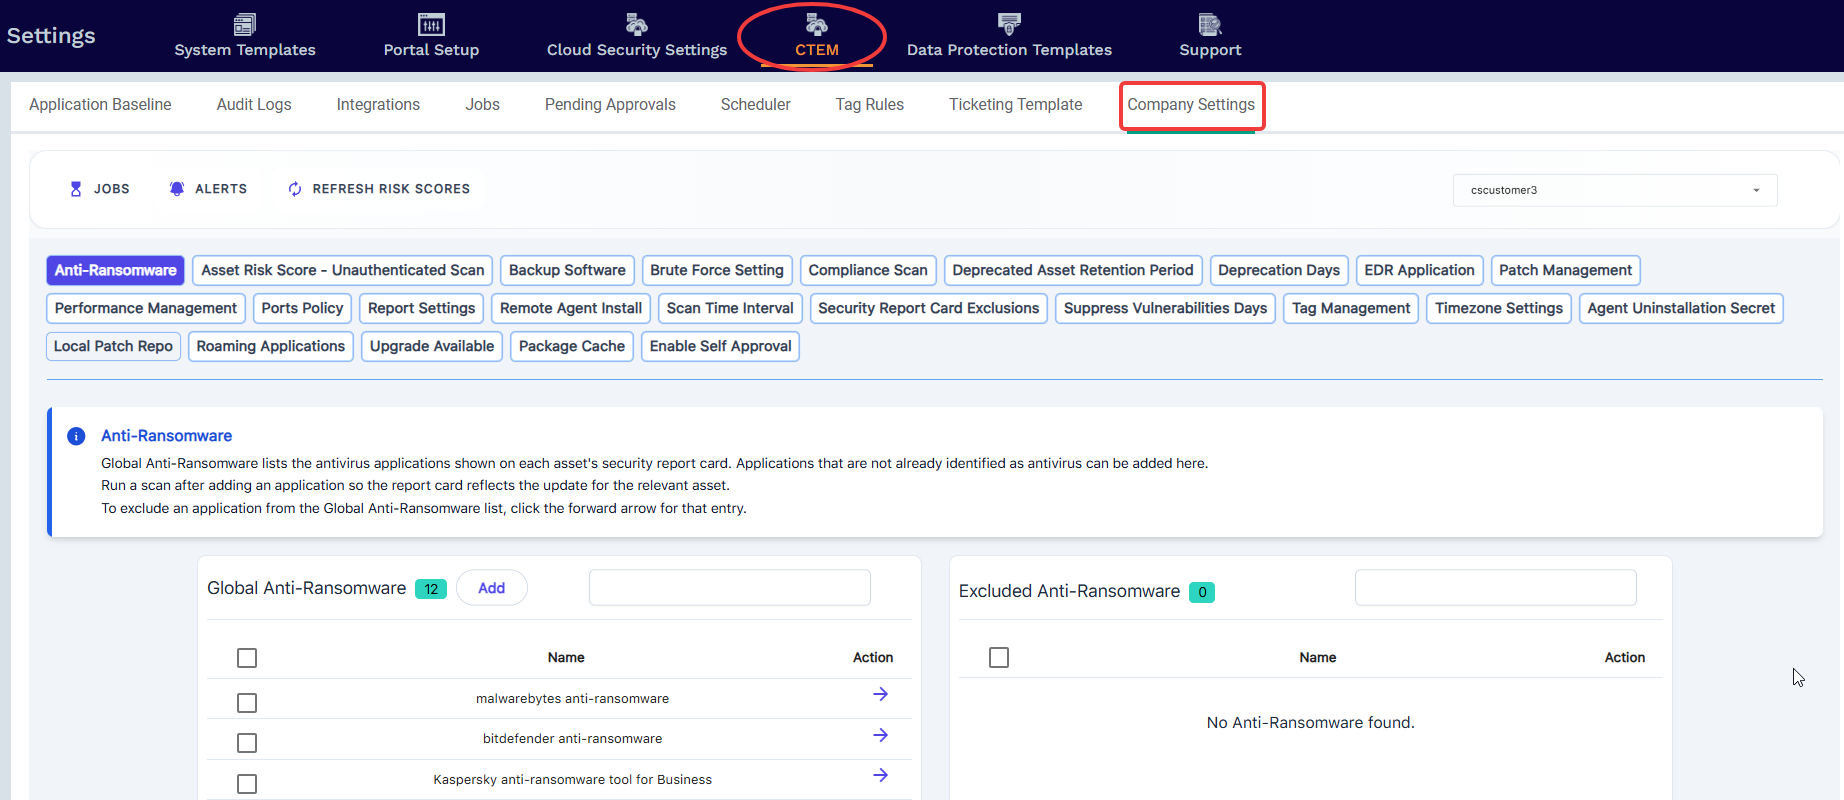
Company Settings
These are the system settings that will be applied to all companies in the portal and any newly added ones.
- Settings < CTEM < 'Company Settings'
The following settings can be configured from here
If Anti-Ransomware detection does not align with what’s installed on the endpoint, it may be due to a name mismatch between the configured entry in CTEM and the actual application or service name running on the device.
This exact application or service name does not appear under the endpoint’s software or services list. Since the names do not match, CTEM is unable to detect it correctly.
We are currently reviewing the exact application or service name as it appears on your devices. To resolve this, we recommend updating the entry under Company Settings → Anti-Ransomware with the precise name used on the endpoint.
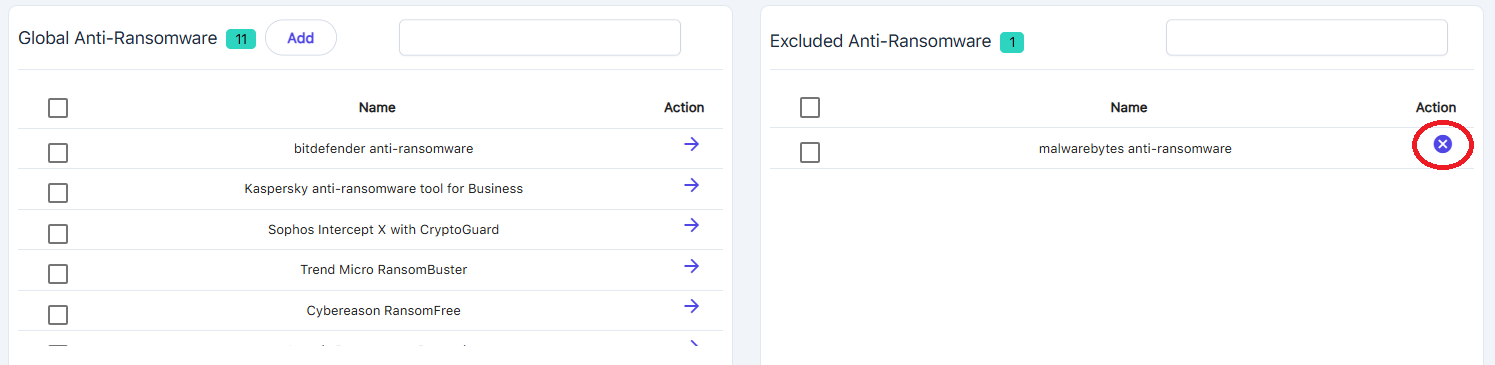
Note: Only manually added applications can be removed using the ‘Excluded’ side
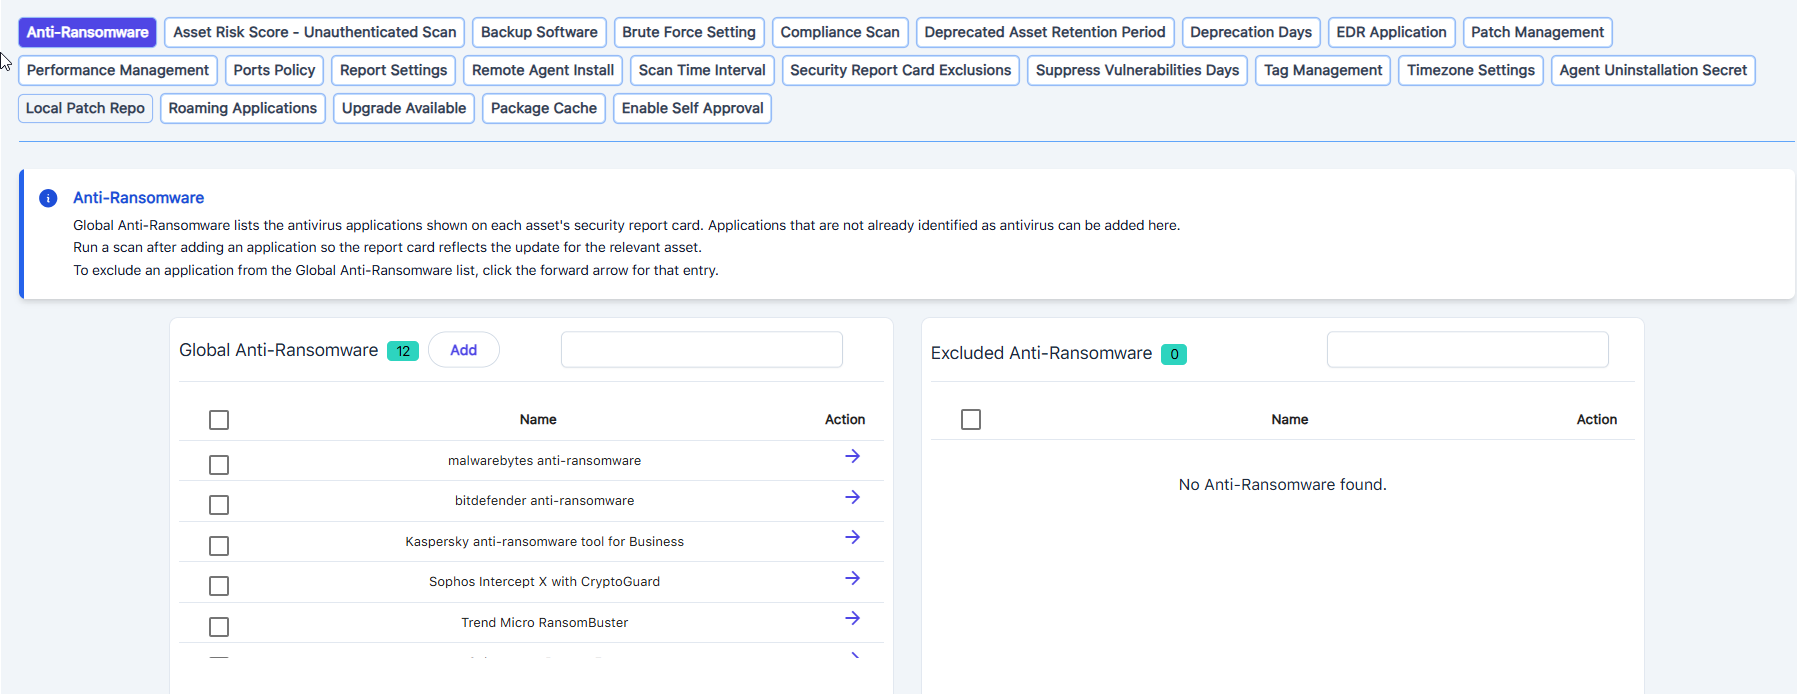
The Global Anti-Ransomware contains the list of antivirus applications shown in the security report card for the respective assets. Any application not listed as antivirus under Global Anti-Ransomware can be added here.
Please run a scan after adding it to ensure that the application name is reflected in the security report card of the respective asset.
To Exclude any application from the Global Anti-Ransomware list, please click on the '->' for the selected application.
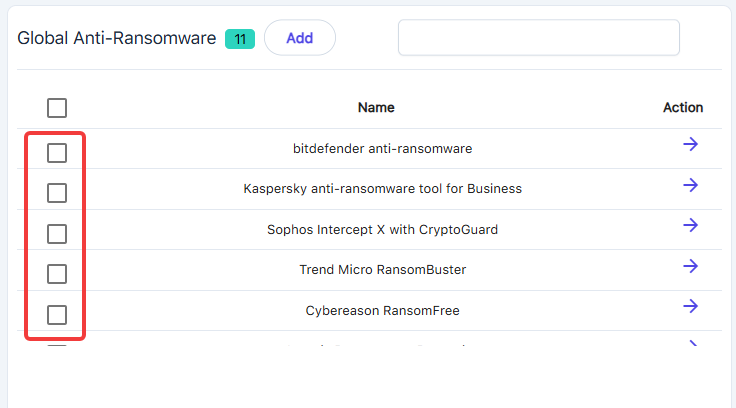
You can mass update these by using the check box options:
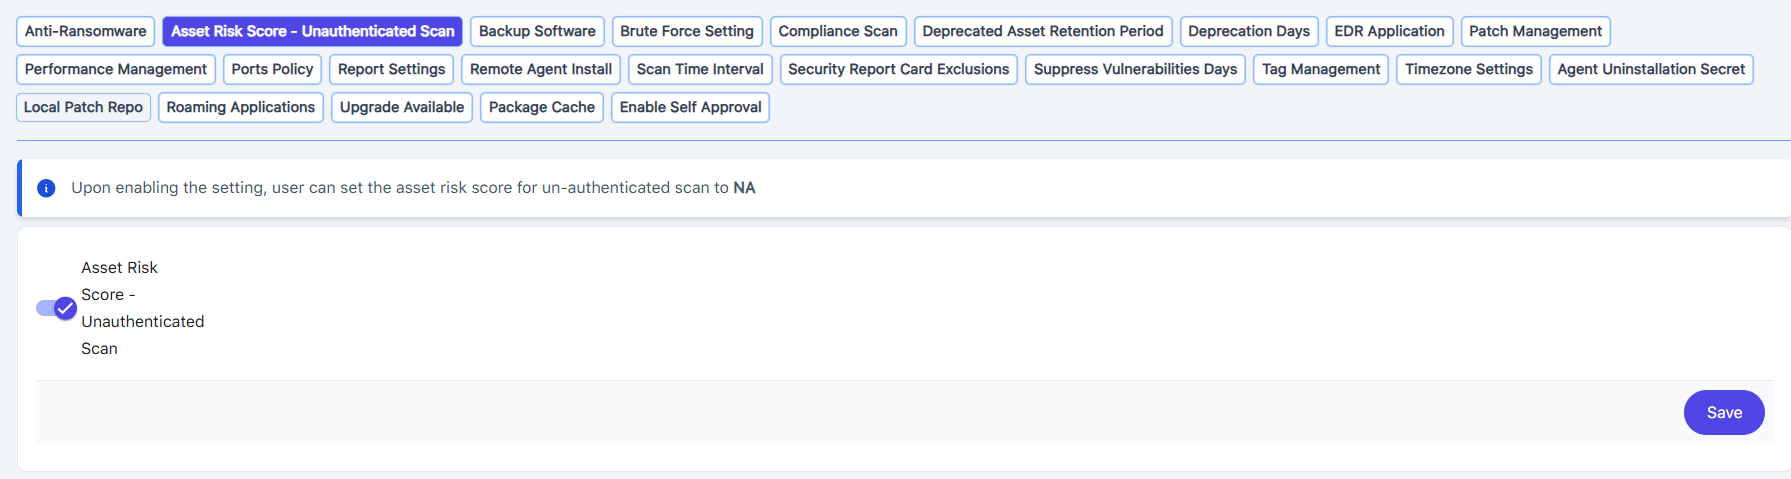
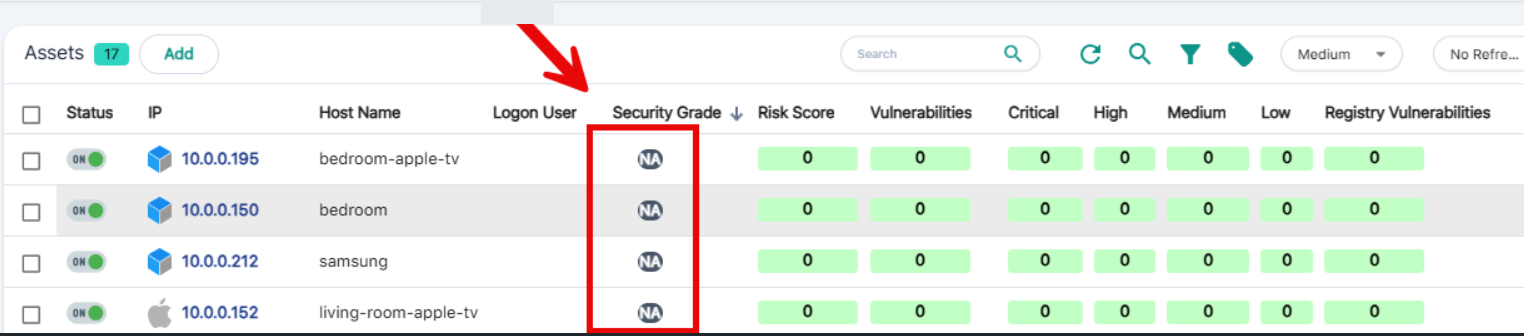
Assets where scans fail due to "Credentials not available" and no vulnerabilities are found will now be graded as "N/A" instead of showing an "A" risk grade.
To apply this feature, use the steps below.
- Please navigate to the Company Settings page and enable the toggle for this feature.
- When the toggle is enabled, affected assets will be shown with a grade of "N/A".
- When the toggle is disabled, these assets will continue to show an "A" grade.
Note: This logic only applies to assets discovered via probe.
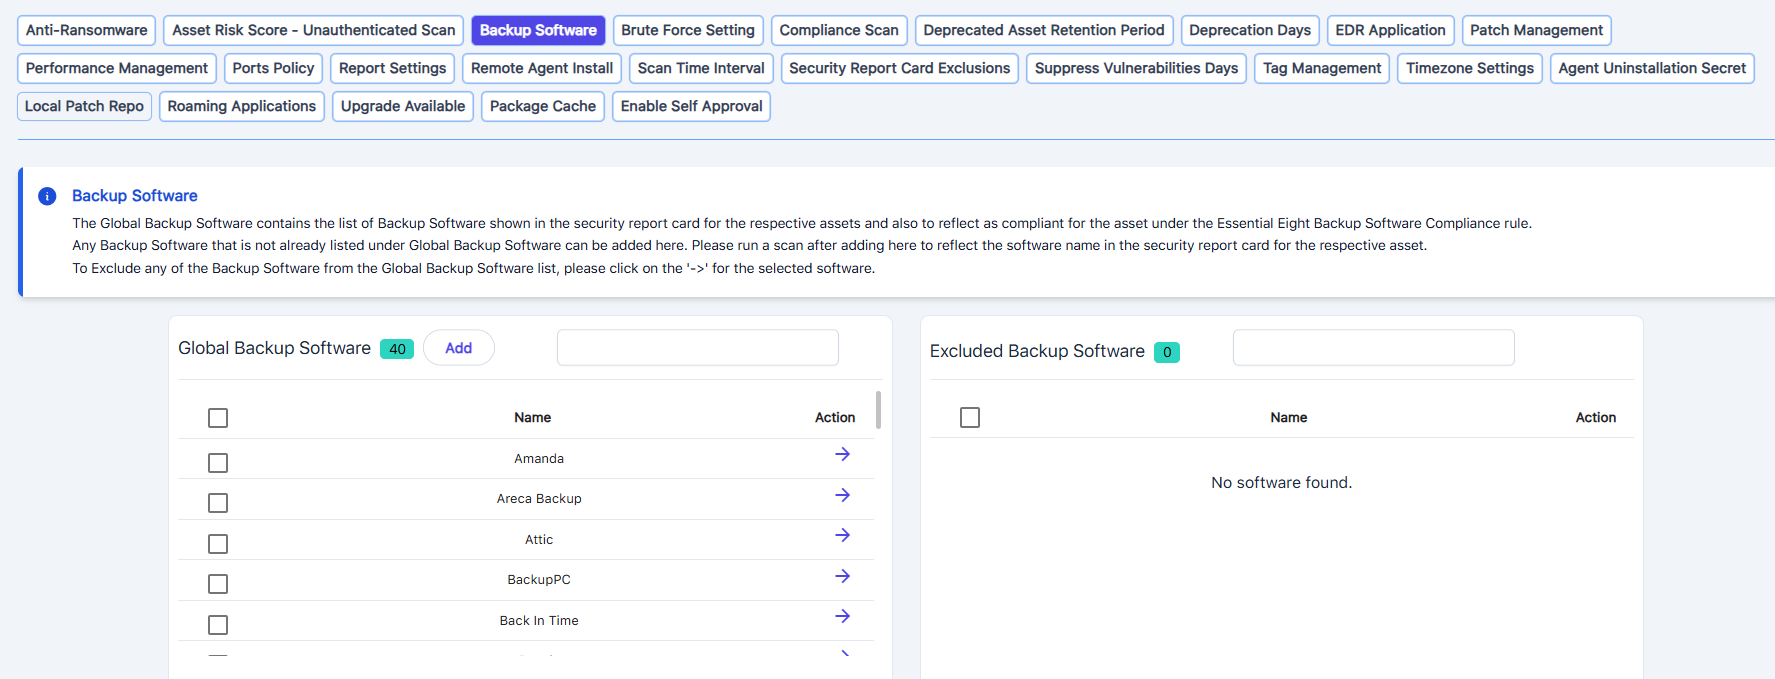
The Global Backup Software contains the list of Backup Software shown in the security report card for the respective assets and also reflects as a complaint for the asset under the Essential Eight Backup Software Compliance rule.
Any Backup Software that is not already listed under Global Backup Software can be added here. Please run a scan after adding it here to reflect the software name in the security report card for the respective asset.
To Exclude any of the Backup Software from the Global Backup Software list, please click on the '->' for the selected software.
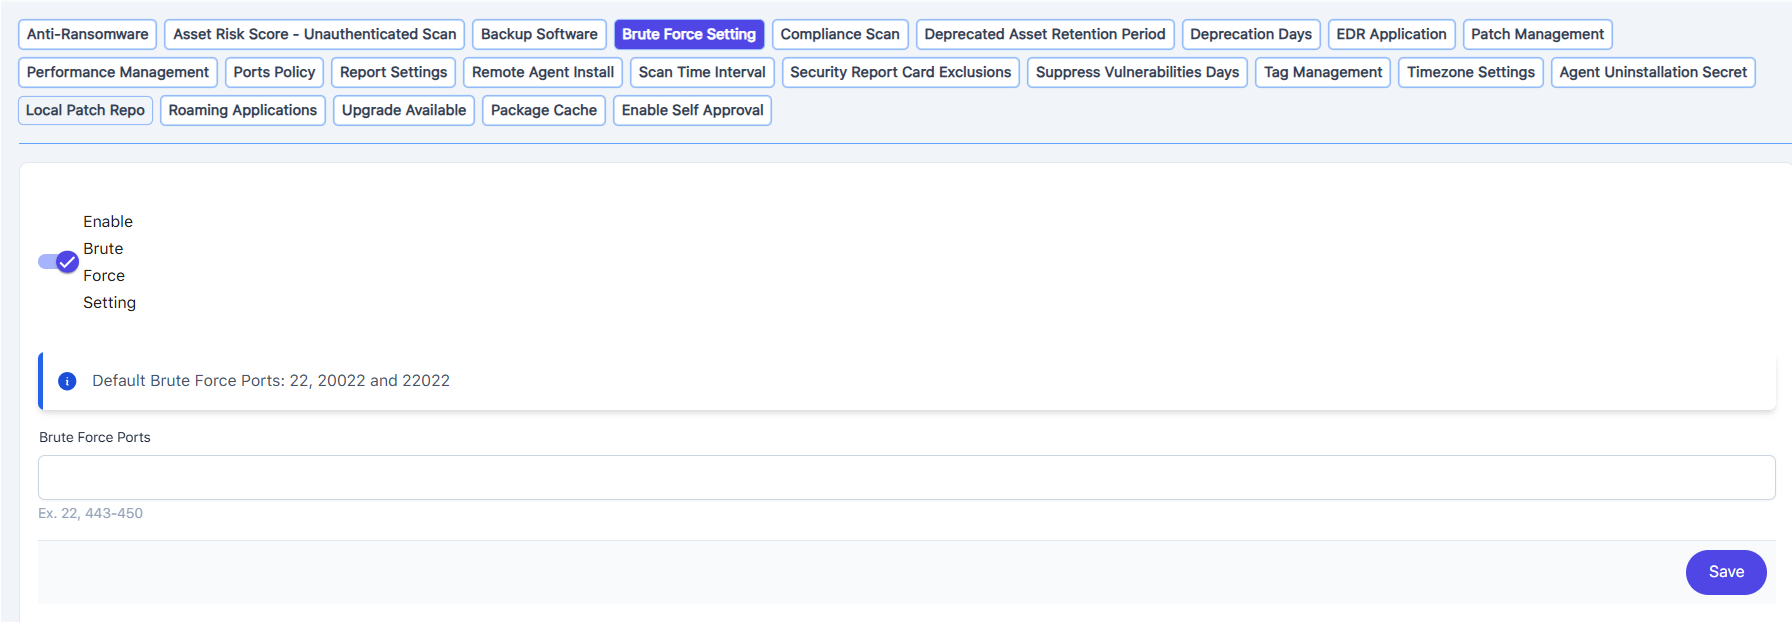
Enabling the brute force setting allows the probe agent to scan for weak username/password enumeration and display the results in the Network Scan Findings section.
SMB and MSSQL username check defaults
SNMP String Defaults
|
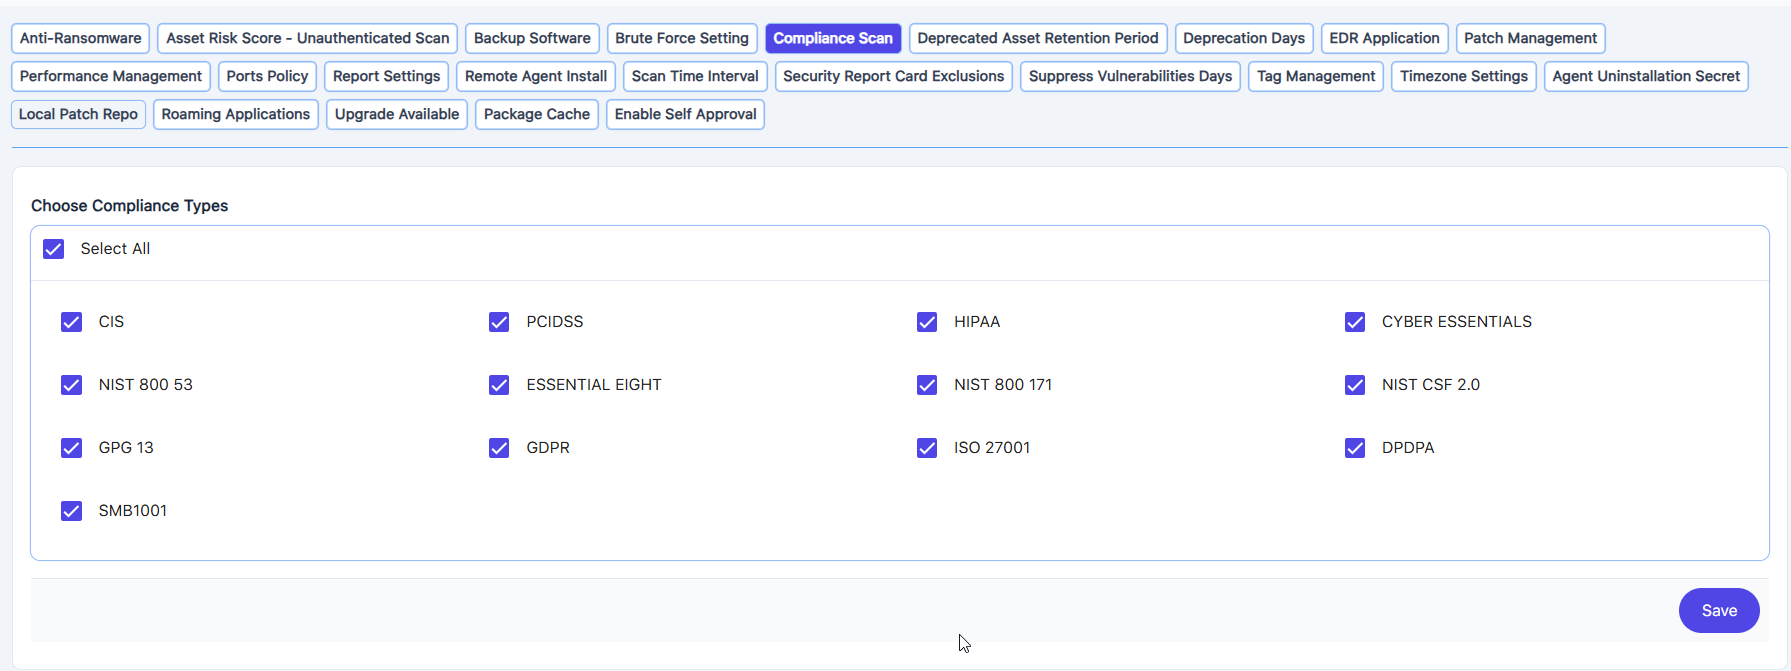
Select which of the Compliance frameworks you want to scan for during the Full or Compliance Scan options.
By default, we only scan for vulnerabilities, so be sure to check your Company Settings for Compliance Scan options based on your client's requirements.
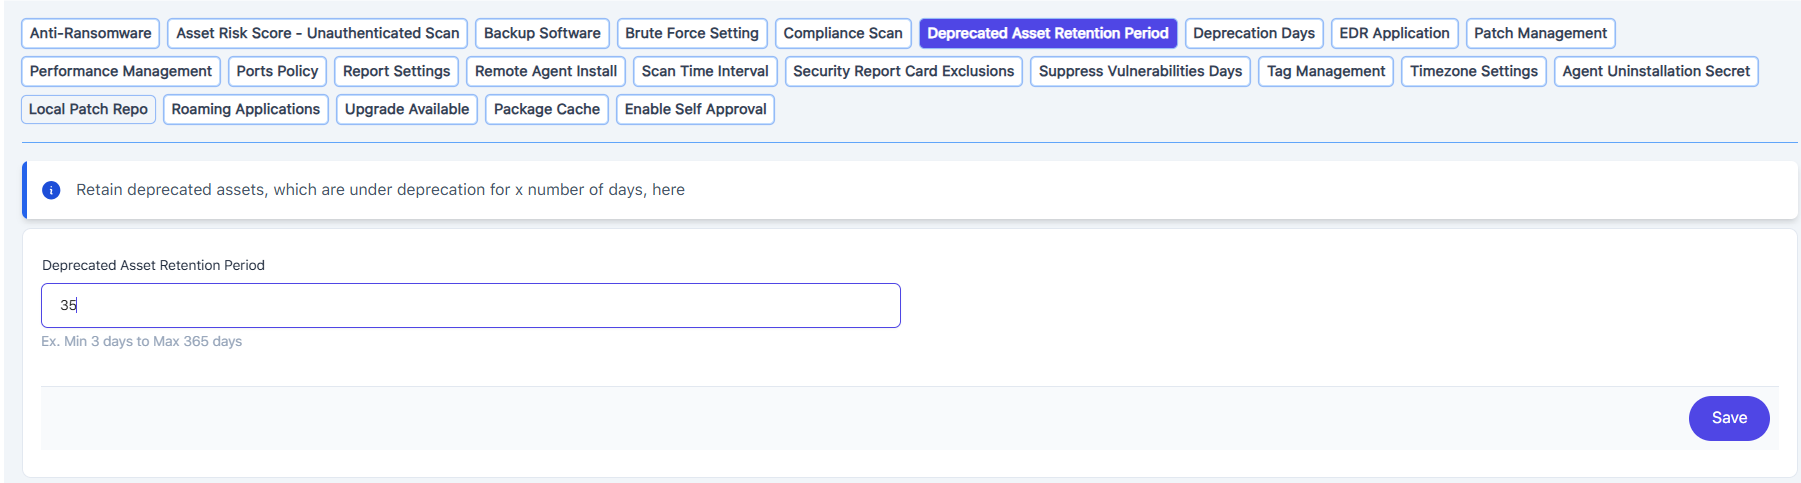
Retain deprecated assets that have been under deprecation for x number of days.
When you specify a retention period, assets will be retained from the time they are deprecated until the expiration of the retention period. After this period, all assets will be automatically deleted from the Deprecated Assets and Agents tabs.
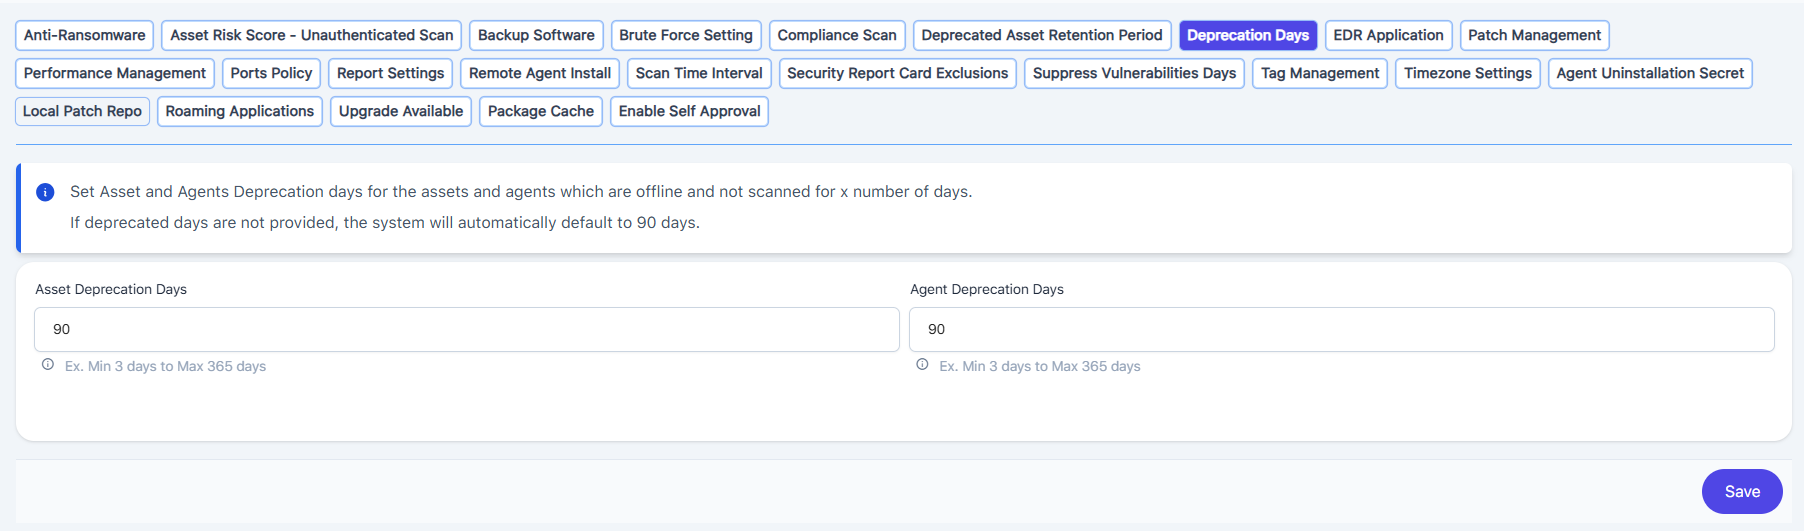
Set Asset and Agent Deprecation days for assets and agents that have been offline and not scanned for x number of days.
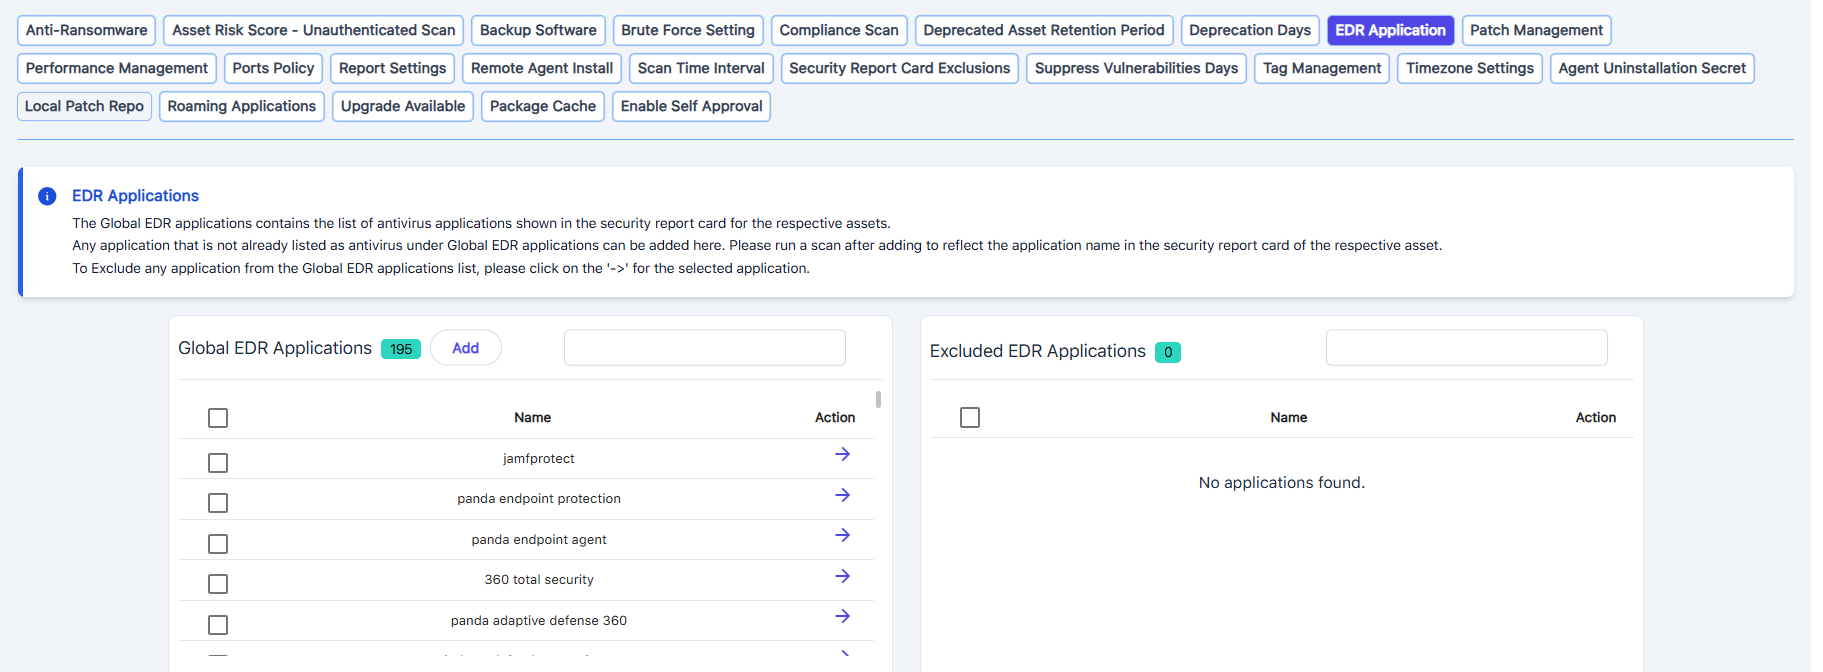
The Global EDR applications contain the list of antivirus applications shown in the security report card for the respective assets. Any application that is not already listed under Global EDR applications can be added here. Please run a scan after adding it to reflect the application name in the security report card of the respective asset. To Exclude any application from the Global EDR applications list, please click on the '->' for the selected application.
Use the name as it appears in the Add/Remove or Software name of the asset
Once you have added the name as it appears in the Add/Remove or Software name of the asset initiate a reset agent scan from the Agents view > Three dot action menu > Reset Agent configuration > Reset Agent
Note: If the software name isn’t available, you can apply the rule using the full service name instead.
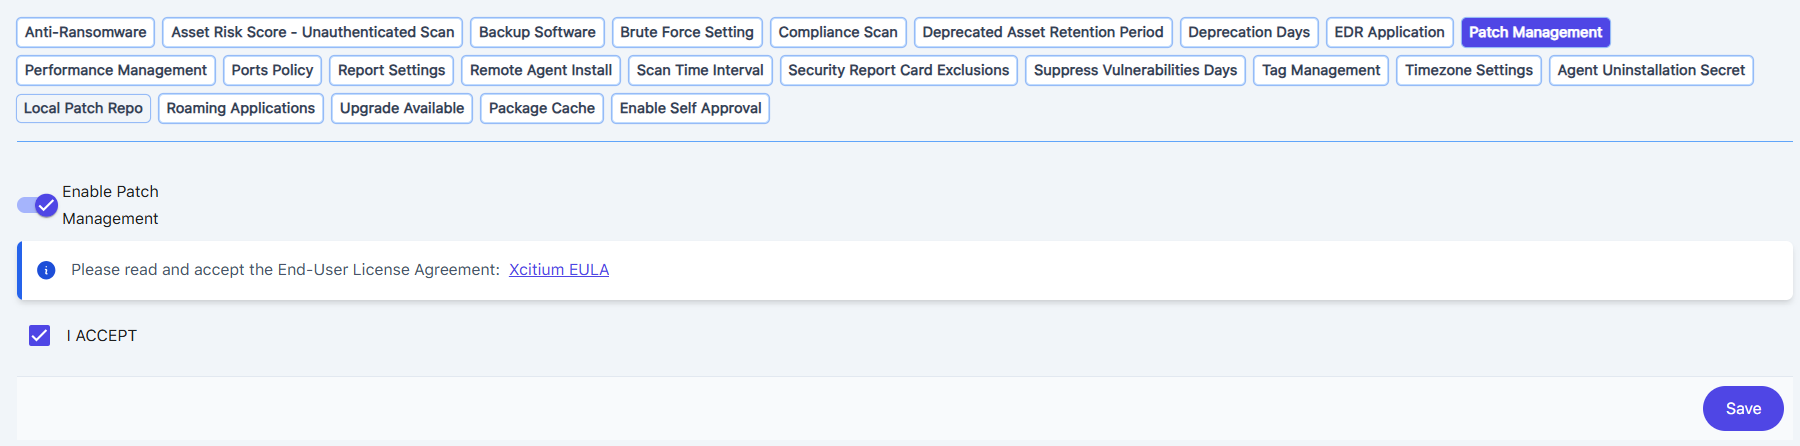
This is where you enable the CTEM Patching Engine. Enabling this feature does not automatically start patching assets unless you have already defined a Patch Scheduler policy.
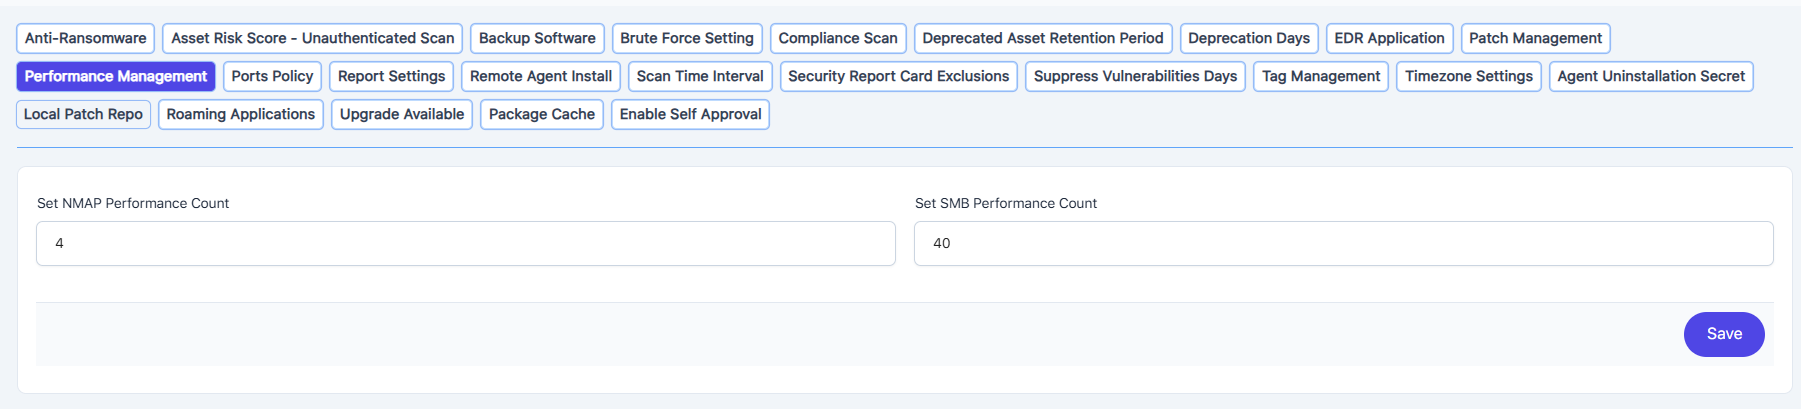
You can control the count of threads running for NMAP and SMB; our defaults are 4 and 40.
- Set NMAP Performance Count
This controls the level of threading used when running Nmap scans.
- Set SMB Performance Count
This controls the parallel execution count or performance threads for SMB scans.
Note: Increasing the NMAP thread count beyond 8 can lead to inconsistent scan results due to factors such as network congestion, packet loss, firewall interference, and system resource limitations. To ensure accuracy and reliability, we are restricting the thread count to a maximum of 8.
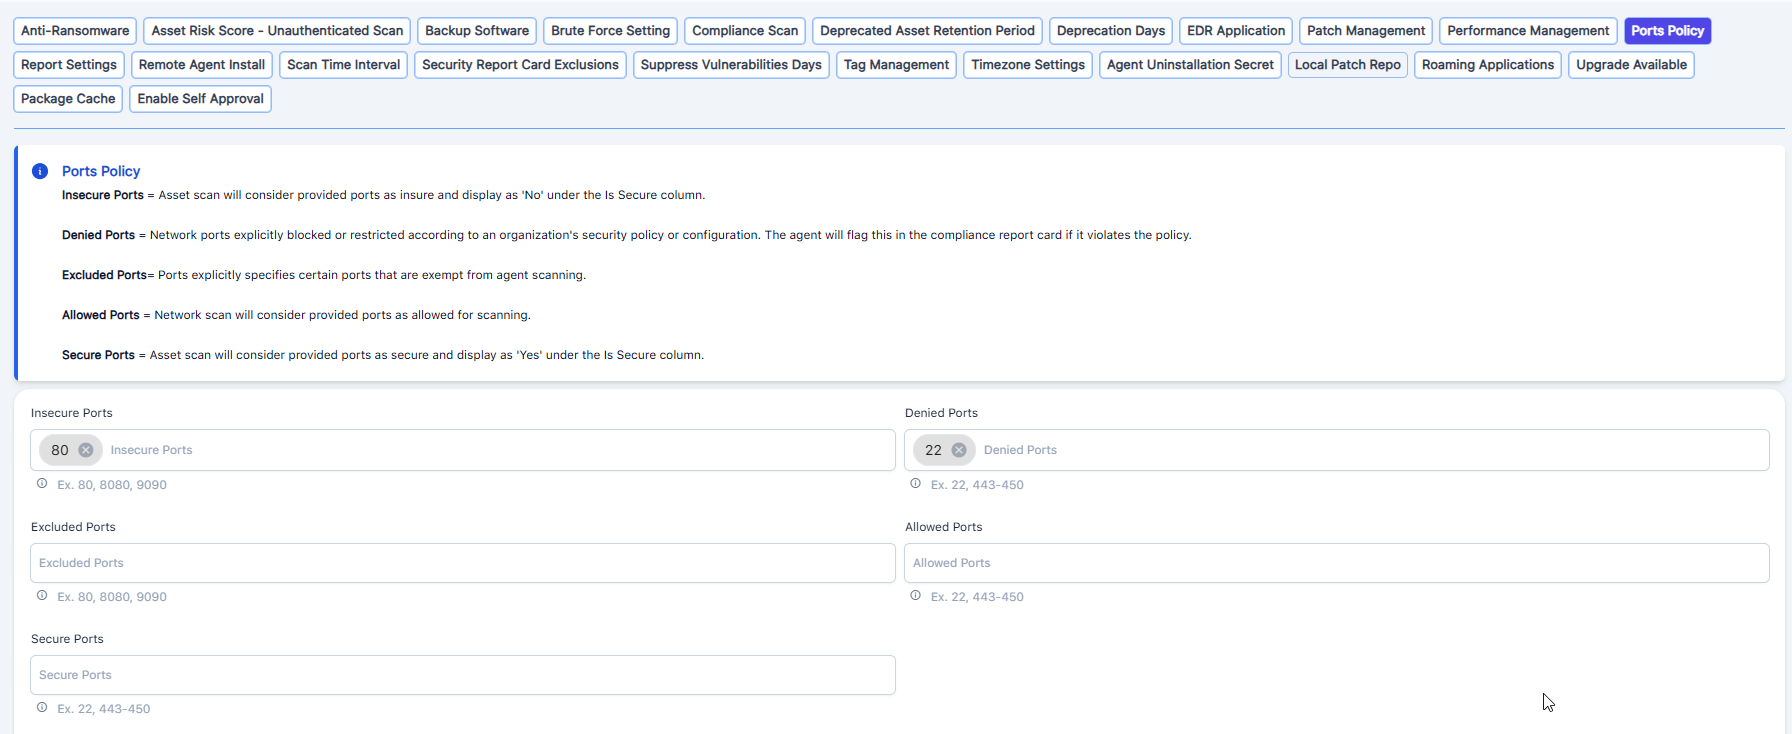
Set Insecure, Excluded, Denied, and/or Allowed Ports for scanning.
- Insecure Ports = asset scan will consider provided ports as insecure and display as ‘No’ under the Is Secure column
- Denied Ports = network ports explicitly blocked or restricted according to an organization's security policy or configuration. The agent will flag this in the compliance report card if it violates the policy.
- Excluded Ports = ports explicitly specifies certain ports that are exempt from agent scanning.
- Allowed Ports = network scan will consider provided ports as allowed for scanning
- Secure Ports = asset scan will consider provided ports as secure and display as ‘Yes’ under the Is Secure column
Note: Ports policy settings are applied only for internal scans. These settings do not affect external assets

- DOCX Customization
Changes to this section apply only to the Standard Reports in the Word output option.
|
Use the field options to enter desired text, change drop-down values, or use the image icon to upload/delete images from the header, footer, and company logo options.
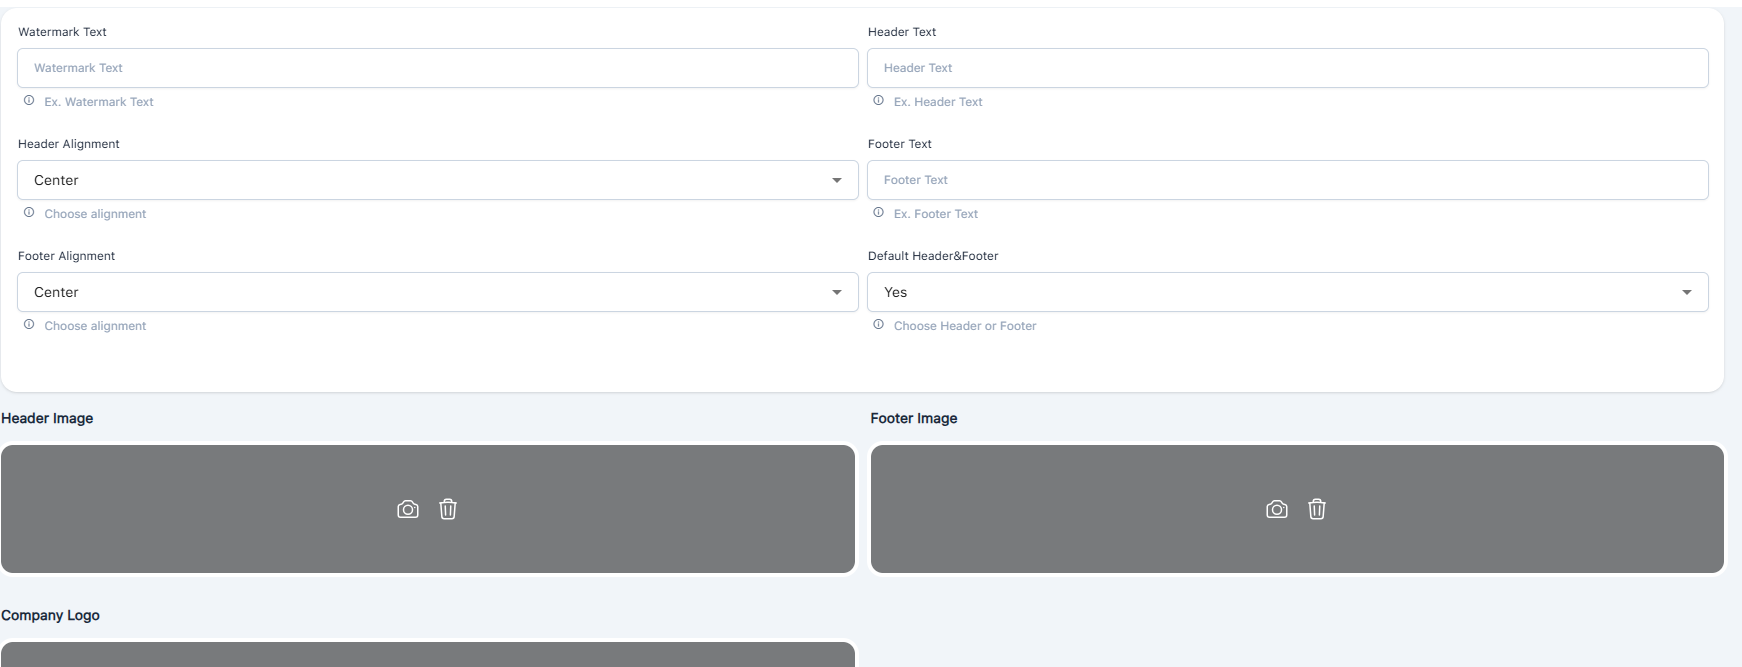
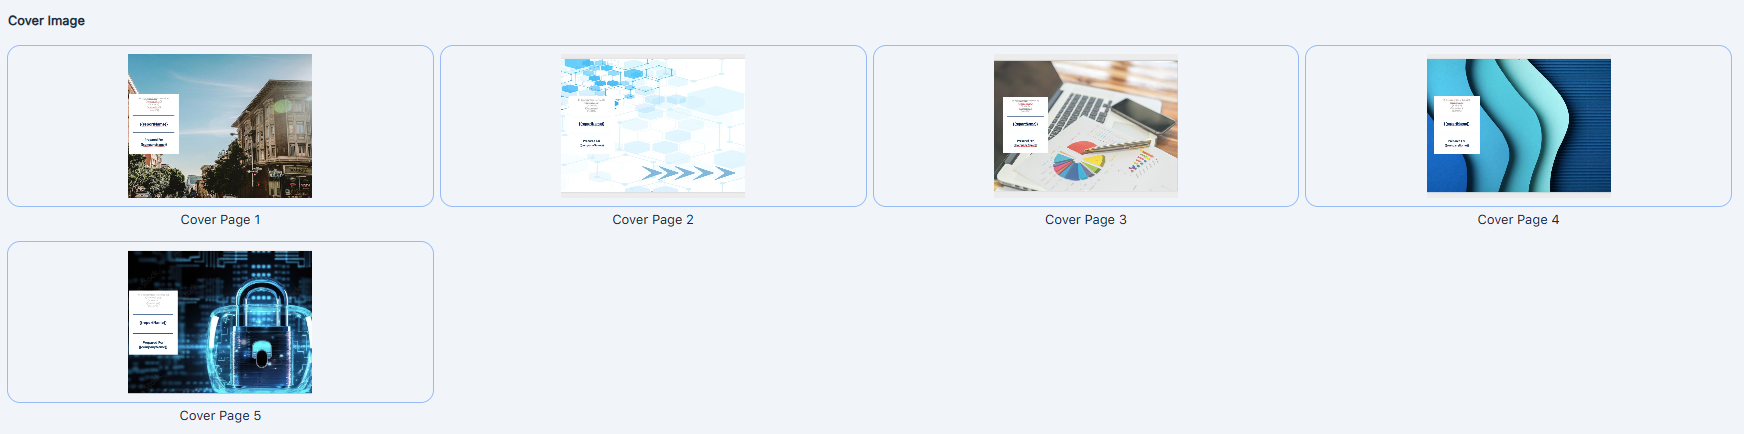
CTEM provides five choices for a Cover Image; tap to select a default. If no custom cover page is added for the company, the default will be used. Docx is only supported for cover pages.
- XLSX Customization
Changes to this section apply only to the Standard Reports in the Excel output option.
Add your look and feel to the Excel exports, which include the following:
- Header Text Color
- Header Text Size
- Header Cell Color
- Data Cell Color
- Data Text Color
- Data Text Size
Toggle options for making header text bold and data text bold.

Custom Cover Page for Docx Format
- Only the DOCX file format is supported
- Cover Page supports only customizing the Report Name and Company Name
- {{reportname}} and {{companyName}}
Use the Choose Company drop-down to select from the company options that include All Companies or a selection of one or more active companies.
Then tap the Choose File button and upload your desired cover page, in DOCX format.
The Applied Companies table will display any of the cover page(s) currently in use; tap the download button to preview or the trash icon to remove.
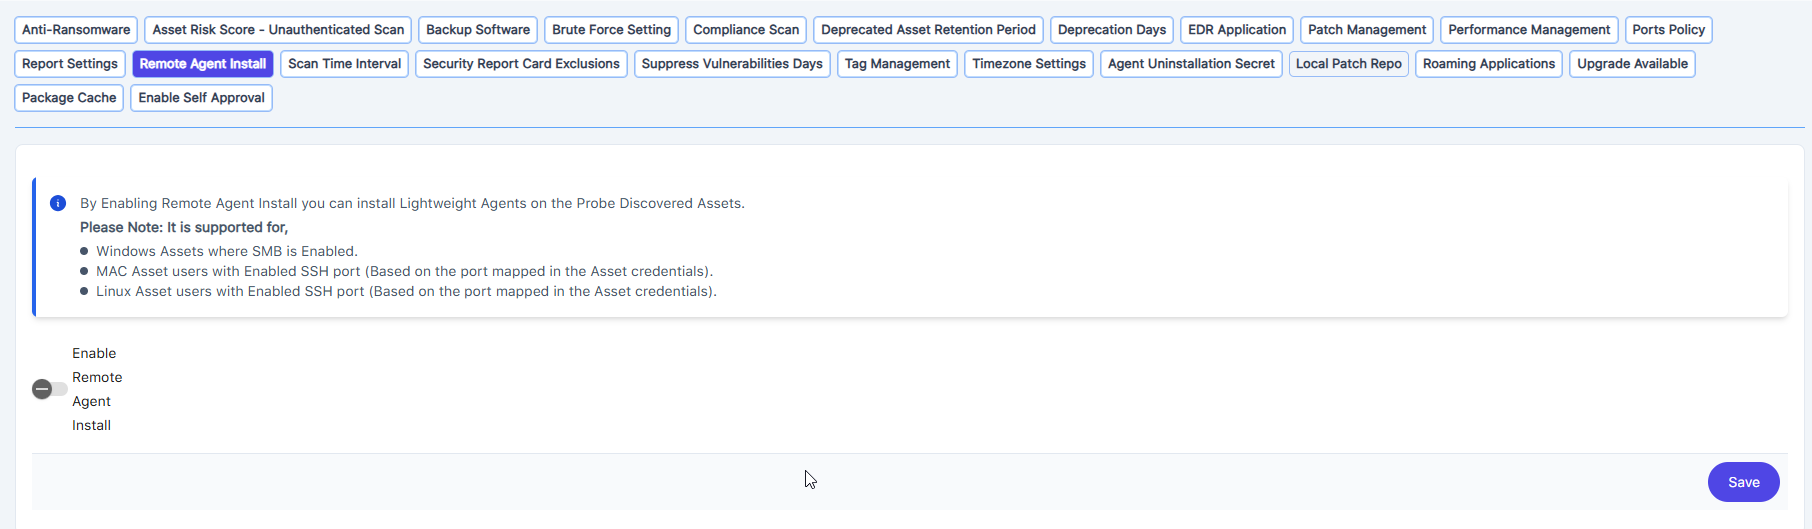
You will need credentials to install remote agents from the probe to any remote assets where you want remote agent installation to succeed. This may require local admin creds or domain creds, depending on setups.
Enabling Remote Agent Install lets you install Lightweight Agents on the Probe Discovered Assets.
- Windows assets where SMB is enabled
- MAC assets with SSH enabled (based on port mapping in Discovery Settings and Credentials)
- Linux assets with SSH enabled (based on port mapping in Discovery Settings and Credentials)
When the lightweight agent is installed using the probe it does inherit or require the -j (user secret) agent variable; the system does have a way to identify an agent that is installed from remote install
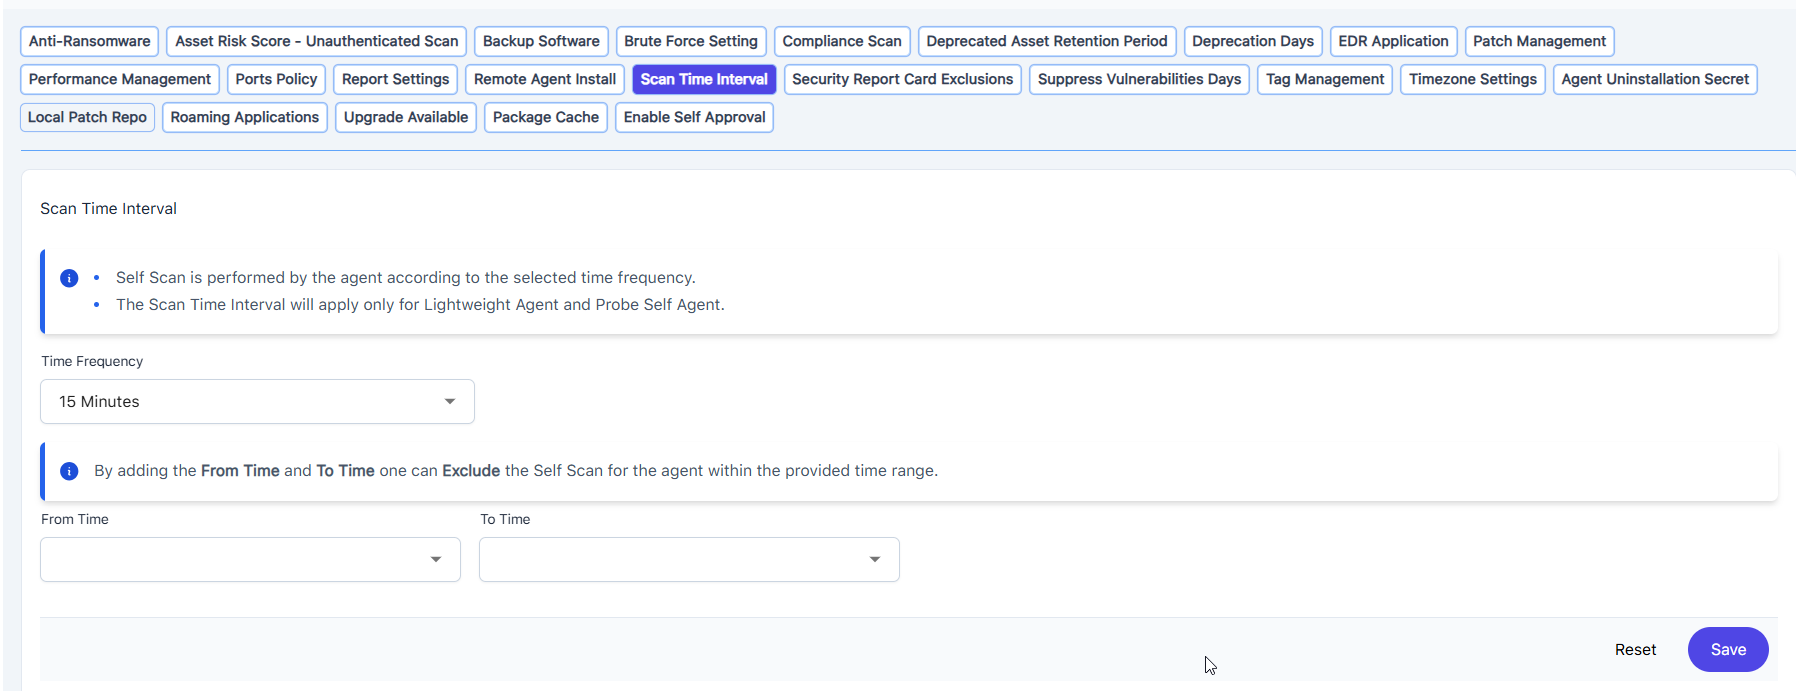
Set the default interval for how often your online Lightweight (LW) agent will scan
Note: You can also use an ‘EXCLUDE’ option by setting the ‘From Time’ and ‘To Time’ to exclude scans from happening during the set times.
Example: From Time - 8:00AM - To Time - 7:00PM
No scans will run between the above times; After 7:00PM the system will check the 4-hour scan interval and initiate a scan ONLY if the machine is online.
If these conditions are not met, the scan will not occur.
In addition to the scheduled Lightweight scan interval, the agent also performs a full data and assessment scan every 6 hours. This scan collects and updates all the complete data.

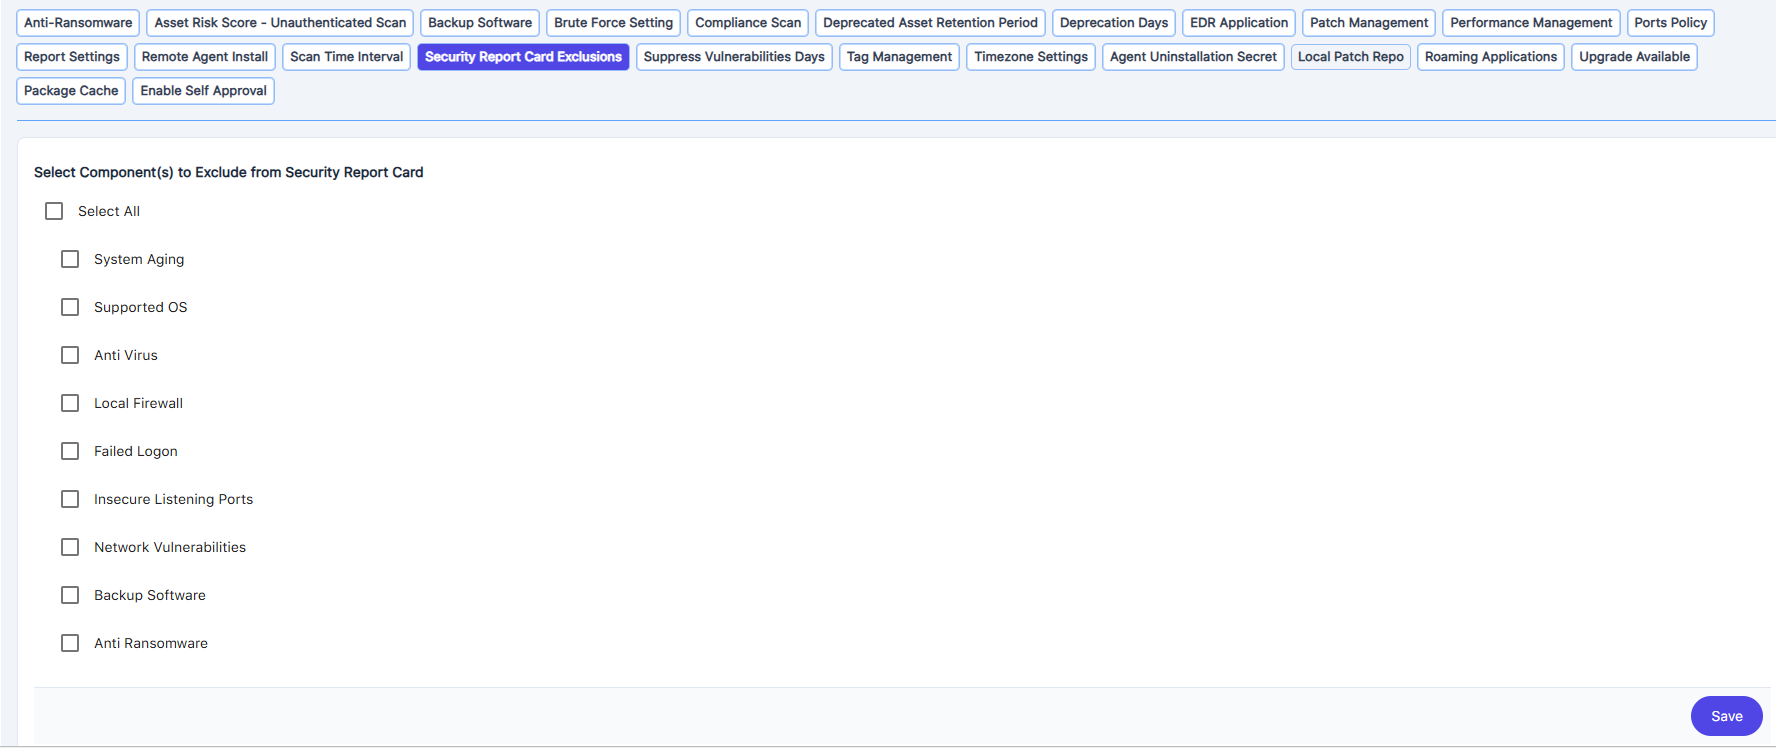
Select your options to exclude the options showing on your security report card.
Security Report Card appears in the Dashboard, Standard Reports, and Agent views.
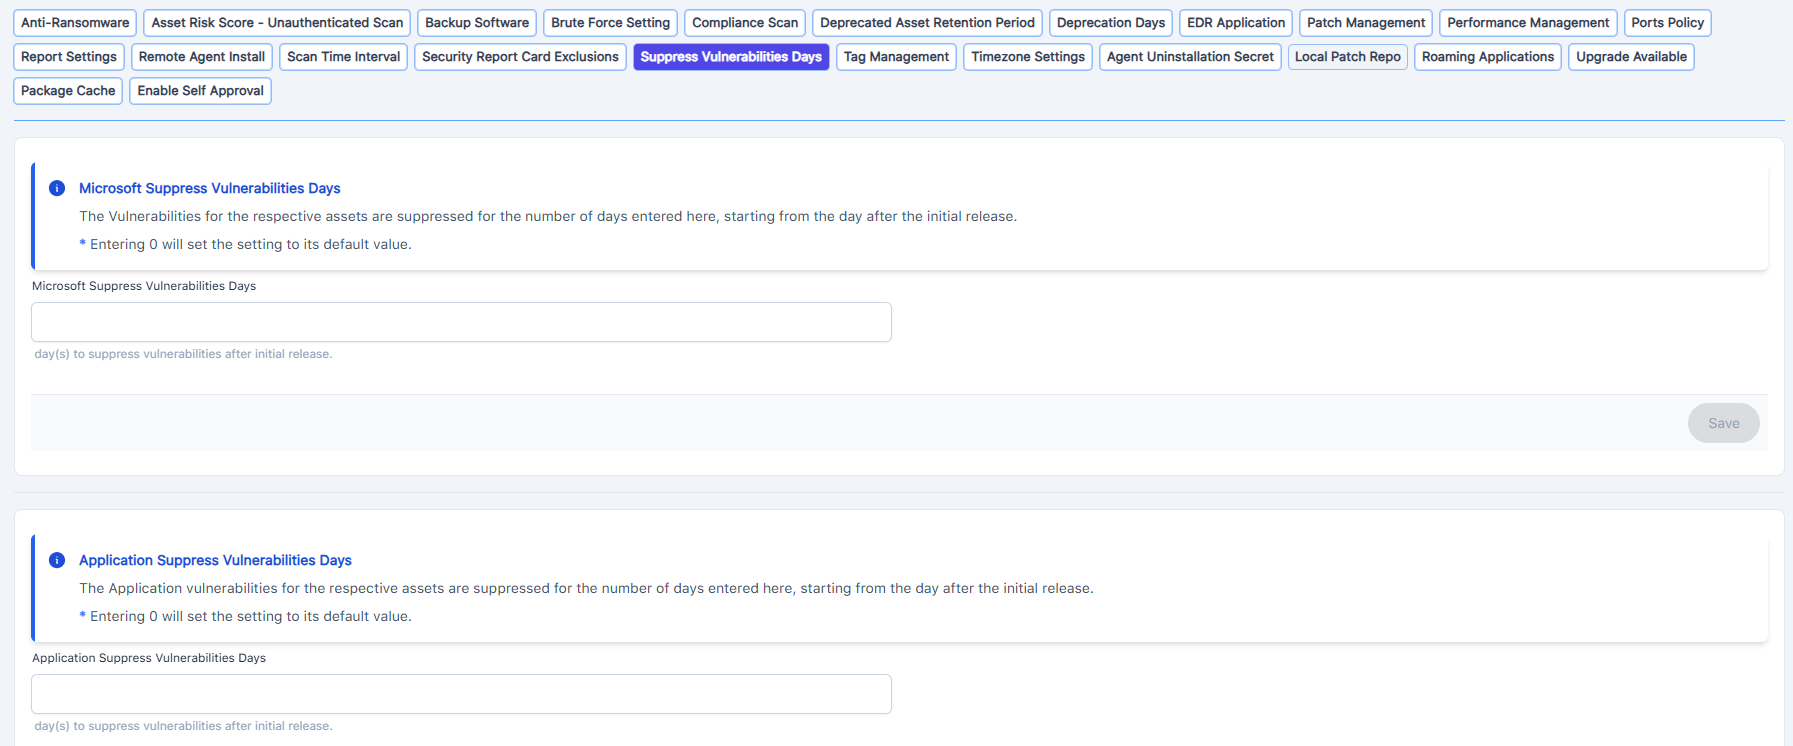
CTEM uses the NVD publish date to determine when a vulnerability becomes active.
Suppression is based on CVE’s published dates and KB patches published dates.
Set the days to suppress the vulnerabilities after the initial release before they are shown as active problems; this includes application and operating system patches.
Suppression Day Example
- Suppression Delay Applied:
If a KB release is installed and another release arrives after 10 days, with the suppression setting also set to 10 days, the new KB will not appear immediately in the remediation plan. It is suppressed for 10 days.
- Suppression Period Ends:
On the 11th day, the new KB is automatically added to the remediation plan, as the suppression period expires.
- No Prior KB Installed:
If no previous KB release was installed, the new KB appears in the remediation plan right away, even if a suppression setting is active.
Example Timeline:
| Day | KB Activity | Appears in Remediation Plan? |
| 0 | First KB release installed | Yes |
| 10 | Second KB release available | No (suppressed) |
| 11 | Suppression ends | Yes |
| - | No earlier KB release exists | Yes (immediate appearance) |
Note: If a vulnerability is remediated during the configured Microsoft Suppress Vulnerabilities Days period (e.g., 3, 7, or 14 days), it will be marked as remediated in the console once resolved.
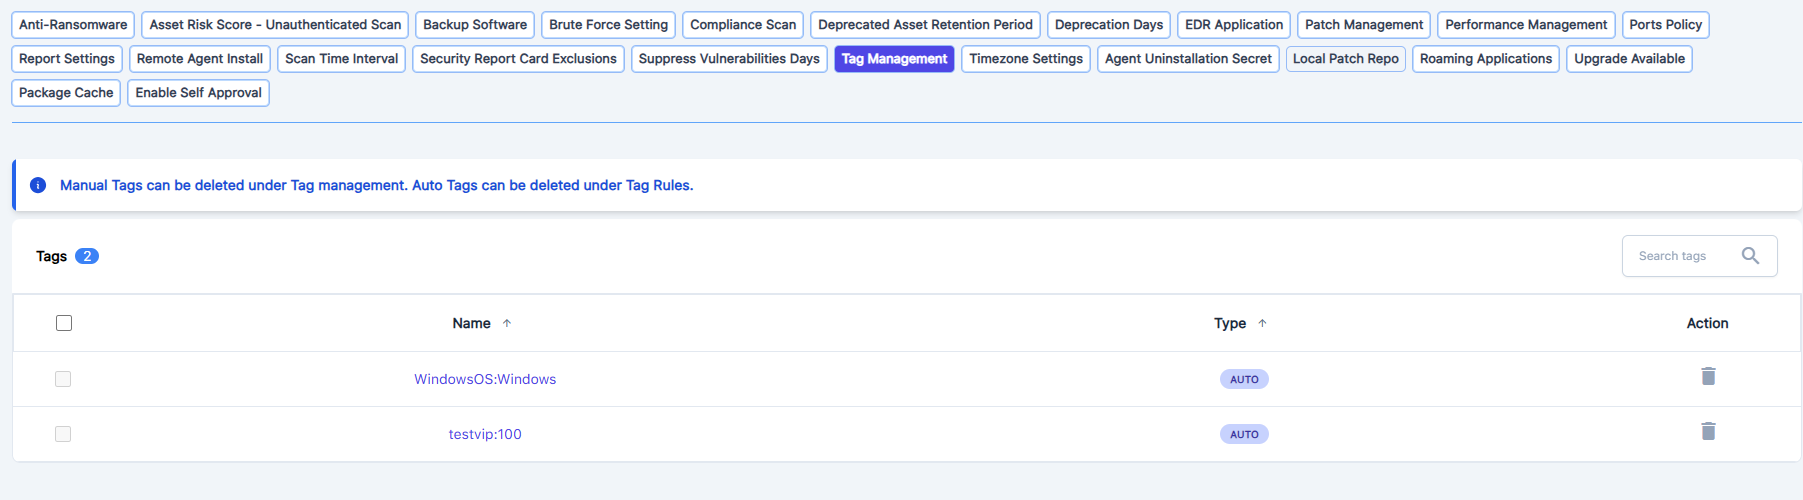
View the Tags applied across all companies; use the Action trash can icon to delete any associated tag rules. Tags can also be managed at the individual asset level under the Tags section.
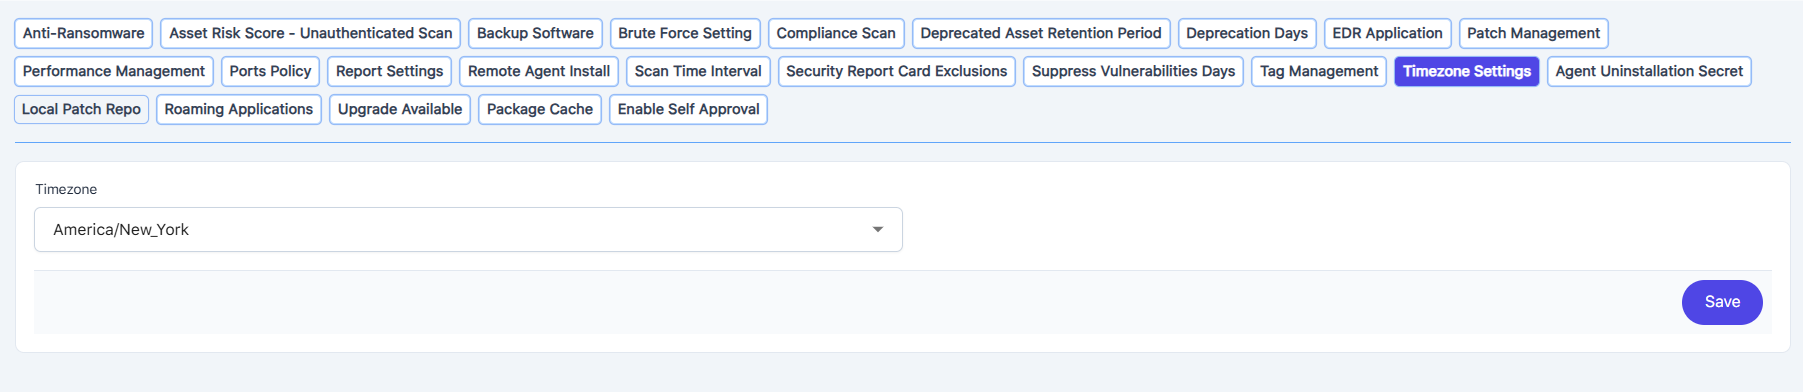
Select and set your preferred time zone. This will appear in the date/time stamps and be used when setting up the Scheduler options.
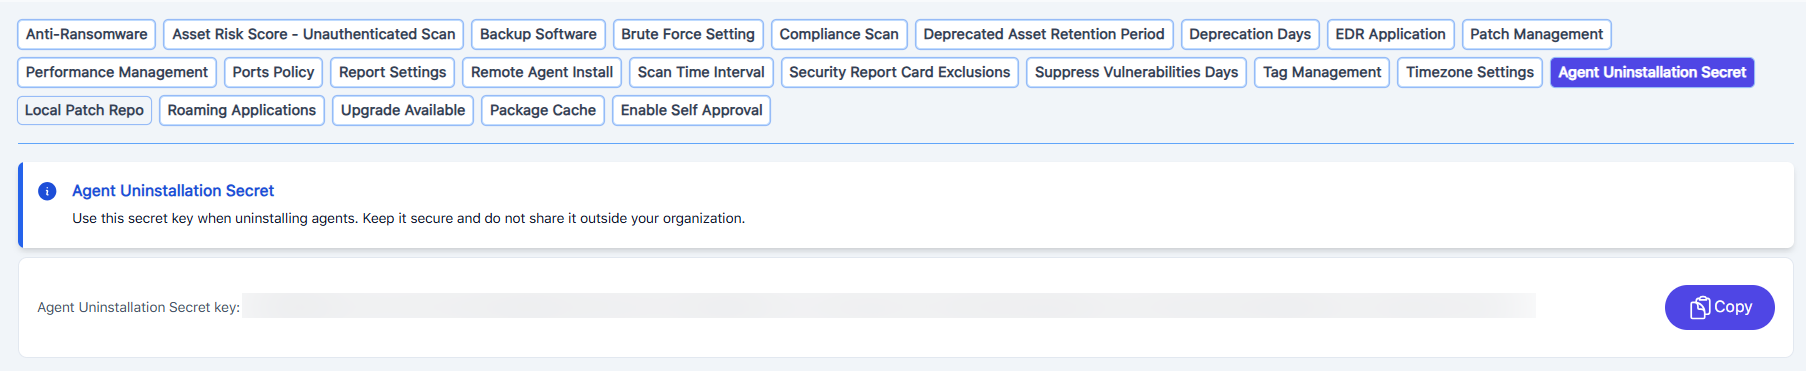
The Agent Uninstallation Secret is a unique security key required when uninstalling the CTEM agent through command line, RMM scripting, or PowerShell. This key prevents unauthorized removal of agents from managed devices.
Administrators can locate the secret under Settings → Company Settings → Agent Uninstallation Secret and use the Copy button to retrieve it.
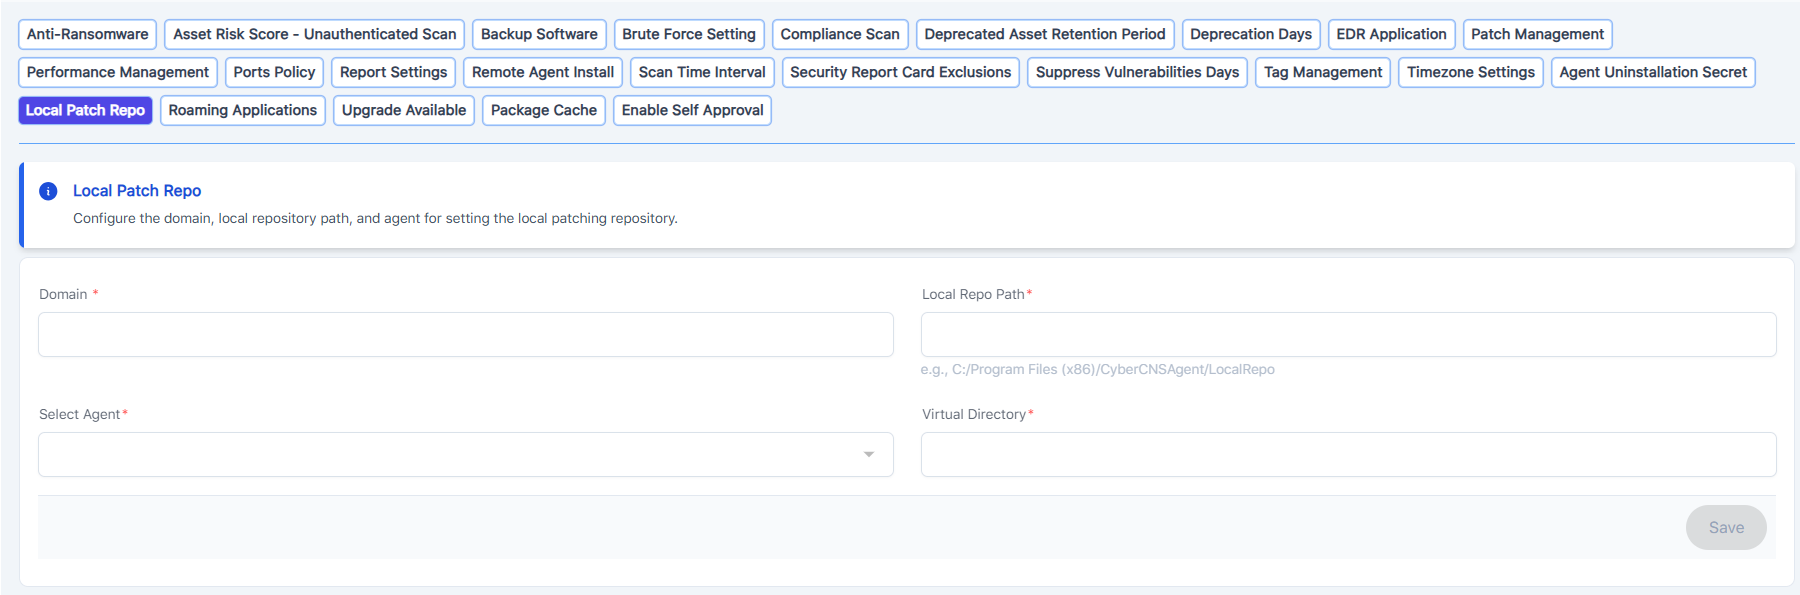
The Local Patch Repo allows one agent inside the customer’s network to host patch files locally. Other agents will download patches from this internal location instead of the internet, improving speed and reducing bandwidth usage.
- Domain - Enter the internal domain used by the customer’s environment. This ensures that only devices within this domain will use the local patch repository.
- Local Repo Path - Enter the full folder path on the selected agent where patch files will be stored. This directory must already exist on the agent machine and have proper read/write permissions.
- Select Agent - Choose the agent that will act as the local patch host. This agent will download each patch once and then distribute it to all other agents in the company.
- Virtual Directory - Enter the virtual directory used by the agent’s internal web service to share patch files. Other agents will use this path to retrieve patches during update cycles.
Click Save to apply the settings.
- A green banner will appear showing saved successfully
- The selected agent becomes the designated local patch host
- Other agents in the company will begin pulling patches from this internal repository during path operations
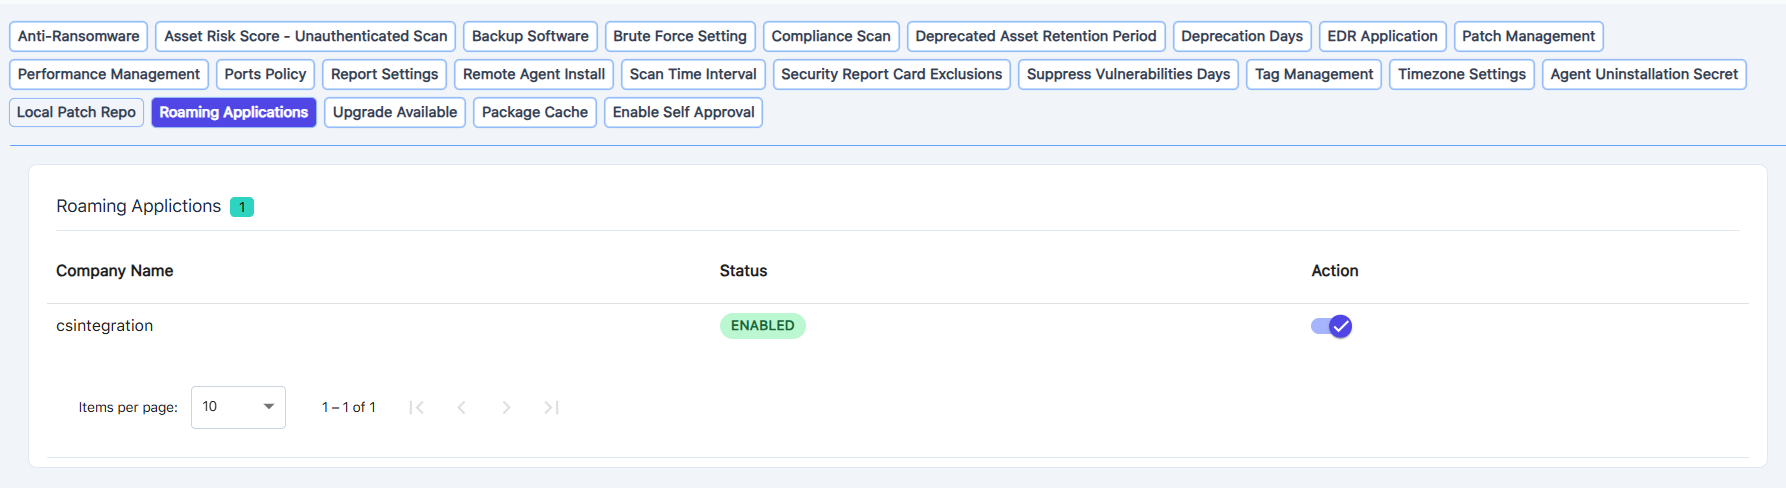
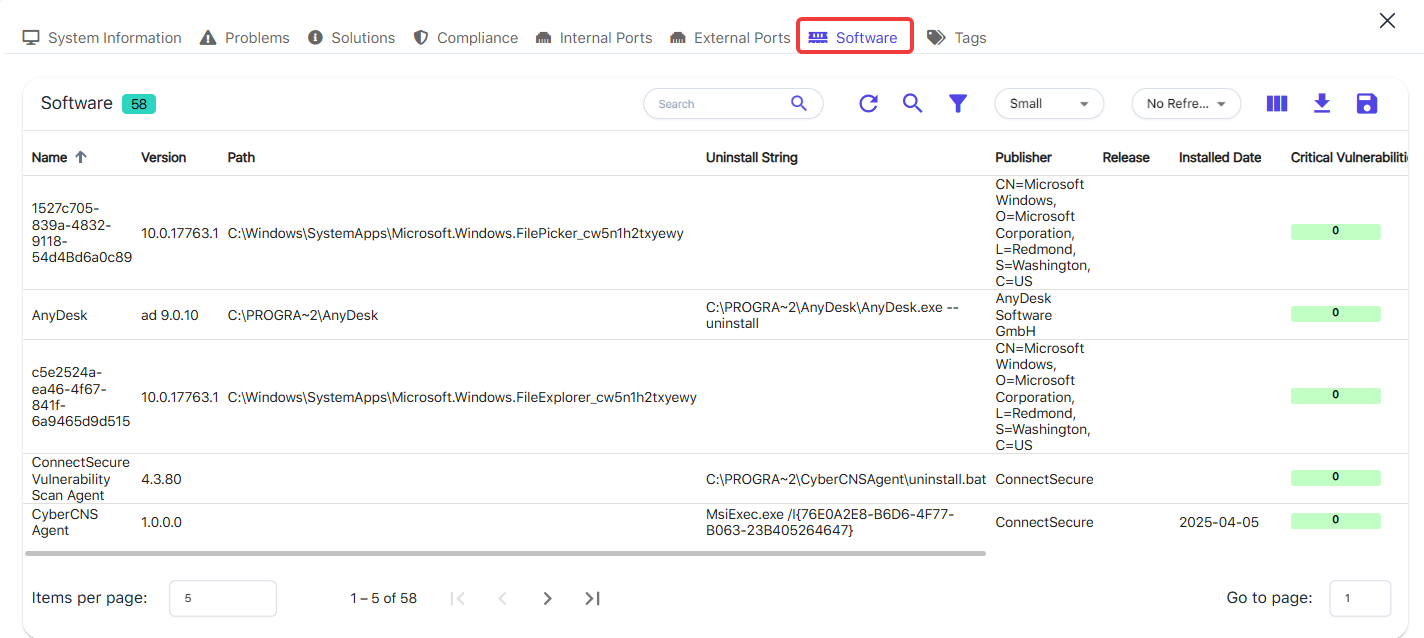
By default, we will scan the roaming folder if found in the %appdata% directory for any software/versions that may have vulnerabilites. You can disable the option for any company by using the ‘Action’ toggle.
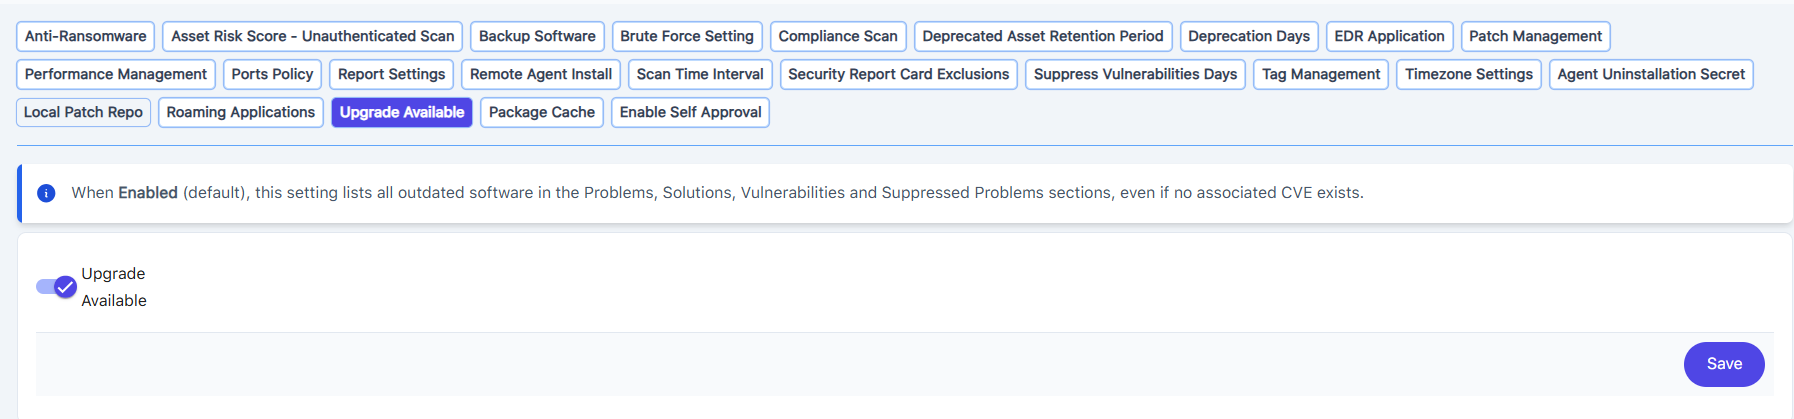
By default this filter will remain enabled, ensuring that all “Upgrade Available” items are visible. Disabling this setting from Global Settings all “Upgrade Available” entries (categorized as low-severity vulnerabilities) will be hidden from the following sections: Problems, Solutions, Vulnerabilities and Suppressed Problems section, even if no associated CVE exist.
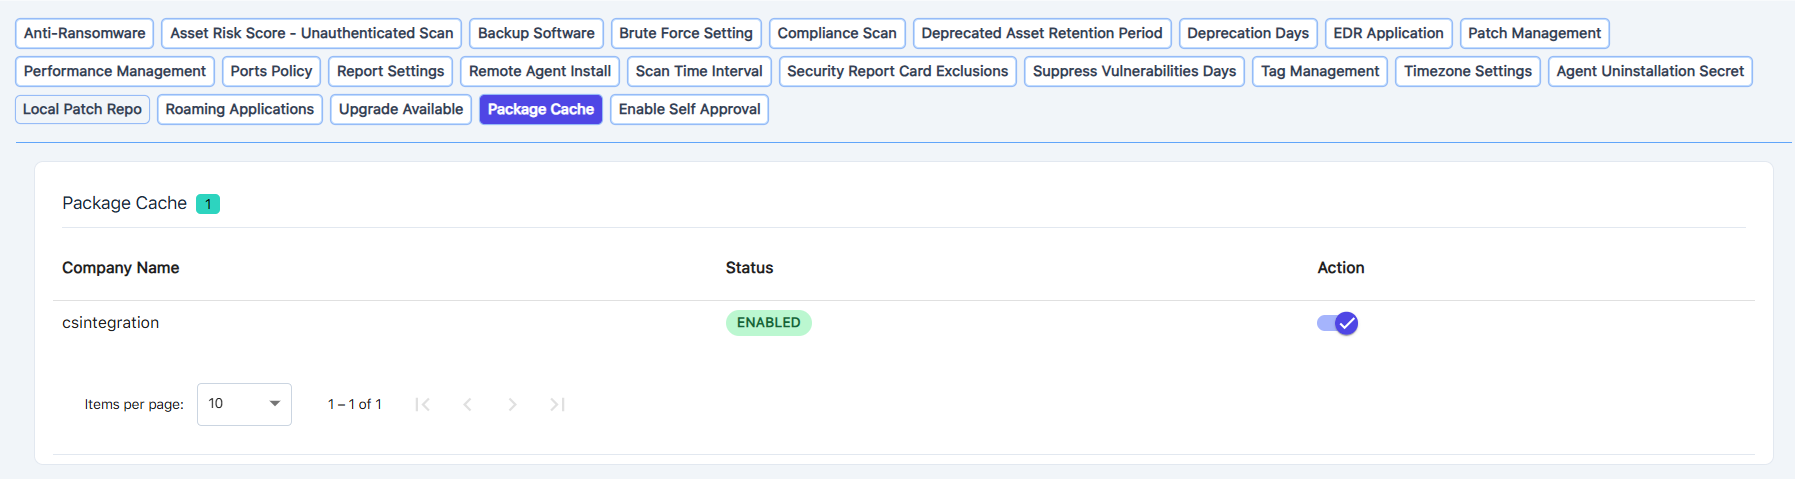
The folder stores installer files used by applications—especially Visual Studio—for repair, updates, and uninstallation. It’s essential for maintaining software integrity and should not be deleted.
Here’s a breakdown of its purpose and implications:
What It Does
- Installer Source Repository: It contains cached copies of installation packages (mostly and files) used by programs like Visual Studio, VMware, iTunes, and others.
- Supports Repair and Modify Operations: When you choose to repair, update, or uninstall a program, Windows often uses these cached files to avoid re-downloading or prompting for installation media.
- Offline Reliability: If you're offline and need to modify or repair software, the cache ensures the process can still complete successfully.
By default, CTEM agent will scan the “ProgramDataPackage Cache” directory as shown here:
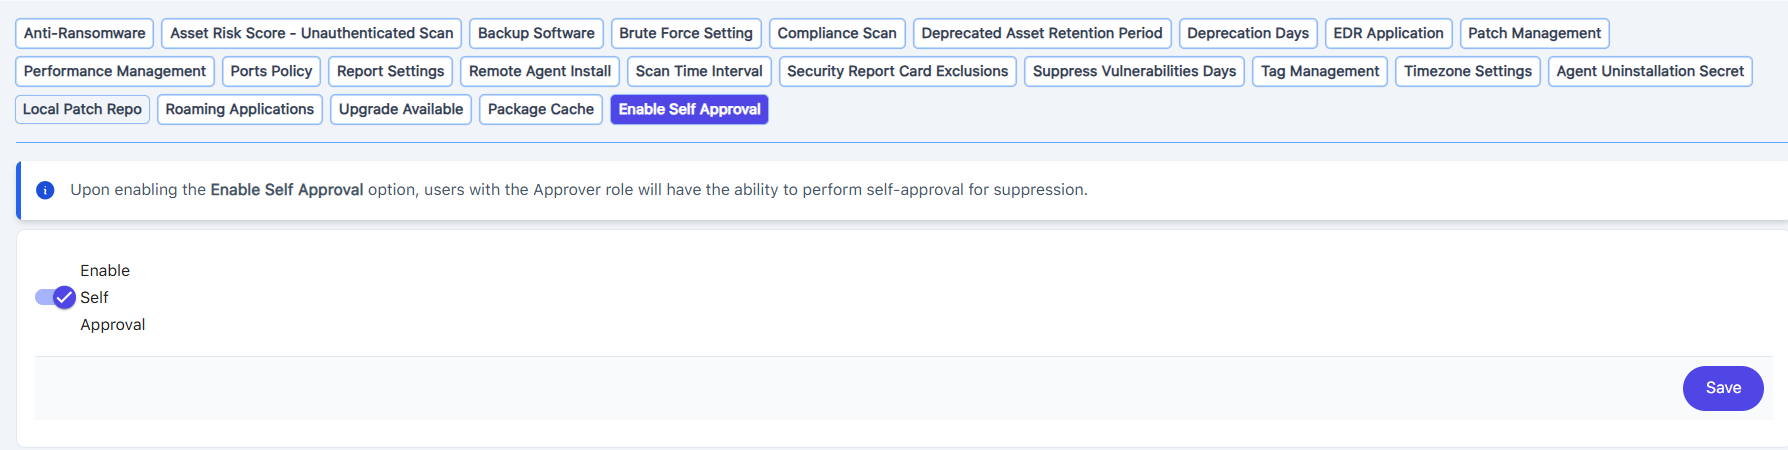
This allows any CTEM User with the Role of ‘Approver’ selected to perform a self-approval on suppressing a problem/vulnerability.