


Token Management
- Click 'Security' > 'SIEM - X' > 'Token Management' to open this interface.
Token Management holds the settings that connect log sources to the SIEM. It is where you create the networks a sensor reports under, decide who is e-mailed when the SIEM raises something, and get the sensor software and its installation guide.
You can add and remove networks, read the token and activation key of each one, turn notifications on for individual users, download the sensor, and read the NxSensor installation document in the page.
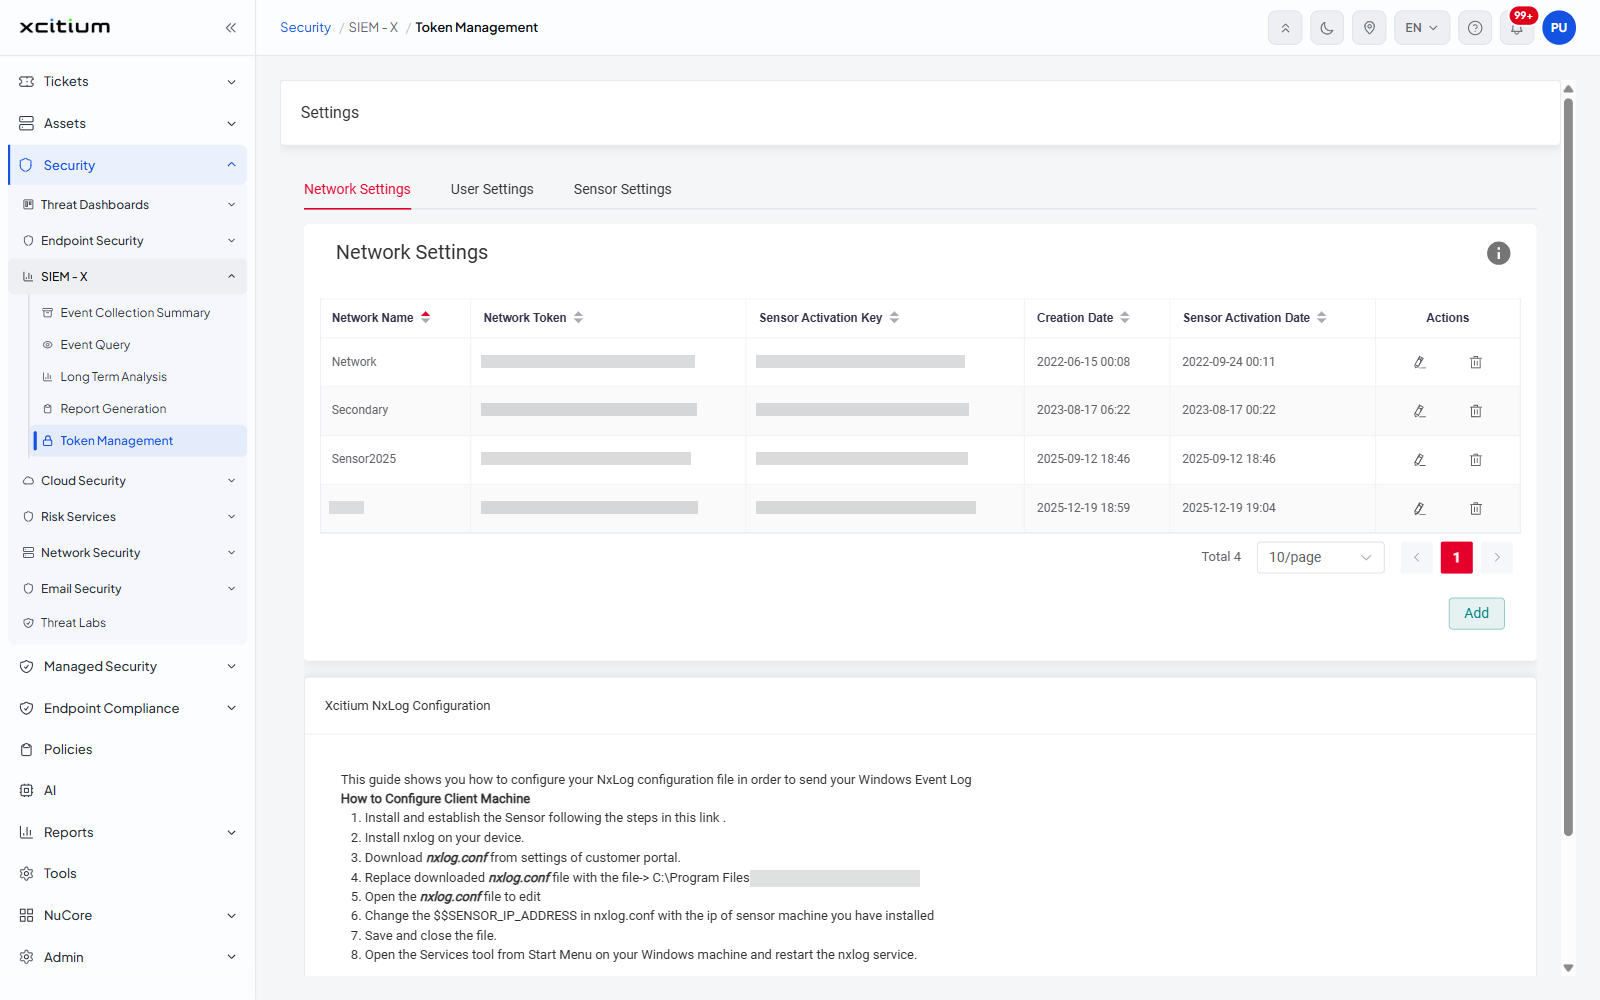
The interface
The screen is one panel headed 'Settings' with a strip of three tabs under it. The tab in use is underlined in red.
| Tab | Description |
| Network Settings | The default tab. Lists the networks with their tokens, activation keys and dates, and carries the 'Xcitium NxLog Configuration' instructions below the table. See Network Settings. |
| User Settings | 'User Notification Settings' - one row per portal user, with a switch for whether that user is notified. See User Settings. |
| Sensor Settings | 'Xcitium NxSensor Documentation' - the sensor installation guide in a document viewer, with a download button for the sensor itself. See Sensor Settings. |
Open a tab
- Click 'Security' > 'SIEM - X' > 'Token Management'. The screen opens on 'Network Settings'.
- Click 'User Settings' or 'Sensor Settings' in the tab strip to move to the other tabs.
Elements common to the tabs
- Each tab's panel carries a round information icon in its top right corner.
- Tables on these tabs are paged. The pager reads 'Total <n>', then a rows-per-page drop-down showing '10/page', then the page buttons with a previous and a next arrow.
- Column headings that can be sorted carry a pair of small arrows and a tooltip of the form 'Sort by <column>'.
Note: the tokens and activation keys on the 'Network Settings' tab are shown in plain text. Treat them as secrets - anyone who can read them can register a sensor against your network.