


Alert Policy
- Click 'Security' > 'Endpoint Security' > 'Alerts' > 'Alert Policy' to open this interface.
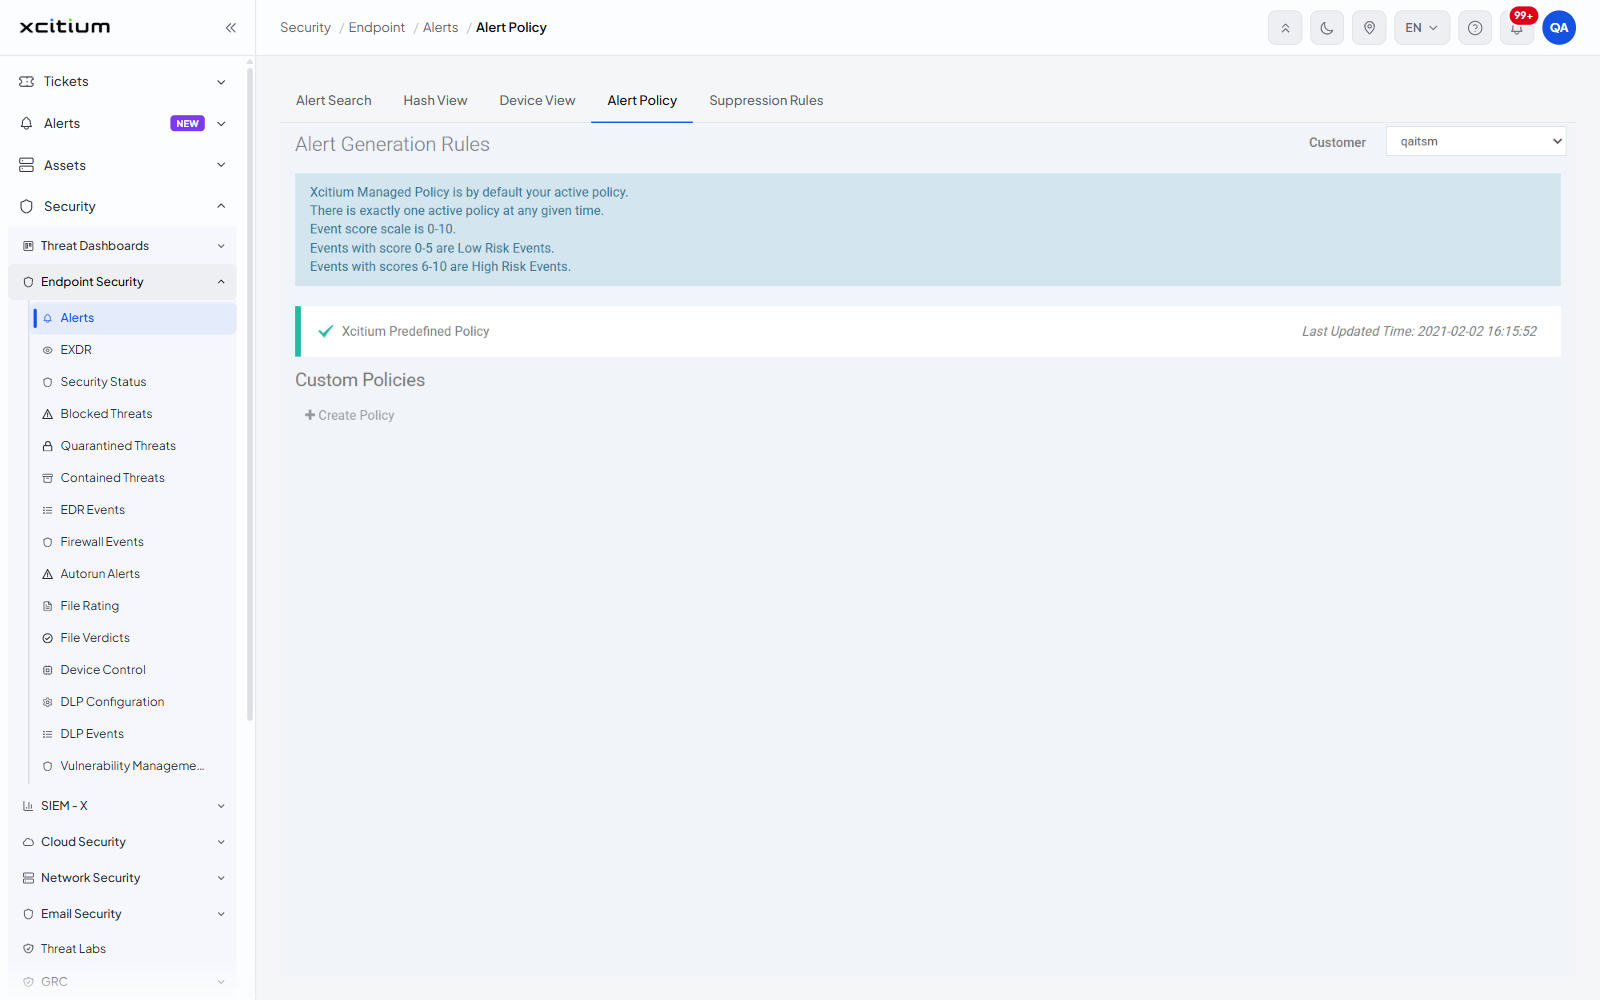
The 'Alert Policy' tab is headed 'Alert Generation Rules'. It holds the policies that decide which endpoint events raise an alert and what score each alert is given. One policy is active for a customer at a time.
You can read the rules of the active policy, and create and manage your own policies for the customer.
How scoring works
The blue panel at the top of the tab states the rules that govern every policy:
- 'Xcitium Managed Policy is by default your active policy.'
- 'There is exactly one active policy at any given time.'
- 'Event score scale is 0-10.'
- 'Events with score 0-5 are Low Risk Events.'
- 'Events with scores 6-10 are High Risk Events.'
The parts of the tab
| Area | Description |
| Customer | A drop-down at the top right that scopes the tab to one customer. |
| Active policy | The bar under the blue panel, showing the policy that is in force. It carries a tick, the policy name and, on the right, 'Last Updated Time:' followed by the date and time the policy was last changed. |
| Custom Policies | The heading for the policies you have made yourself, with the 'Create Policy' link beneath it. The section is empty until you create a policy. |
Open the active policy
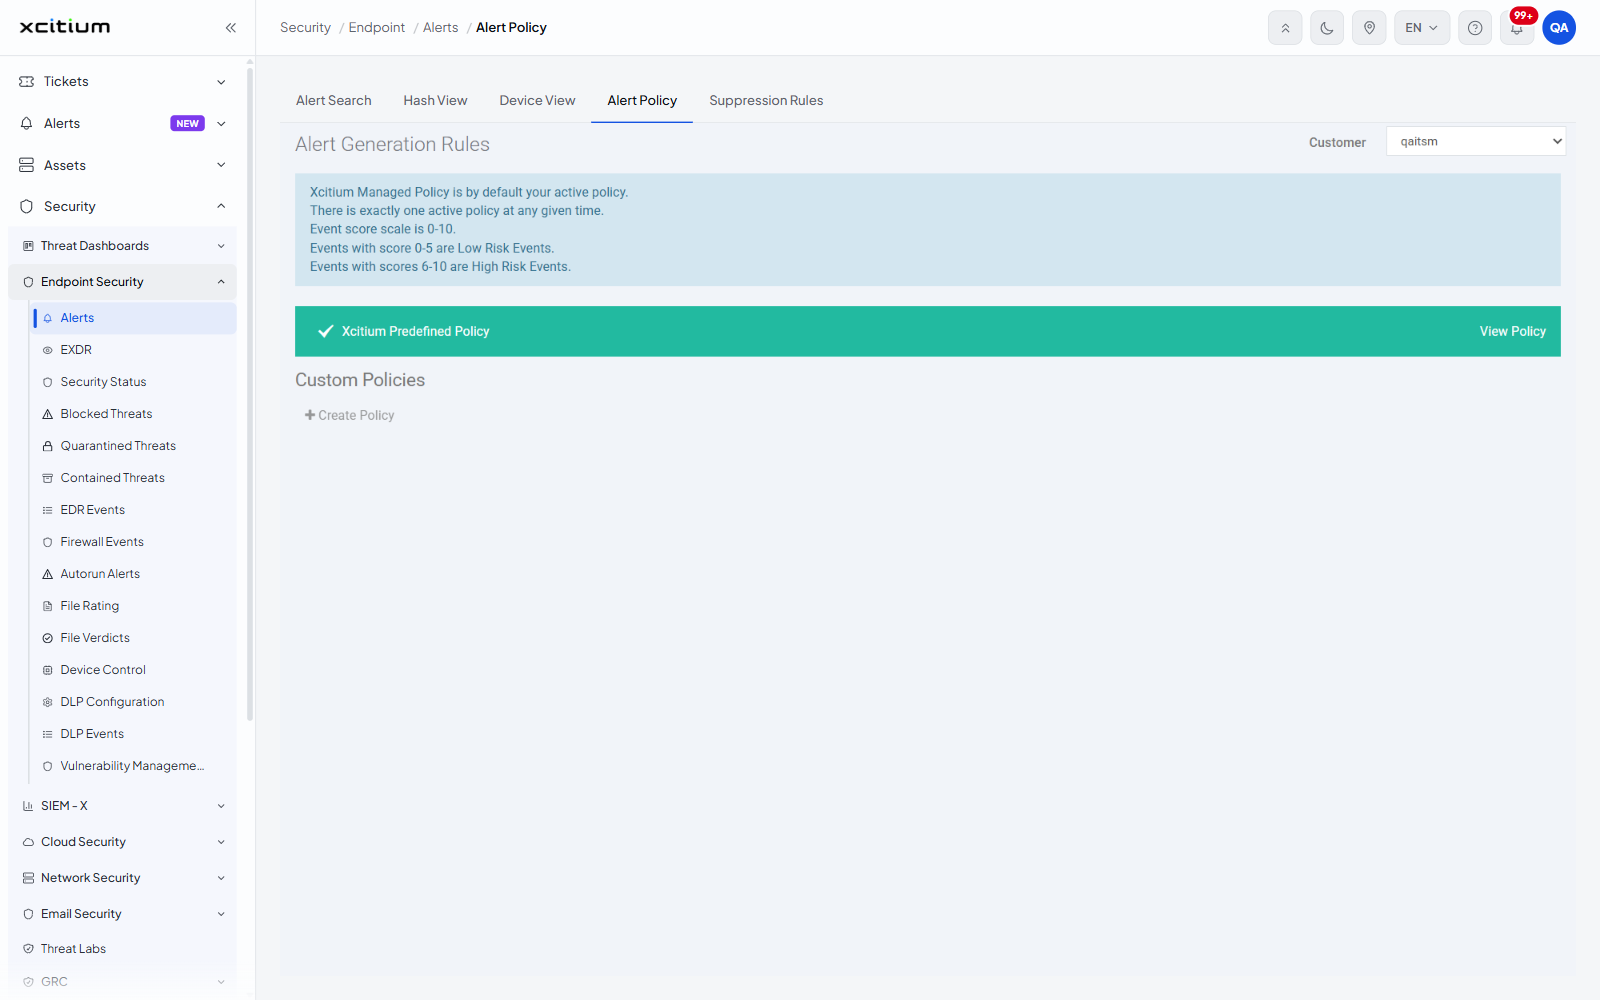
- Move the pointer over the active policy bar. The bar turns green and the words 'View Policy' appear at its right.
- Click the bar. The policy opens in read-only form.
Create a policy
- Click 'Create Policy' under the 'Custom Policies' heading. The form for a new policy opens.
- Complete the form and save it. The policy is then listed under 'Custom Policies'.
Note: until you create a custom policy, the active policy is the supplied 'Xcitium Predefined Policy' and the 'Custom Policies' list is empty. A custom policy bar shows 'Edit Policy' on hover instead of 'View Policy'.