


Import Customers
- Click 'Managed Security' > 'Service', scroll to 'Customer Health' and click 'Import Customers'.
The import dialog pulls your customer list in from another platform instead of adding customers one at a time. It is a two-step dialog: pick the platform, then give the credentials for it.
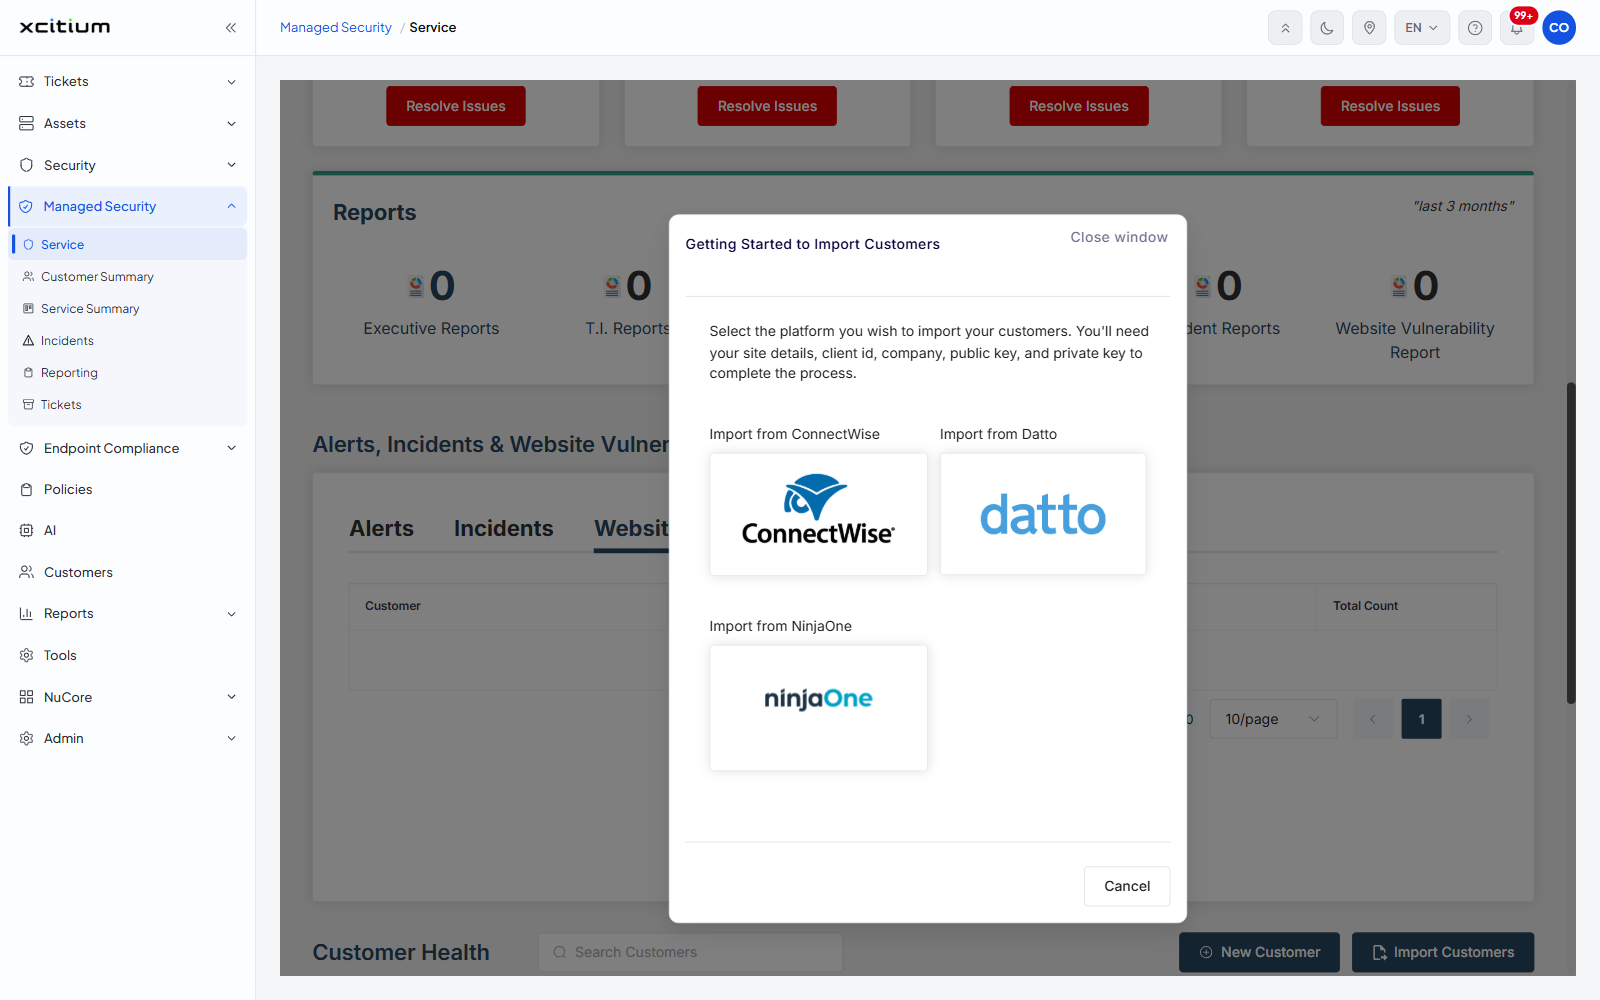
Step 1 - pick the platform
The first step is headed 'Getting Started to Import Customers' and reads: 'Select the platform you wish to import your customers. You'll need your site details, client id, company, public key, and private key to complete the process.'
Three tiles are offered. Click one to go to step 2.
| Tile | Description |
| Import from ConnectWise | Imports the customer list from ConnectWise. |
| Import from Datto | Imports the customer list from Datto. |
| Import from NinjaOne | Imports the customer list from NinjaOne. |
'Cancel' and 'Close window' both leave the dialog without importing anything.
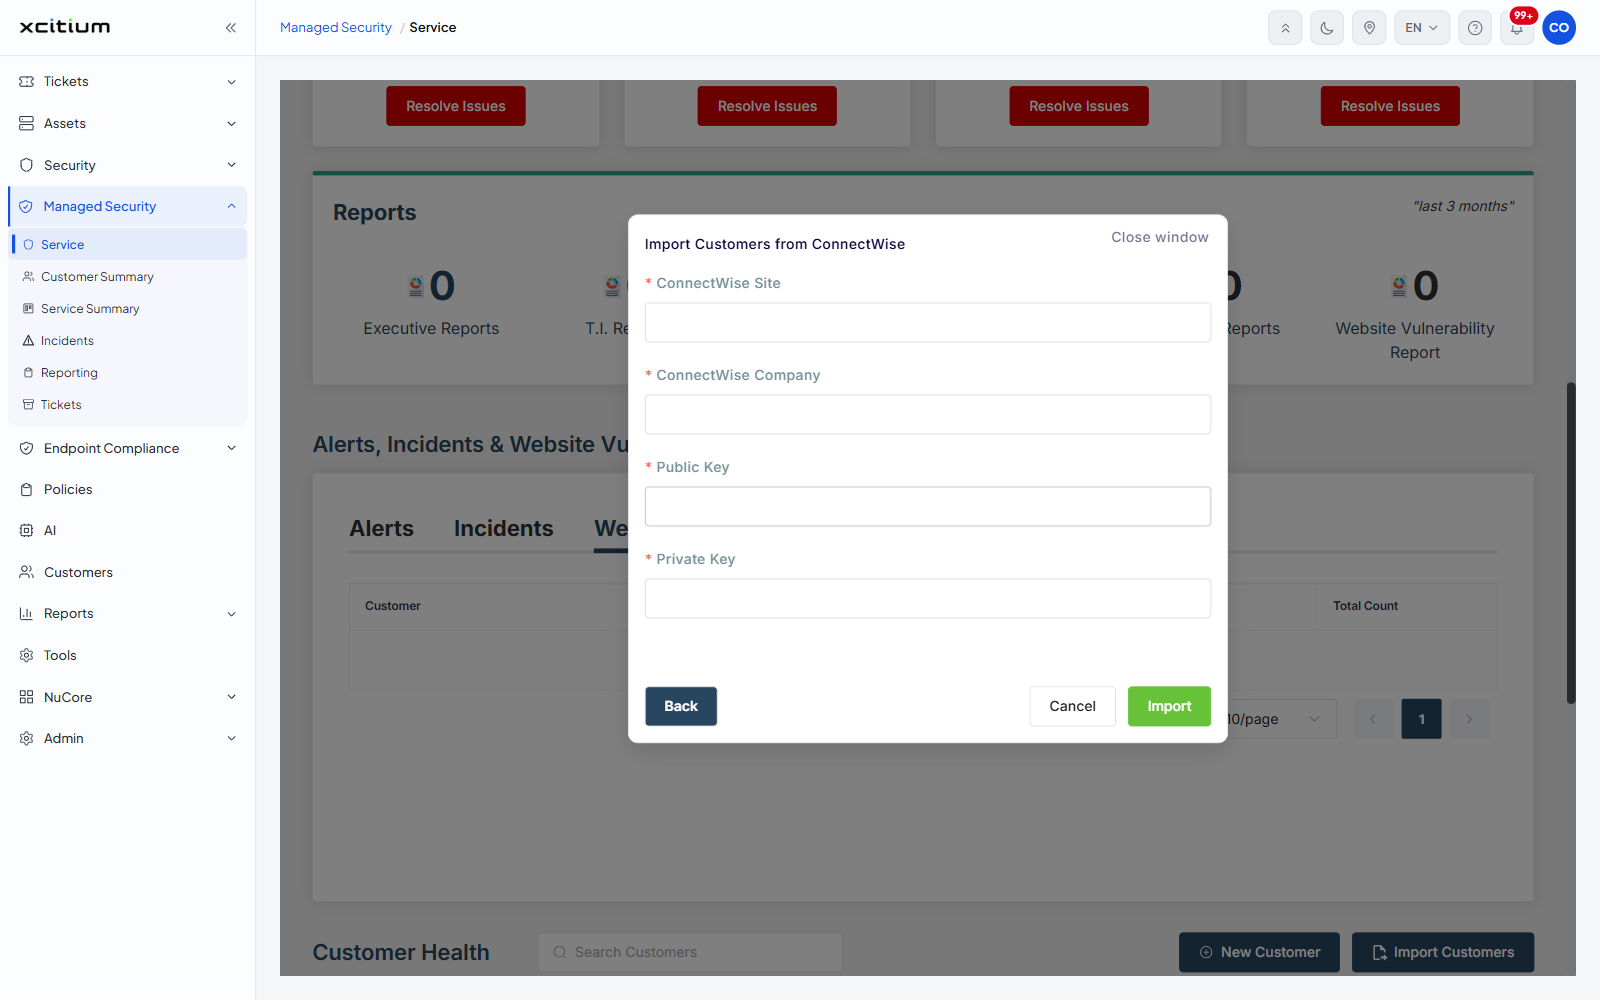
Step 2 - ConnectWise
The step is headed 'Import Customers from ConnectWise'. Every field is marked with a red asterisk.
| Field | Control | Required | Description |
| ConnectWise Site | Text box | Yes | The ConnectWise site to read the customers from. |
| ConnectWise Company | Text box | Yes | The ConnectWise company identifier. |
| Public Key | Text box | Yes | The public key of the ConnectWise API member. |
| Private Key | Text box | Yes | The private key of the ConnectWise API member. |
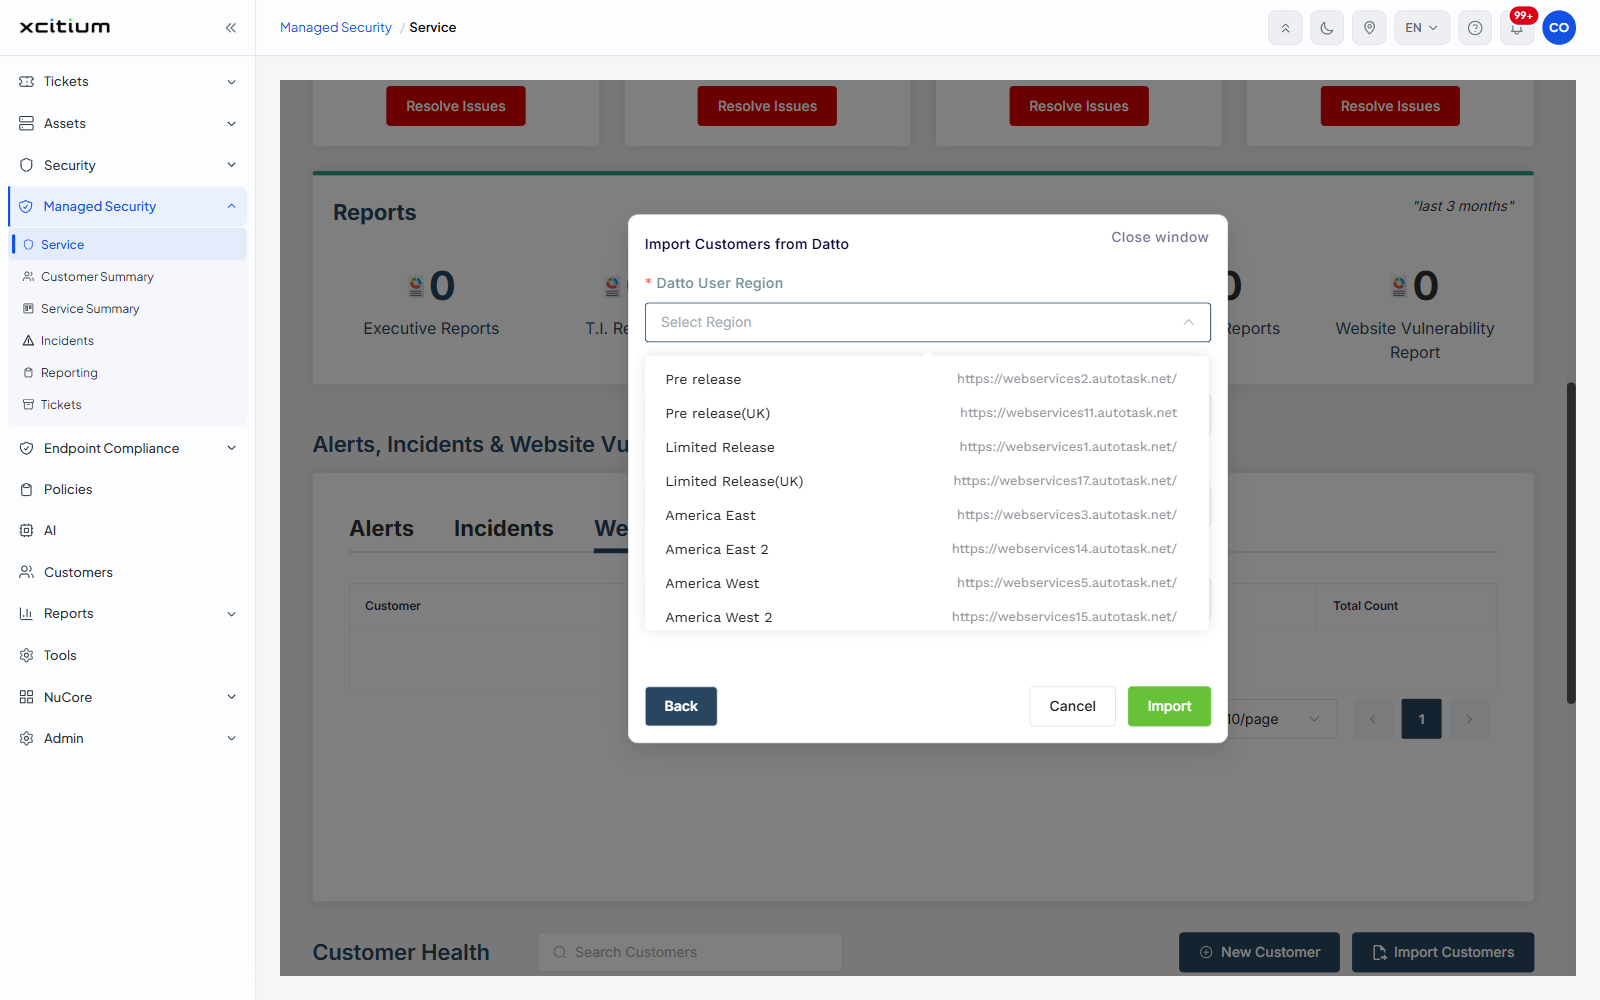
Step 2 - Datto
The step is headed 'Import Customers from Datto'.
| Field | Control | Description |
| Datto User Region | Drop-down, empty by default with the placeholder 'Select Region' | The Datto web services region your account is served from. Each option names a region and the web services address behind it. |
| Datto User Name | Text box | The Datto API user name. |
| Datto Secret | Text box | The secret for that Datto API user. |
| API Integration Code | Text box | The Datto API integration code. |
'Datto User Region' options
| Option | Address shown with it |
| Pre release | https://webservices2.autotask.net/ |
| Pre release(UK) | https://webservices11.autotask.net |
| Limited Release | https://webservices1.autotask.net/ |
| Limited Release(UK) | https://webservices17.autotask.net/ |
| America East | https://webservices3.autotask.net/ |
| America East 2 | https://webservices14.autotask.net/ |
| America West | https://webservices5.autotask.net/ |
| America West 2 | https://webservices15.autotask.net/ |
| UK | https://webservices4.autotask.net/ |
| UK 2 | https://webservices16.autotask.net/ |
| Australia / New Zealand | https://webservices6.autotask.net/ |
| Pre Release(Deutsch) | https://prde.autotask.net/ |
| Pre Release(Español) | https://pres.autotask.net/ |
| German(Deutsch) | https://webservices18.autotask.net/ |
| EU1(English Europe and Asia) | https://webservices19.autotask.net/ |
| Spanish(Español) | https://webservices12.autotask.net/ |
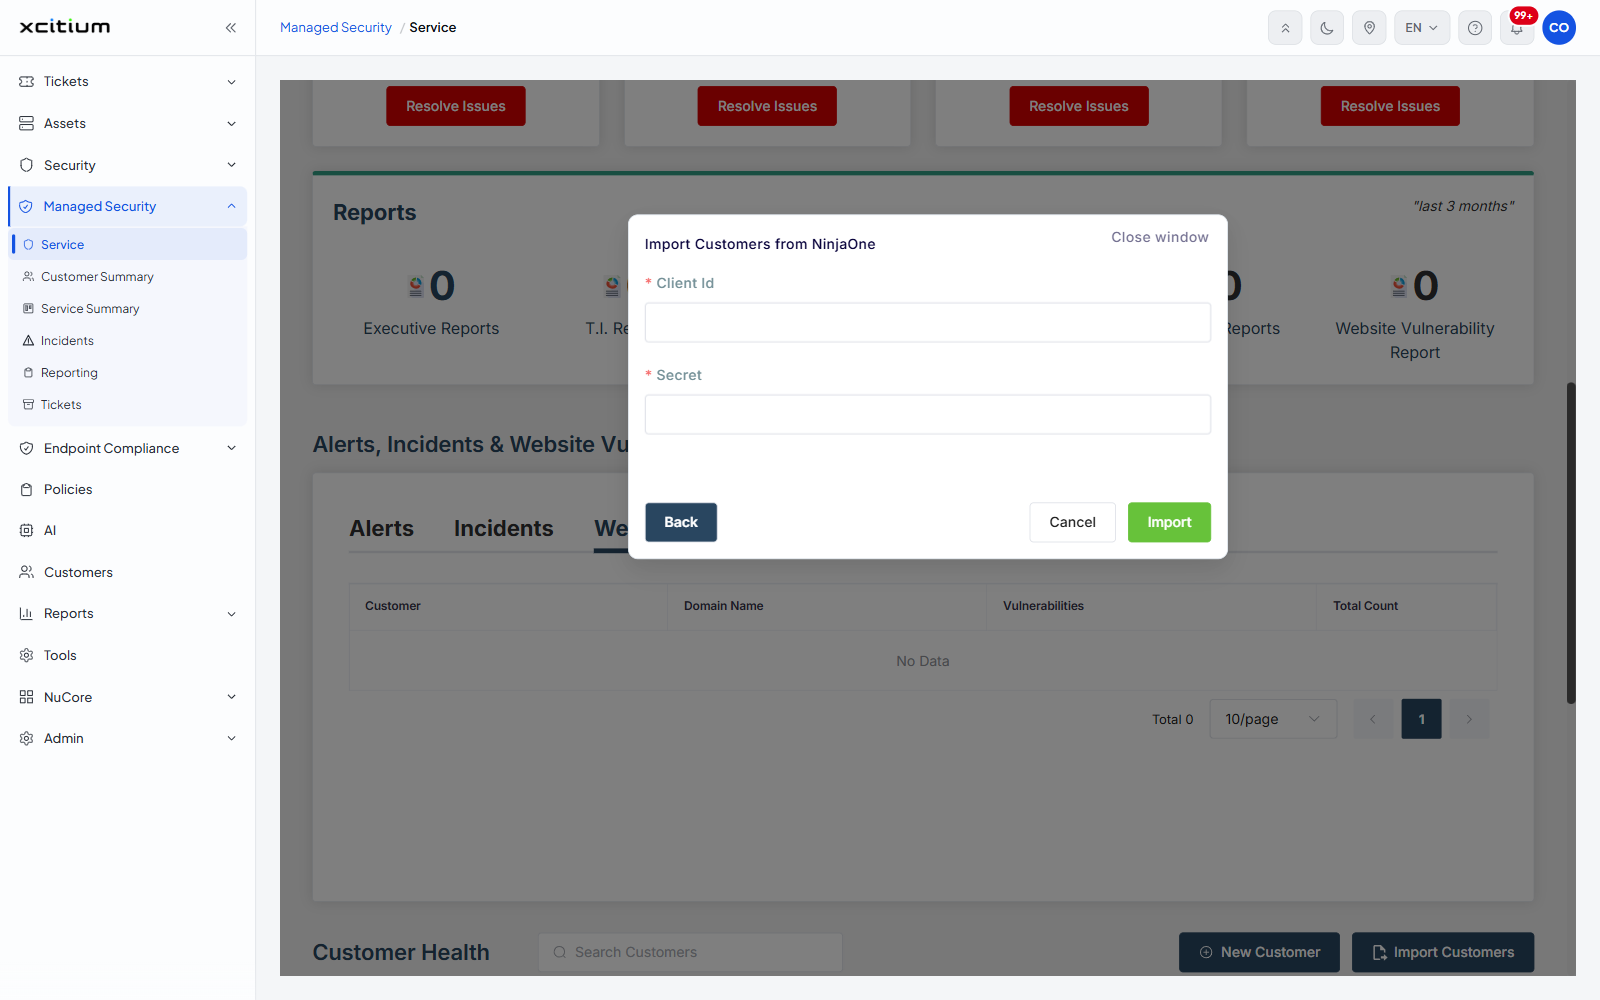
Step 2 - NinjaOne
The step is headed 'Import Customers from NinjaOne'.
| Field | Control | Description |
| Client Id | Text box | The NinjaOne API client identifier. |
| Secret | Text box | The secret that goes with that client identifier. |
Step 2 buttons
| Button | Description |
| Back | Returns to step 1 so you can pick a different platform. |
| Cancel | Closes the dialog without importing. |
| Import | Reads the customer list from the platform using the credentials you gave. |
Import your customers
- Click 'Managed Security' > 'Service'.
- Scroll to 'Customer Health' and click 'Import Customers'.
- Click the tile for the platform you are importing from.
- Fill in the credential fields for that platform.
- Click 'Import'.
Note: have the credentials ready before you start. The first step states that you need your site details, client id, company, public key and private key.