


- Introduction
- Tickets
- Assets
- All Devices
- Device List
- Filter The Device List
- Group Management
- Enroll A Device
- Device Details
- View And Edit The Device Name
- View Device Summary Information
- View Network Information
- View Policies Associated With A Device
- View Applications Installed On A Device
- View The Command Queue
- View MSI Installation State
- View And Manage Patches On A Device
- View A Device's Groups
- View Device Logs
- Manage A Device's Policies
- Run A Procedure On A Device
- Install And Manage Packages On A Device
- Reboot Or Shut Down A Device
- Collect Performance Logs
- Change A Device's Owner
- Delete A Device
- Bulk Installation Package
- Device List
- Monitor Health
- Monitoring And Management
- Alerts
- Procedures
- Monitors
- Filter The Monitors List
- Create A Monitor
- A Monitor's General Tab
- A Monitor's Conditions Tab
- Add A Performance Condition
- Add A File Size Condition
- Add A Folder Size Condition
- Add A Disk Condition
- Add A Service Condition
- Add A Process Condition
- Add An Event Condition
- Add A TCP Condition
- Add A Ping Condition
- Add A Web Page Condition
- Add A Device Status Condition
- Add A Custom Script Condition
- Add A Security Events Condition
- Add A Security Client Events Condition
- Add An OS Patches Event Condition
- A Monitor's Policies Tab
- A Monitor's Logs Tab
- Clone, Import, Export And Delete Monitors
- Maintenance Windows
- Network Management
- Applications
- Endpoint Intelligence
- All Devices
- Security
- Threat Dashboards
- Endpoint Security
- SIEM - X
- Cloud Security
- Network Security
- Email Security
- Threat Labs
- Managed Security
- Endpoint Compliance
- Work With Endpoint Compliance Lists
- Agents
- All Assets
- Other Assets
- Deprecated Assets
- Problems
- Solutions
- Pending OS Patches
- Ports
- Patch Management
- Application Baseline Results
- Certificates
- Vulnerabilities
- Application Vulnerabilities
- Vulnerability By OS
- OS Vulnerabilities
- Network Scan Findings
- Compliance Standards
- Compliance Assessment
- Compliance Check Master
- Discovery Settings And Credentials
- Manage Mapping
- Jobs
- Alerts
- Policies
- The Profile List
- Policy Configuration
- Default Policies
- Predefined Policies
- The Policy Editor
- The Profile Editor
- Sections Configuration
- Add And Remove Profile Sections
- Profile Sections On Other Operating Systems
- General (Windows Profile)
- Associated Devices (Windows Profile)
- Profile Health Check
- Client Updates
- EXDR Updates
- Remote Control
- Client UI Settings
- Client Rebranding
- Client Proxy
- Client Access Control
- Remote Tools
- Monitors
- Procedures
- Patch Management
- Maintenance Window
- Global Proxy
- Client Logging Settings
- Antivirus
- Firewall
- EDR
- File Rating
- Containment
- VirusScope
- Xcitium Verdict Cloud
- Agent Discovering Settings
- External Devices Control
- Miscellaneous
- Script Analysis
- Data Loss Prevention
- XCS Access Control
- XCS Proxy
- XCS Updates
- XCS UI Settings
- XCS Logging Settings
- Performance
- Applications
- Chat
- Thumbnails
- AI
- Customers
- Reports
- Standard Reports
- Custom Reports
- The Report Catalogue
- Configure And Generate A Custom Report
- Generated Reports
- Advanced Reports
- Reports Beta
- SLA Reports
- Audit Logs
- Tools
- NuCore
- Admin
Staff
Staff lists the people who can sign in to your portal, and is where you add a new staff member or manage an existing one.
Getting there
- Click Admin in the left navigation.
- Click Staff.
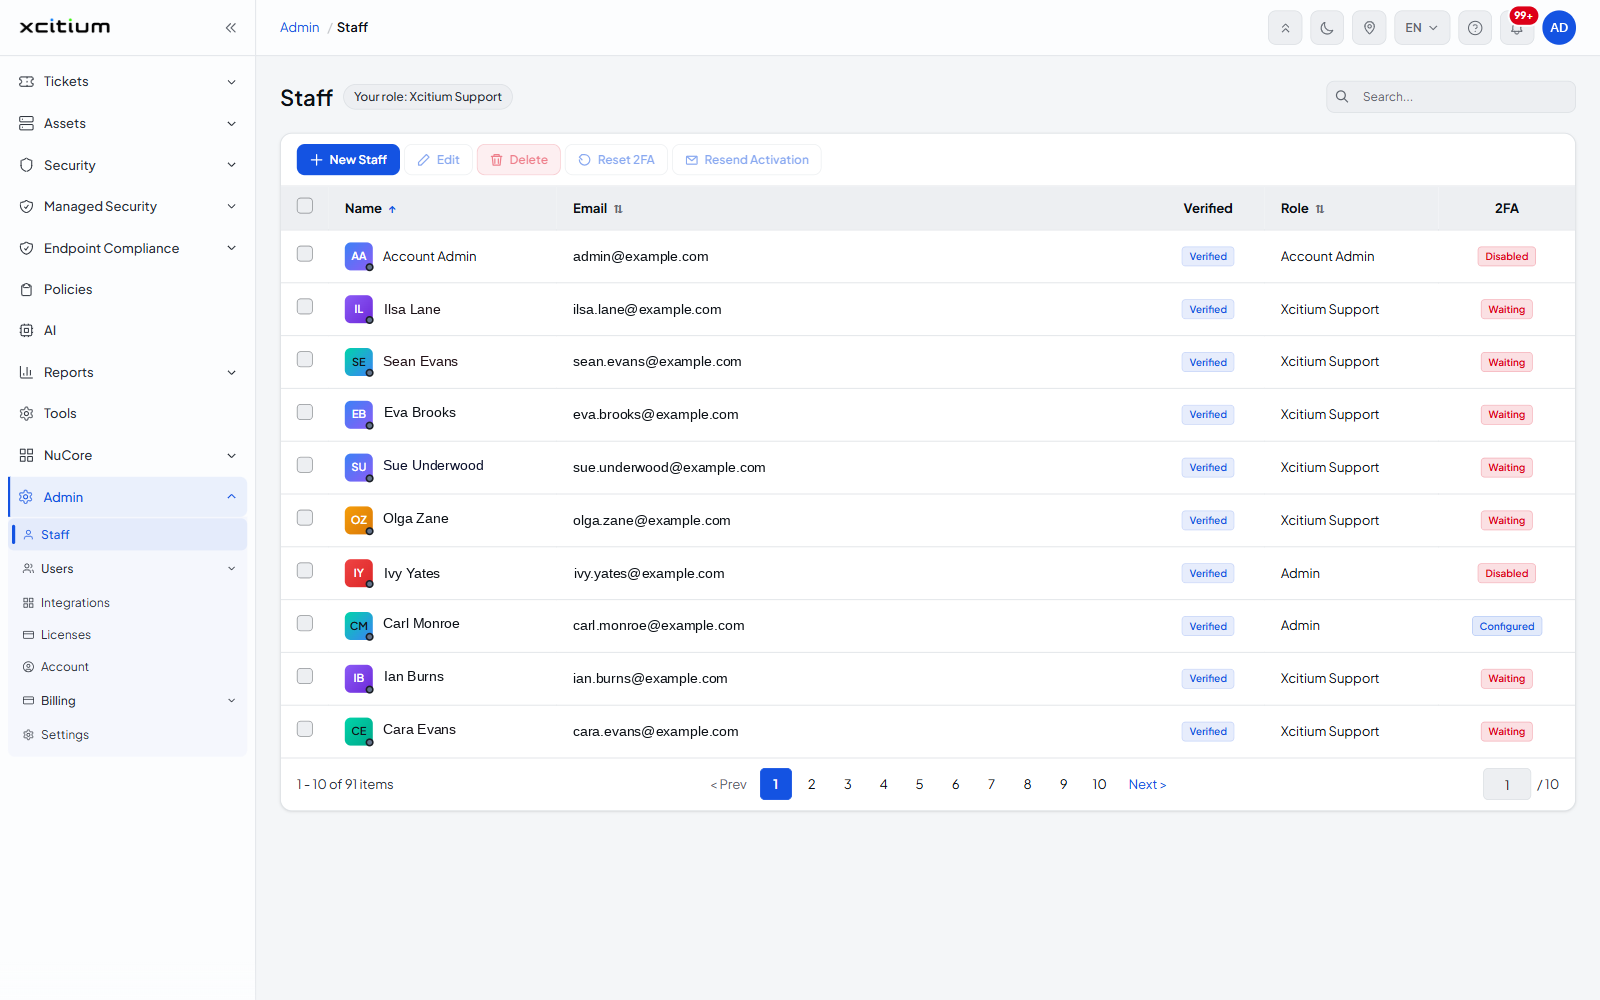
What the list shows
- Name — the list is sorted by name ascending to begin with
- Email
- Verified — whether the person has activated their account
- Role — for example Account Admin or Admin
- 2FA — reads disabled, waiting or configured
A banner above the list tells you which role you are signed in with, which is what decides how much of this page you can use. Name, Email and Role sort when you click the heading. Use the Search box to find a person, and the results-per-page box and the page numbers to move through the list.
Toolbar actions
Tick a row to enable the actions that work on a selected person.
- New — opens the New Staff dialog
- Edit — opens the selected person's details
- Delete — removes the selected staff member
- Reset 2FA — clears the selected person's two-factor enrolment so they can set it up again
- Resend Activation — sends the activation email again
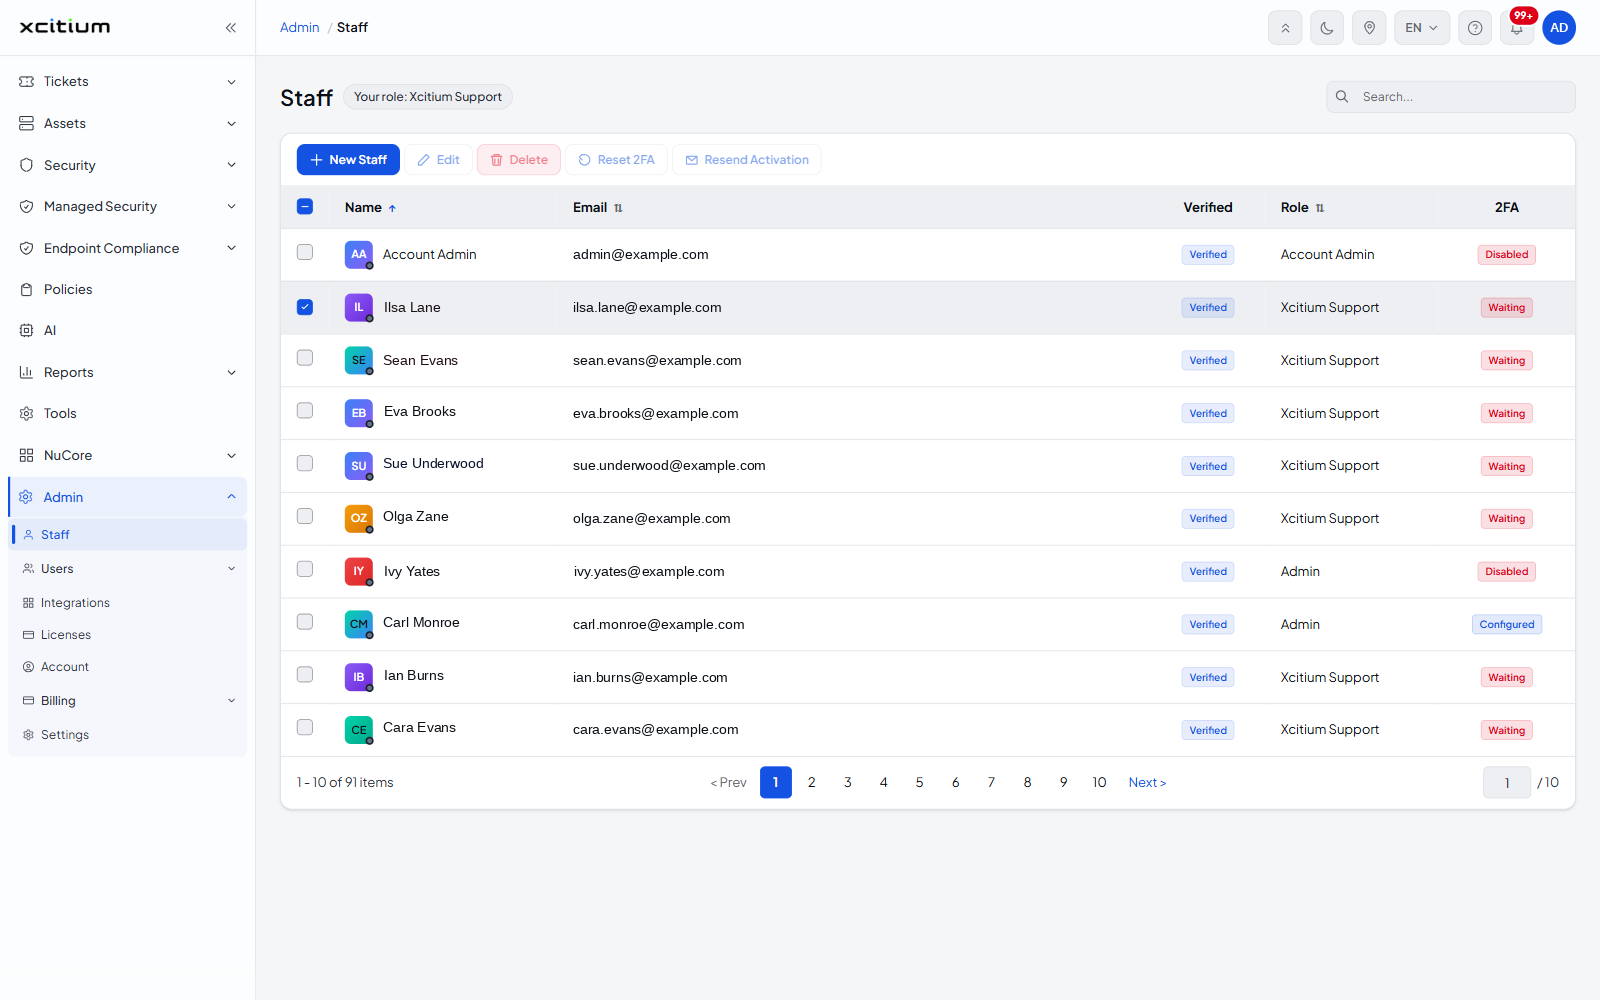
Edit, Delete, Reset 2FA and Resend Activation stay greyed out if your own role does not permit staff management, even with a row ticked.