


Create an Alert Policy
- Click 'Security' > 'Endpoint Security' > 'Alerts' > 'Alert Policy', then click 'Create Policy' under the 'Custom Policies' heading.
The policy supplied with the product cannot be changed. To use your own scores, actions or conditions you create a custom policy of your own for the customer, and then edit its conditions. Creating the policy itself takes one field: its name.
You can create a custom policy for the selected customer, cancel without creating one, and then open the new policy to edit its conditions.
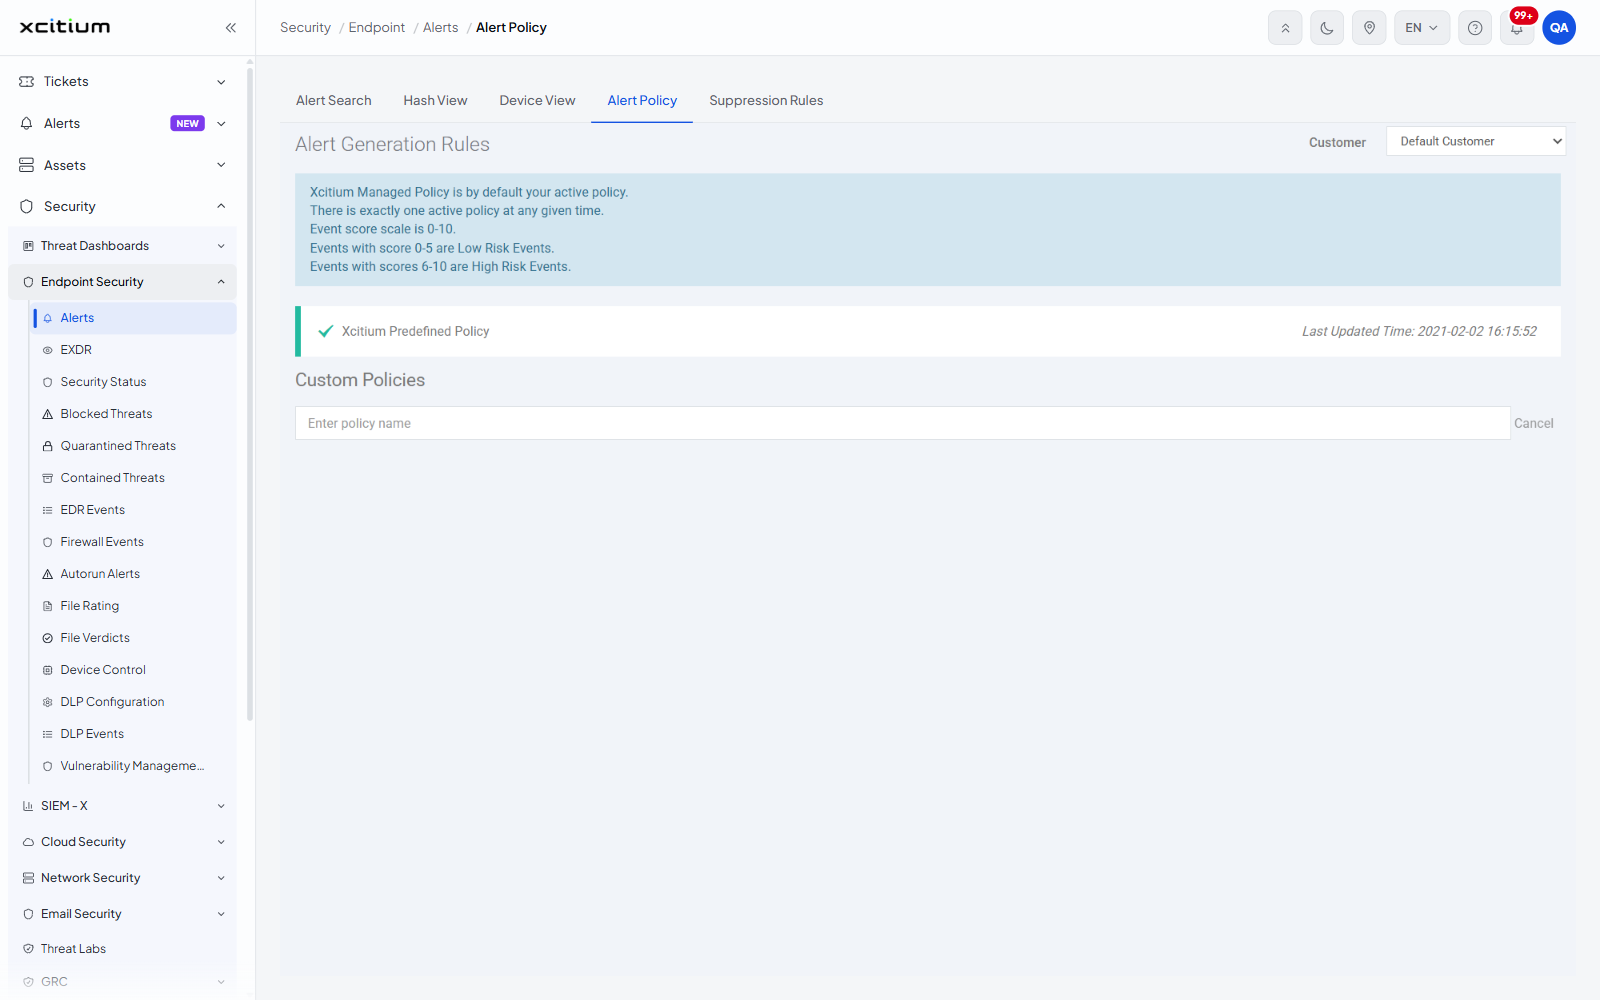
The form
'Create Policy' is not a dialog. Clicking it replaces the link in place with a single-line form across the width of the 'Custom Policies' area.
| Field | Control | Description |
| (the name box) | Text box | The name of the new policy. The box has no label of its own and shows 'Enter policy name' until you type. The field is required. The name is checked against the policies that already exist for the customer. |
| Cancel | Link | Sits at the right of the box. Closes the form without creating anything and puts the 'Create Policy' link back. |
Create a custom policy
- Choose the customer in the 'Customer' drop-down at the top right of the tab. A policy belongs to one customer.
- Click 'Create Policy' under the 'Custom Policies' heading. The name box opens in its place.
- Type the name of the policy.
- Press the Enter key. The policy is created and listed under 'Custom Policies'.
- Click the new policy to open it, then use the pencil on each condition row to set its score and action.
Cancel without creating a policy
- Click 'Cancel' at the right of the name box.
- The box closes and the 'Create Policy' link comes back. Nothing is saved.
Make your policy the active one
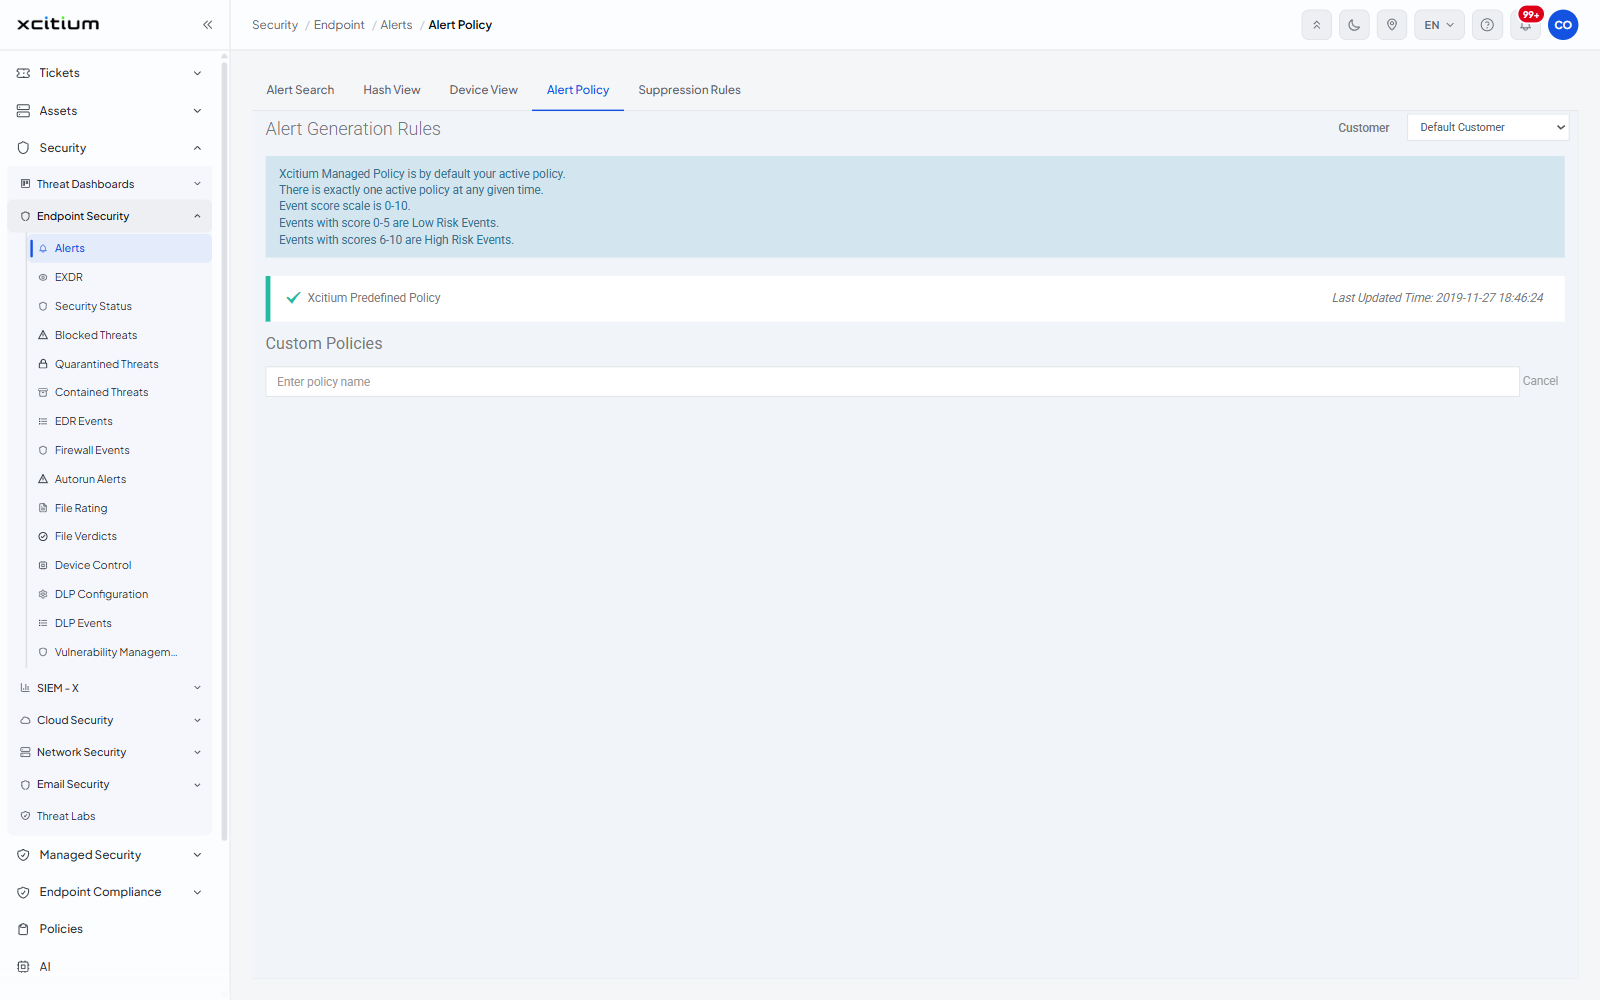
Only one policy is active for a customer at a time, and the supplied policy is active until you change it. A custom policy is listed under 'Custom Policies' with 'Edit Policy' showing when you move the pointer over it, where the active policy shows 'View Policy'.