


Add a New Customer
- Click 'Managed Security' > 'Service', scroll to 'Customer Health' and click 'New Customer'.
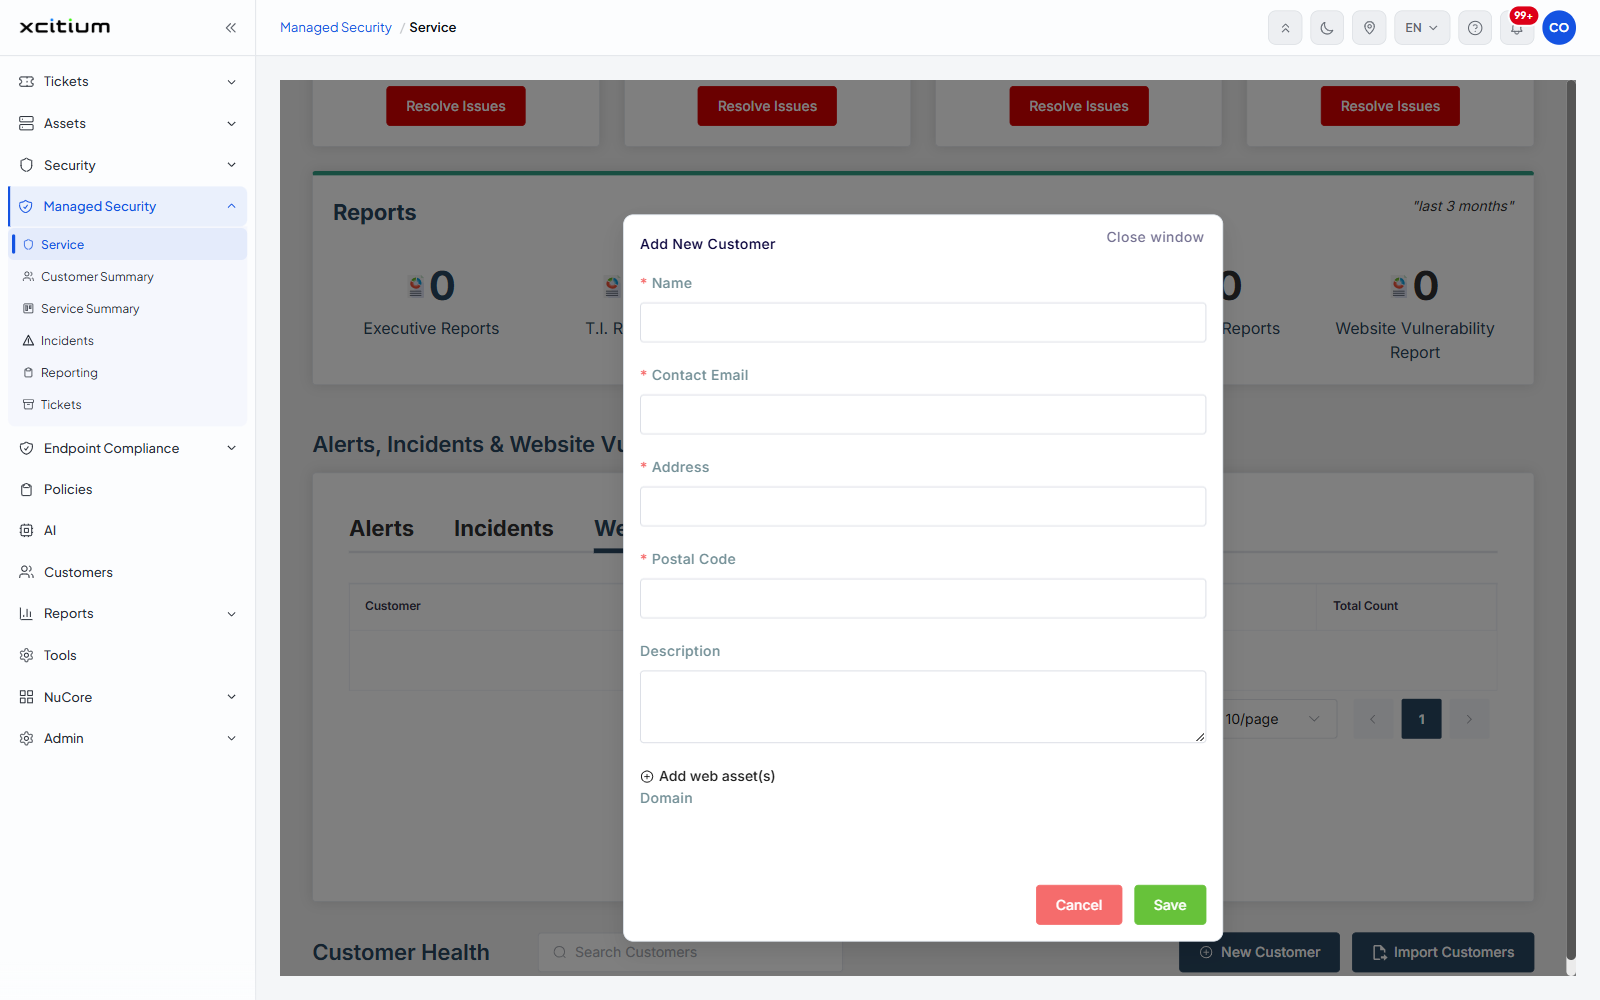
The 'Add New Customer' dialog adds a single customer to the managed security service by hand. You can also record the customer's web assets while you add them, so website scanning has something to work on.
Field descriptions
Fields marked with a red asterisk are required.
| Field | Control | Required | Description |
| Name | Text box | Yes | The name of the customer. This is the name shown in the customer lists and selectors. |
| Contact Email | Text box | Yes | The e-mail address of the contact at the customer. |
| Address | Text box | Yes | The street address of the customer. |
| Postal Code | Text box | Yes | The postal code of the customer. |
| Description | Multi-line text box | No | Free text about the customer. The box can be dragged larger. |
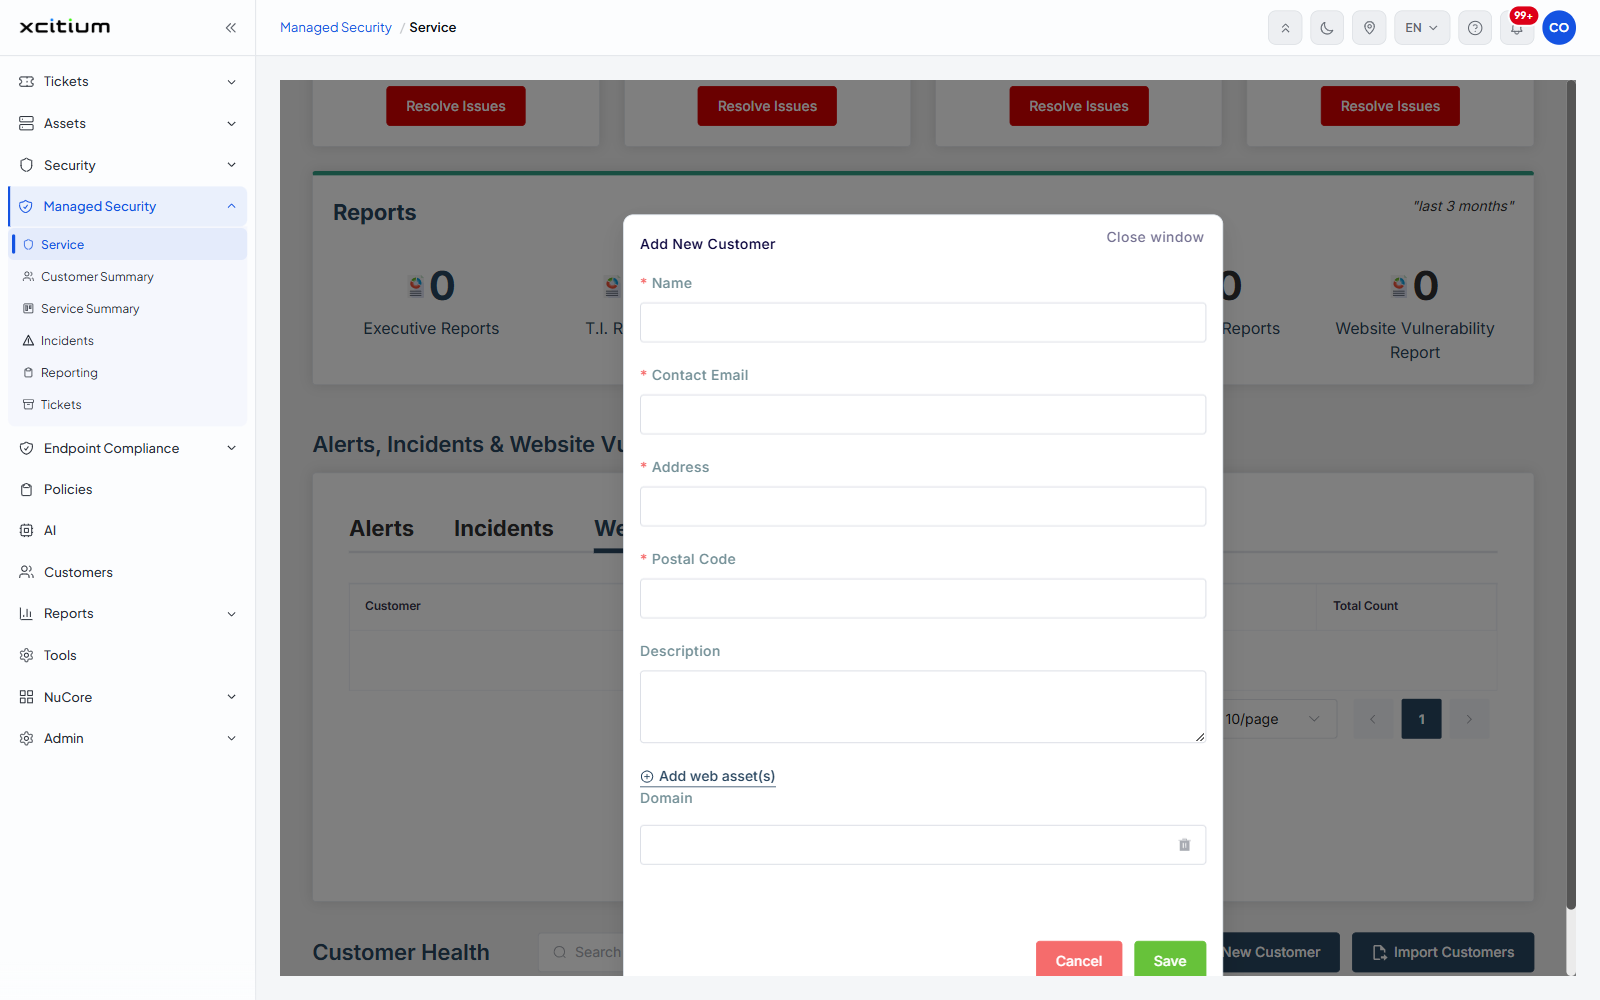
| Domain | Text box | No | Added by 'Add web asset(s)'. One domain belonging to the customer. Each added row has a bin icon at its right that removes that row. |
Dialog controls
| Control | Description |
| Add web asset(s) | An expander under 'Description'. Click it to add a 'Domain' text box. Click it again for each extra domain you want to record. |
| Close window | Top right of the dialog. Closes the dialog without saving. |
| Cancel | Closes the dialog without saving. |
| Save | Saves the customer and closes the dialog. |
Add a customer
- Click 'Managed Security' > 'Service'.
- Scroll to 'Customer Health' and click 'New Customer'. The 'Add New Customer' dialog opens.
- Type the customer name in 'Name'.
- Type the contact's e-mail address in 'Contact Email'.
- Type the address in 'Address' and the postal code in 'Postal Code'.
- Type any notes in 'Description'. This is optional.
- To record a website for the customer, click 'Add web asset(s)' and type the domain in the 'Domain' box. Repeat for each further domain.
- Click 'Save'.
Note: to bring customers in from another platform instead of typing them one at a time, see Import Customers.